
Are you only using 10% of what your chive plant is capable of, or are you letting it work for your entire garden? Most gardeners see chives as a simple herb for baked potatoes, but to a master gardener, they are the ‘Swiss Army Knife’ of the backyard. From acting as a natural repellent for aphids to attracting vital pollinators and providing edible flowers for gourmet infusions, this one plant does the work of five. It is time to shift from single-use thinking to total resource mastery.
The Botanical Basics: Choosing the Right Tool
Understanding which chive variety fits your needs is the first step toward mastery. While they all belong to the Allium family, their characteristics vary significantly. Common Chives (Allium schoenoprasum) are the classic garden staple, featuring hollow, straw-like leaves and purple globe-shaped flowers. They offer a delicate onion flavor and are highly cold-hardy, thriving in USDA zones 3 through 9.
Garlic Chives (Allium tuberosum), often called Chinese chives, provide a distinct alternative. These plants have flat, solid leaves and star-shaped white flowers that bloom much later in the season—typically August or September. Their flavor is decidedly garlicky, and they are slightly taller, reaching heights of 45–60 cm (18–24 inches). Choosing between them—or better yet, planting both—ensures a staggered bloom time and a wider range of culinary and ecological benefits.
Siberian Chives (Allium nutans) are a less common but valuable choice for serious practitioners. Often referred to as “blue chives” for their striking blue-green foliage, they are even larger than common varieties. They are exceptionally hardy and can provide a structural element to the herb garden that smaller varieties lack.
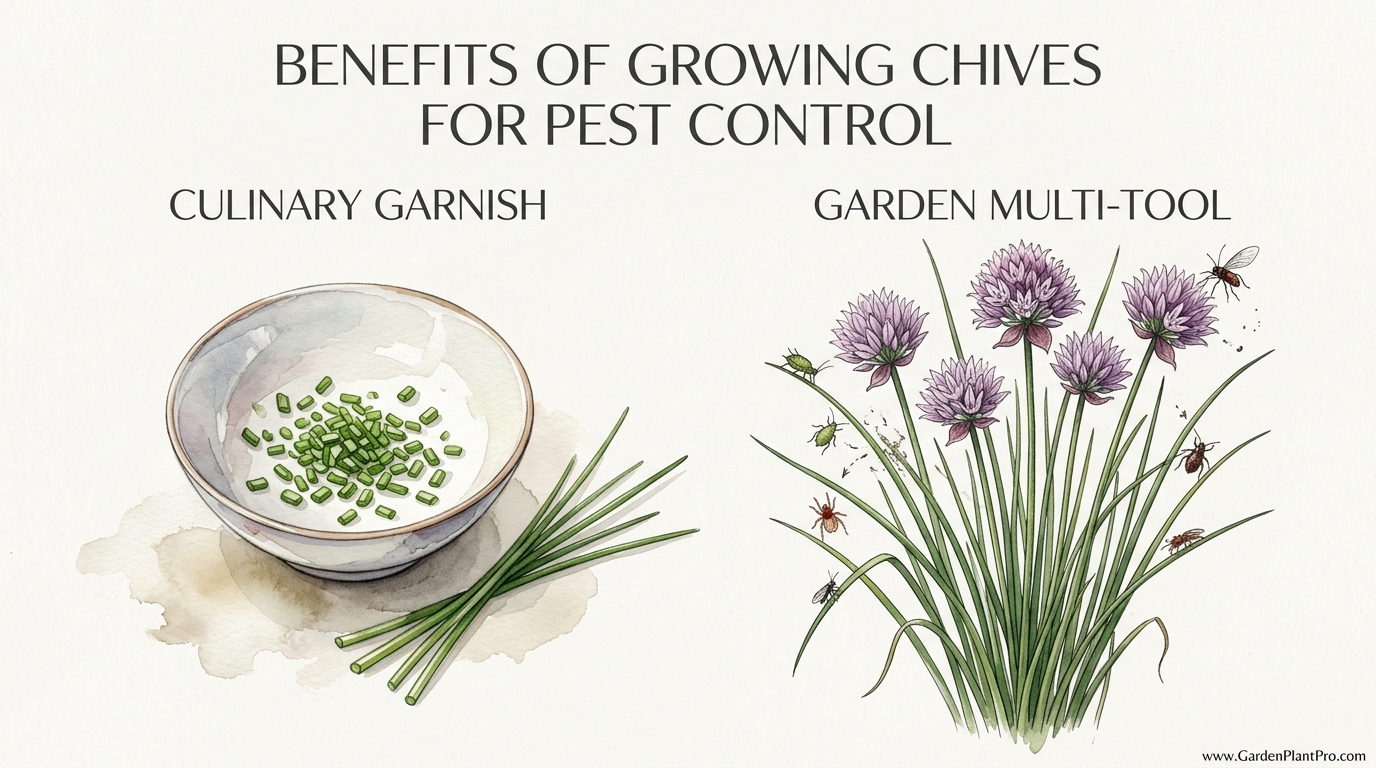
Benefits Of Growing Chives For Pest Control
Chives are a powerhouse in the world of Integrated Pest Management (IPM). Their primary weapon is a high concentration of sulfur compounds, which creates a potent aromatic barrier. Most gardeners use them to protect vulnerable crops like roses and tomatoes because the scent masks the chemical signals that pests use to find their host plants.
In real-world applications, chives are highly effective against aphids, which are notorious for sucking the life out of tender new growth. When planted at the base of rose bushes—aiming for roughly two to three chive clumps per foot of the bush’s height—they act as a natural deterrent. This “masking” technique prevents aphids from settling and colonizing your prize blooms.
Beyond aphids, the sulfur-rich leaves help discourage Japanese beetles, carrot rust flies, and even some species of mites. The plant’s juice is occasionally used as a topical repellent or base for organic sprays. In many cases, chives do not just repel; they also attract “predatory” beneficial insects like hoverflies and parasitic wasps, which feast on the very pests you are trying to eliminate.
How To Integrate Chives Into Your Garden System
Success with chives starts with proper placement and propagation. While they are incredibly resilient, they perform best when their specific environmental needs are met. Aim for a location that receives 6 to 8 hours of direct sunlight daily, though they can tolerate partial shade in hotter climates.
Establishing Your Patch
Chives can be started from seed, but for immediate garden benefits, starting with divisions or nursery transplants is more efficient. If sowing from seed, start indoors 6–8 weeks before the last frost. Scatter seeds thinly in a light potting mix, covering them with about 0.5 cm (1/4 inch) of soil. Germination usually takes 10 to 14 days when kept at temperatures between 15°C and 21°C (60°F–70°F).
When transplanting into the garden, space clumps 15–30 cm (6–12 inches) apart. This spacing allows enough room for the clumps to expand over their typical 3-to-4-year life cycle before they need to be divided. Ensure the soil is rich in organic matter, such as well-decomposed compost or worm castings, to provide a steady supply of nutrients without the need for heavy synthetic fertilizers.
Step-By-Step Division
Over time, chive clumps become crowded, leading to a “dead center” where growth stalls. Division rejuvenates the plant and gives you free “satellite” plants to move around the garden. Follow this process every few years:
- Water the clump: Do this a few hours before starting to ensure the roots are hydrated and the soil is pliable.
- Lift the plant: Use a garden fork or spade to dig around the perimeter of the clump, lifting it entirely out of the ground.
- Separate the bulbs: You can often pull the clump apart by hand into smaller sections. For older, tougher roots, use two garden forks placed back-to-back and pry them apart.
- Trim the foliage: Cut the leaves back to about 10 cm (4 inches). This reduces water loss and helps the plant focus on establishing new roots.
- Replant: Place the new mini-clumps (each containing 5–10 bulbs) into prepared holes, burying them slightly deeper than they were originally to encourage stability.
The Practical Advantages of the Chive Multi-Tool
The measurable benefits of chives extend far beyond the kitchen. In a sustainable garden, they serve as a “living mulch” and a nutrient accumulator. When you prune your chives, don’t throw the clippings away; use them as a “chop and drop” mulch around strawberry plants or tomatoes. The clippings break down quickly, returning sulfur and nitrogen to the top layer of soil while continuing to emit a pest-deterring scent as they decompose.
Another measurable advantage is the increase in pollination rates. Chives are consistently ranked in the top 10 for nectar production among garden herbs. This attracts a diverse range of bees and butterflies early in the season when many other plants have yet to bloom. Increased pollinator activity leads to better fruit sets on nearby cucumbers, melons, and squashes, directly improving your garden’s overall yield.
Challenges and Common Mistakes
One of the most frequent errors is over-watering, particularly in heavy clay soils. Chives are susceptible to root rot if they sit in waterlogged ground. Master gardeners always check the soil moisture about 2 cm (1 inch) deep; if it feels damp, wait another day to water. Ensure your containers have adequate drainage holes, especially if using terracotta pots which breathe better than plastic.
Another pitfall is allowing garlic chives to go to seed unchecked. Unlike common chives, garlic chives can be aggressively self-seeding. If you do not harvest the white flowers before they dry, you may find hundreds of “volunteer” seedlings in your flower beds the following spring. Deadheading—removing spent flowers—is a mandatory chore for those who want to keep their garden layout orderly.
Gardeners also tend to over-fertilize. Chives thrive on neglect once established. Excessive nitrogen can lead to lush, tender growth that is actually more attractive to aphids and lacks the intense flavor profile of a plant grown in leaner soil. A simple top-dressing of compost once a year in the spring is usually all that is required for peak performance.
Limitations: When Chives Are Not the Answer
While chives are versatile, they are not a universal cure-all. They are known to inhibit the growth of certain crops. Specifically, avoid planting them near legumes like peas and beans, or near asparagus. The same allelopathic properties that help chives repel pests can stunt the root development of these specific vegetables.
In extremely hot, arid climates, common chives may enter a semi-dormant state in the peak of summer, turning yellow and woody. If you live in an area with intense summer heat, they will require afternoon shade and consistent moisture to remain productive. For these regions, Garlic Chives are often a better choice as they are naturally more heat-tolerant and maintain their vigor during the hottest months.
Comparison: Common Chives vs. Garlic Chives
Choosing the right variety for the right job is essential. Use this table to decide which type fits your garden’s current needs.
DIY PROJECT: Collect rainwater no matter where you live...

This DIY project is the best way to legally collect rainwater NO MATTER where you live. Get chlorine-free water, cut down on your water bills, and have enough for an emergency situation or to water your garden. Read More Here...
| Feature | Common Chives (Onion) | Garlic Chives (Chinese) |
|---|---|---|
| Flavor Profile | Mild, delicate onion | Potent, savory garlic |
| Bloom Time | Late Spring / Early Summer | Late Summer / Early Fall |
| Leaf Shape | Hollow, round scapes | Flat, solid blades |
| Pest Control Strength | Excellent for aphids | Stronger against beetles/slugs |
| Hardiness Zones | 3–9 (Very cold hardy) | 4–9 (Heat tolerant) |
Practical Tips for Total Mastery
- The Haircut Method: To keep plants productive, harvest by cutting the leaves about 5 cm (2 inches) above the soil line. Never take more than one-third of the plant at once if you want a quick recovery.
- Forcing for Winter: In autumn, dig up a small clump, pot it, and bring it indoors to a sunny windowsill. This “forces” the plant to skip its dormancy, providing fresh greens throughout the winter months.
- Edible Infusions: Harvest the purple blossoms at their peak and submerge them in white vinegar. Within two weeks, you will have a vibrant magenta vinegar with a delicate onion finish.
- Rust Prevention: If you notice orange spots on the leaves (chive rust), remove the affected foliage immediately and improve air circulation around the plant. Avoid overhead watering to keep leaves dry.
Advanced Considerations: The Soil Connection
For the serious practitioner, the benefit of chives extends underground. Their shallow, fibrous root systems help stabilize topsoil and prevent erosion in raised beds. Recent observations suggest that Allium species may influence the soil microbiome, potentially suppressing certain soil-borne fungal pathogens. While research is ongoing, many organic growers use chives as a “barrier crop” to protect the root zones of more sensitive perennials.
Scaling up chive production can also lead to the creation of homemade botanical sprays. By steeping a pound (approx. 450g) of chopped chives in a gallon (3.8L) of boiling water and letting it sit for 24 hours, you create a mild antifungal and insect-repellent tea. Once strained and mixed with a teaspoon of castile soap, this spray can be applied to the foliage of plants struggling with early-season aphid outbreaks.
Real-World Example: The Tomato-Chive Synergy
Consider a gardener in a temperate climate facing annual issues with aphids and spider mites on their heirloom tomatoes. By interplanting chives between the tomato rows, spaced roughly 25 cm (10 inches) apart, the gardener creates a multi-layered defense. The chive flowers attract ladybugs and lacewings—the natural enemies of aphids—while the sulfur scent makes it harder for mites to establish a foothold. By mid-summer, when the chives are harvested for a kitchen infusion, the clippings are used as a mulch to keep the tomato roots cool and suppress weeds, completing a closed-loop system of garden utility.
Final Thoughts
Mastering chives is about seeing the connections between the kitchen and the ecosystem. When you stop viewing this herb as a mere garnish and start treating it as a functional partner in your garden’s health, you unlock a higher level of gardening efficiency. Whether it is protecting your roses or feeding the bees during a late-summer nectar gap, the humble chive proves that the most powerful tools are often the ones we’ve taken for granted.
Experiment with different varieties and don’t be afraid to move them around your landscape. Their resilience makes them the perfect candidate for trial and error. As you watch your pollinator numbers rise and your pest pressures drop, you’ll realize that the true value of the chive was never just about the flavor—it was about the resilience it brings to every square inch of your soil.