
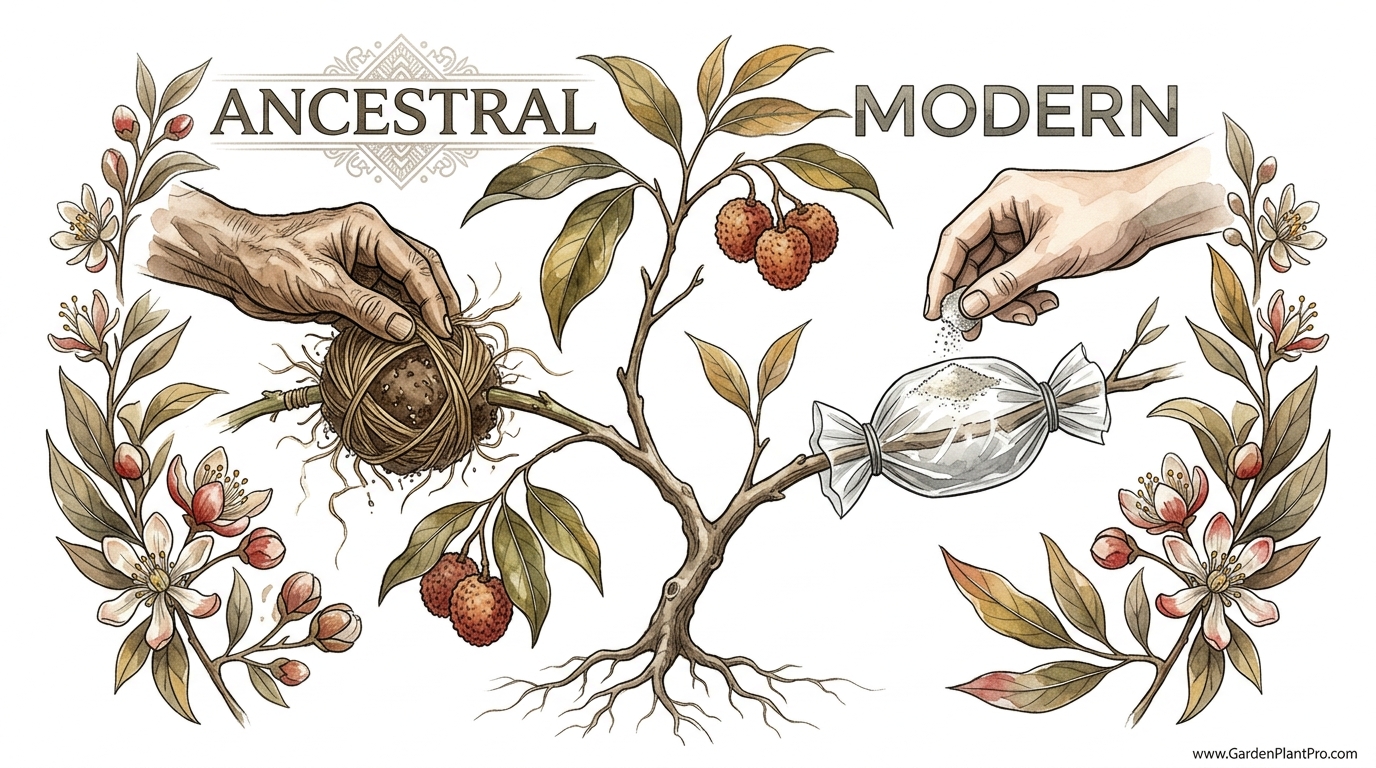
The nursery industry wants you to buy trees; the ancients knew how to clone them for free in 60 days. Modern gardening relies on buying expensive, grafted clones from nurseries that often struggle to adapt. Ancestral air-layering (marcotting) allows you to turn a single branch into a mature, root-heavy tree in just two months. It is the fastest way to build an orchard without spending a dime on new saplings.
If you have ever looked at a neighbor’s lychee tree and wished you could have that exact fruit in your own yard, you are in luck. Most people think you have to wait years for a seed to grow or pay a small fortune for a nursery-raised sapling. In reality, the secrets of cloning have been used for centuries, particularly in Southeast Asia and China, where lychee cultivation is an art form. This practice, known as marcotting or air-layering, is not just a trick for professionals; it is a fundamental skill for any self-sufficient gardener.
Lychee trees (Litchi chinensis) are notoriously difficult to grow from cuttings. They do not like to strike roots from a severed twig stuck in the mud. However, they are incredibly responsive to air-layering because the branch remains connected to the mother tree’s life support system while it develops its own independent roots. This means the branch continues to receive water and minerals from the roots while you manipulate its hormones to grow new roots exactly where you want them.
When you use this method, you are not just growing a “baby” tree. You are effectively taking a mature piece of wood that already “knows” how to produce fruit. While a seedling might take 10 to 15 years to produce its first lychee, an air-layered clone can often provide a harvest within just one or two seasons. This efficiency is why ancestral gardeners prioritized this method above almost all others for establishing productive home orchards.
Lychee Air Layering Step By Step
Air layering is a technique where you encourage a branch to grow roots while it is still attached to the parent plant. It sounds technical, but it is actually one of the most forgiving ways to propagate fruit trees. By wounding the branch and wrapping it in a moist medium, you interrupt the flow of nutrients back to the main tree, forcing the branch to create its own root system to survive. This results in a genetically identical clone of the parent tree, ensuring the fruit quality remains exactly the same.
This process is used globally by enthusiasts and commercial growers alike, especially for “difficult” species like lychee, longan, and citrus. In the real world, you see this practiced most often in late spring or early summer when the sap is flowing vigorously. The tree is in a state of high energy, making it much more likely to push out new growth quickly. Imagine it as “tricking” the branch into thinking it has been severed, while still letting the mother tree provide the hydration needed to keep the leaves alive.
1. Selecting the Perfect Branch
Success starts with choosing the right candidate. You want a healthy, vigorous branch that is roughly the thickness of a pencil or a human thumb (about 1.25 cm to 2.5 cm or 0.5 to 1 inch in diameter). Look for a branch that is located in the upper or outer part of the canopy where it receives plenty of sunlight. Avoid branches that are too old and gray or too young and green; you want wood that is firm but still shows some signs of active growth.
2. Making the Girdle
Find a clear spot on the branch between two leaf nodes. Using a sharp, sterilized knife, make two parallel circular cuts around the branch, spaced about 2.5 cm to 5 cm (1 to 2 inches) apart. Then, make a vertical slit between these two rings and peel the bark away completely. This exposes the “girdle”—the inner white wood of the branch. It is vital to remove every bit of the green cambium layer under the bark; if any sliver of green remains, the tree may heal the wound instead of growing roots.
3. Scraping the Cambium
Once the bark is off, use the back of your knife to gently scrape the surface of the exposed wood. You want to ensure the “phloem”—the outer tissue that carries sugars down from the leaves—is completely severed. By doing this, you trap the sugars and hormones (auxins) at the top of the cut, which signals the plant to start root production at that specific point. The inner “xylem” will remain intact, allowing water to continue flowing upward to the leaves.
4. Applying the Medium
Take a handful of moist sphagnum moss or a mix of cocopeat and compost. It should be damp but not dripping wet; if you squeeze it, only a drop or two of water should come out. Pack this ball of medium firmly around the exposed girdle. Ensure the entire wound is covered, especially the upper cut where the roots will eventually emerge. Some gardeners like to dab a little rooting hormone or fresh aloe vera gel on the top cut, but for a healthy lychee tree in peak season, this is often unnecessary.
5. Wrapping and Sealing
Enclose the moss ball with a piece of clear plastic or heavy-duty aluminum foil. Clear plastic allows you to see the roots as they grow, while foil protects the delicate new roots from the sun’s heat. If you use plastic, consider wrapping a layer of foil over it anyway to prevent overheating. Tie both ends tightly with twine, zip ties, or electrical tape to seal in the moisture. You want an airtight, watertight “burrito” that won’t dry out over the next two months.
The Science of How Air Layering Works
Understanding the internal mechanics of the tree makes the process much more intuitive. Plants have two primary transport systems: the xylem and the phloem. The xylem sits deep inside the wood and carries water and nutrients from the roots up to the leaves. When you perform an air layer, you leave this inner wood intact, which is why the branch doesn’t wilt and die. The leaves continue to get the hydration they need to survive.
The phloem, however, is located just under the bark. Its job is to transport the sugars produced by photosynthesis in the leaves back down to the roots for storage and growth. By removing a ring of bark and the cambium, you effectively build a dam for these sugars. The energy produced by the leaves has nowhere to go once it reaches the top of your cut. This accumulation of carbohydrates and natural growth hormones at the wound site creates a “callus,” which eventually differentiates into root tissue.
Environmental factors play a massive role in this biological conversion. High humidity and consistent warmth (around 25°C to 30°C or 77°F to 86°F) accelerate the cellular division required for rooting. If the medium dries out, the delicate root initials will wither instantly. This is why the seal on your wrap is the most critical technical aspect of the entire project. In many ways, you are creating a tiny, pressurized greenhouse for that specific section of the branch.
Benefits of Marcotting Lychee Trees
Choosing air-layering over other methods like grafting or growing from seed offers several practical, measurable advantages for the backyard gardener. While the nursery industry prefers grafting for mass production on specific rootstocks, the home gardener often finds marcotting to be more reliable and cost-effective.
- Genetic Precision: You get a 100% identical clone. If the parent tree produces small seeds and sweet, juicy flesh, your new tree will do the same. Seedlings are genetic wildcards and rarely live up to the parent.
- Speed to Harvest: An air-layered lychee is essentially a mature tree on its own roots. It can flower and fruit within 24 months, whereas a seedling can take over a decade.
- Higher Success Rate: Unlike cuttings, which have a high mortality rate for lychees, air layers remain attached to the mother tree. This dramatically reduces the stress on the plant during the rooting phase.
- Cost: Aside from a handful of moss and some plastic, the cost is zero. You can turn one heirloom tree into twenty over a single summer.
- No Taproot Issues: While air layers lack the deep taproot of a seedling, they develop a massive, fibrous lateral root system. This allows the tree to establish quickly in shallow or rocky soils where a taproot might struggle.
Common Mistakes to Avoid
Even though the process is straightforward, there are a few pitfalls that can lead to a “failed” marcot. Most of these occur during the initial wounding or the wrapping stage. Paying attention to these details can be the difference between a dead branch and a thriving new tree.
Leaving Cambium Behind: This is the number one cause of failure. If you do not scrape the wood clean, the tree will simply bridge the gap with new bark. If you see the wound healing over with a hard, brown crust rather than white roots, you didn’t scrape enough. The wood should look “clean” and non-green before you wrap it.
Wrapping Too Loosely: If air can get into the moss ball, it will dry out. Once the moss is dry, the rooting process stops completely. Furthermore, loose wraps can allow ants to enter. Ants love the moist environment of a marcot and can actually eat the developing root tips or carry away the medium, ruining the project.
Timing the Cut Wrong: Cutting the branch off too early is a common beginner error. You might see one or two roots through the plastic and get excited. However, the branch needs a significant mass of “hardened” roots (turning from white to brown) before it can survive on its own. Patience is your best tool here; wait until the ball feels firm and is visibly full of roots.
DIY PROJECT: Collect rainwater no matter where you live...

This DIY project is the best way to legally collect rainwater NO MATTER where you live. Get chlorine-free water, cut down on your water bills, and have enough for an emergency situation or to water your garden. Read More Here...
Limitations and Environmental Constraints
While air layering is a powerful tool, it is not a magic bullet for every situation. There are realistic boundaries to when and where this method works best. For instance, air layering is very stressful for the parent tree if done in excess. Taking 50 air layers from a small tree can sap its energy and reduce its own fruit production for the season.
Environmental conditions also dictate success. In arid climates, keeping the moss ball moist is a constant battle. In very cold regions, the process must be timed perfectly so the new tree has time to establish before the first frost. Lychee trees are subtropical; they need warmth to produce roots. If temperatures drop below 15°C (59°F), root development will likely stall or fail entirely.
Finally, the lack of a taproot can be a limitation in high-wind areas. Because an air-layered tree has a shallower, spreading root system, it can be more prone to toppling in a hurricane or severe storm compared to a tree grown from seed. This can be mitigated with proper staking and pruning, but it is a factor to consider when planning your orchard layout.
Comparison: Air Layering vs. Grafting vs. Seeds
To help you decide which propagation method is right for your garden, consider the following table which compares the three most common ways to grow a lychee tree.
| Feature | Air Layering (Marcot) | Grafting | Seedling |
|---|---|---|---|
| Time to Fruit | 1–3 Years | 2–4 Years | 10–15 Years |
| Genetic Identity | Identical Clone | Identical (Scion) | Highly Variable |
| Difficulty Level | Easy / Beginner | Moderate / Advanced | Very Easy |
| Root System | Fibrous / Lateral | Strong (Taproot-based) | Deep Taproot |
| Cost | Negligible | Low (Requires stock) | Free |
Practical Tips for Success
Over the years, I’ve found a few small adjustments that can significantly increase your “take” rate. These are the kinds of things you only learn after doing a few dozen air layers and seeing what works in the real world.
- The Aluminum Foil Trick: If you live in a hot climate (like Florida, Queensland, or Brazil), use aluminum foil as your outer wrap. It reflects the sun and keeps the moss ball significantly cooler. Clear plastic can act like a magnifying glass and literally cook the new roots on a 35°C (95°F) day.
- Pre-Soak Your Moss: Use rain water or dechlorinated water if possible. Lychee roots are sensitive to the chemicals found in some city water supplies. Soaking the moss in a weak solution of seaweed extract can also provide a gentle hormonal boost.
- Double Tie: Use two ties on each end of the wrap. This ensures a tighter seal and prevents the weight of the developing root ball from causing the wrap to slide down the branch.
- Morning Work: Always perform your girdling in the early morning when the tree is most turgid (full of water). This makes the bark easier to peel and reduces the stress on the branch.
Advanced Considerations: The Separation Phase
The most dangerous time for an air-layered tree is not while it is on the parent, but the first 48 hours after you cut it off. This is where most gardeners lose their clones. When you sever the branch, you are suddenly asking a small ball of roots to support a large canopy of leaves that was previously fed by a massive tree.
Severe Pruning: You must prune back at least 50% to 70% of the foliage immediately after cutting the branch from the parent. It feels painful to cut away all those leaves, but if you don’t, the leaves will transpire water faster than the new roots can replace it, and the tree will wilt and die within hours. Focus on removing the soft, new growth and leaving the older, tougher leaves.
The “Hardening Off” Period: Do not plant your new lychee directly into the ground. Pot it up into a high-quality, well-draining potting mix and keep it in a heavily shaded, humid area for at least 4 to 6 weeks. Many growers use a “misting house” or simply place the pot under the shade of the mother tree. Gradually introduce it to more sunlight over several weeks. This allows the roots to “harden” and begin branching out into the new soil before facing the full intensity of the sun.
Example Scenario: Expanding a “Brewster” Grove
Imagine you have a single “Brewster” lychee tree that produces exceptionally sweet fruit. In May, you select ten branches throughout the canopy. Following the steps above, you girdle them and wrap them in moist sphagnum moss and foil. By July, you notice the foil balls feel heavy and firm—a sure sign of root development.
Upon opening one, you see a thick network of brownish-red roots. You saw the branches off 2 cm (1 inch) below the root ball. You immediately strip half the leaves and dunk the root ball into a bucket of water to ensure it’s fully hydrated. You pot them into 11-liter (3-gallon) containers and place them in the shade of your porch. By September, those ten clones are putting out new flushes of leaves, and by next spring, you have ten “Brewster” trees ready to be planted in a permanent grove, all for the cost of a roll of foil and some moss.
Final Thoughts
Air layering is a bridge between the ancient wisdom of forest gardeners and the modern desire for self-sufficiency. It empowers you to take control of your garden’s genetics without relying on commercial nurseries. By understanding the simple relationship between the phloem and xylem, and respecting the tree’s need for moisture and shade during the transition, you can propagate almost any woody fruit tree with confidence.
I encourage you to start with just one or two branches this season. Observe how the callus forms and how the roots begin to seek out moisture in the moss. Gardening is a series of practical experiments, and there is no greater satisfaction than eating fruit from a tree that you cloned with your own hands. Once you master the lychee, you can apply these same principles to other favorites like longans, mulberries, or even figs.
As you continue to build your orchard, remember that success is built on soil health and proper irrigation. A well-nourished parent tree will always produce the strongest clones. Keep experimenting, keep observing, and soon you’ll find that you never need to buy a fruit tree again.