
Why pay for a single crown when your old plant is hiding an infinite supply of free food? Every few years, your rhubarb plant stops being just a vegetable and starts being a bank account. Most people let their old crowns get crowded and weak, eventually buying new ones from the nursery to fix the drop in yield. The pros know that a 5-year-old crown is actually a biological printer ready to give you 5-10 new plants for the cost of zero dollars and ten minutes of work. Here is how to unlock your free harvest.
Rhubarb is one of the few plants that truly rewards a little bit of rough handling every few years. While most perennials prefer to be left alone, a rhubarb crown that sits in the same spot for over a decade starts to lose its punch. You might notice the stalks getting thinner or the center of the plant looking a bit hollow and tired. This is the plant’s way of telling you it is ready to be born again.
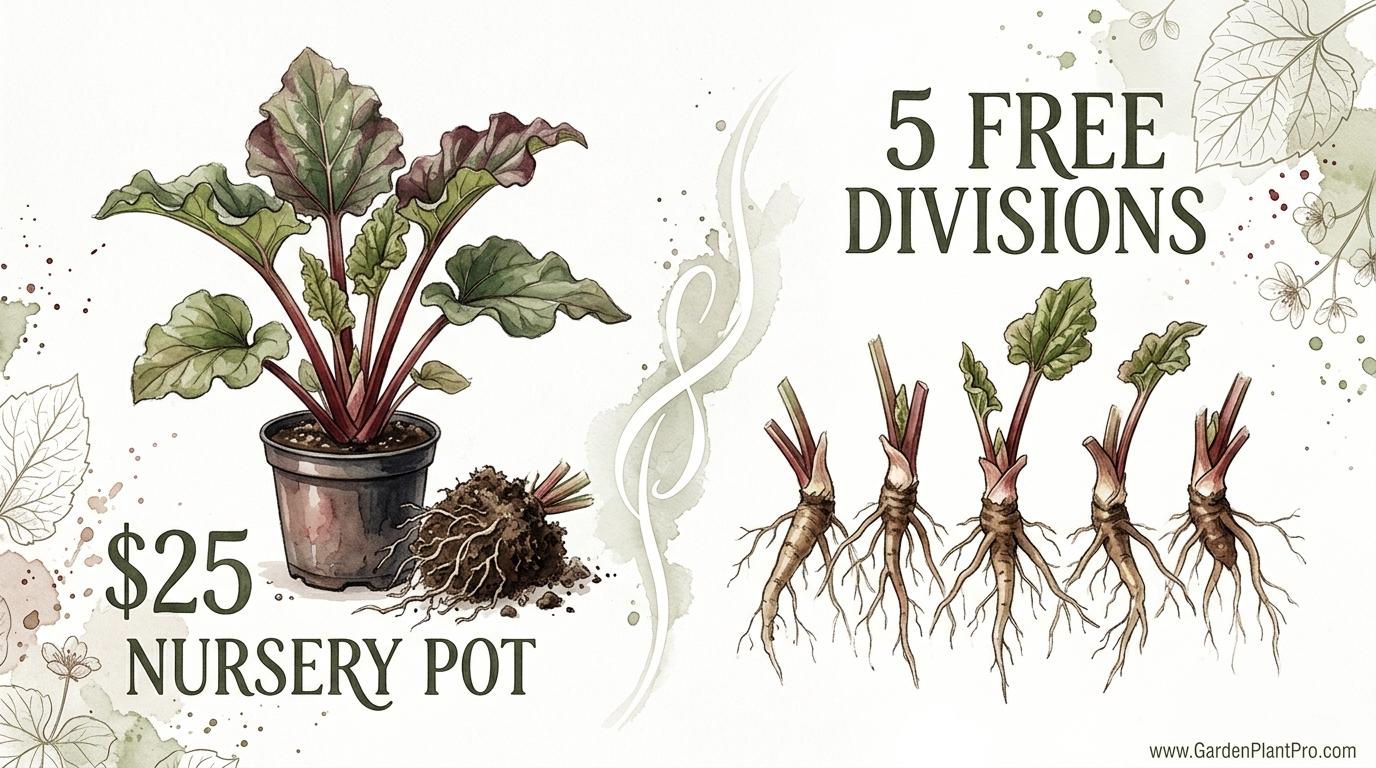
Think of this process as a $25 nursery pot versus five free divisions. When you buy a crown from a store, you are often getting a small, stressed root that has been sitting in a plastic pot for weeks. When you divide your own, you are moving a massive, energy-rich root system that is already acclimated to your specific garden soil and local climate. It is the ultimate gardening hack for the frugal grower.
How To Divide Rhubarb Crowns For Free
Dividing rhubarb is the process of physically splitting a mature root mass into several smaller, independent plants. In the gardening world, this is a form of vegetative propagation. Because you are using a piece of the parent plant, every new division will be a genetic clone, ensuring that if your original plant produced sweet, ruby-red stalks, your new plants will do the exact same.
This practice is common in backyard gardens and small-scale farms where longevity and sustainability are the goals. Rhubarb is a long-lived perennial, often surviving for 15 to 20 years if properly maintained. However, the crown eventually becomes so dense that the internal competition for nutrients and water reduces the quality of your harvest. By stepping in and dividing the plant, you are essentially resetting its biological clock.
Imagine the crown as a crowded apartment building. In the beginning, everyone has plenty of room, but eventually, the space gets too tight for anyone to thrive. When you divide the crown, you are giving each “family” of buds their own plot of land with fresh soil and no neighbors to fight with. The result is a burst of vigorous growth that a crowded plant simply cannot achieve.
Choosing the Perfect Timing for Your Region
Timing is the most critical factor in the success of your divisions. You want to catch the plant while it is still “sleeping” or just starting to wake up. This ensures the roots have time to settle into their new home before the heat of summer puts them under stress. Most gardeners find that early spring is the gold standard for this task.
In temperate climates, the ideal window is as soon as the soil is workable and you see the first tiny, red “knuckles” of the plant peeking through the mulch. If you wait until the leaves have fully unfurled, the plant will lose too much moisture through its foliage, leading to transplant shock. In colder regions like USDA Zones 3 or 4, this usually happens in late March or April. In warmer areas like Zone 8, you might be looking at February.
Late autumn is your second-best option. Wait until a hard frost has killed back the leaves and the plant has entered dormancy. This allows the roots to settle over the winter and take advantage of early spring moisture. If you live in a region with very wet winters, however, spring is usually safer to prevent the freshly cut root edges from rotting in cold, sodden ground.
A Note on Plant Age
A rhubarb plant typically reaches prime division age between 5 and 8 years. You can tell a plant is ready when the “hill” of the crown begins to rise above the soil line or when you notice a significant decrease in stalk diameter. Avoid dividing plants younger than 3 years, as they haven’t stored enough energy in their rhizomes to survive the split and regrow with vigor.
The Step-by-Step Division Process
Gathering your tools before you start will make the job much easier. You will need a clean, sharp spade, a garden fork, and potentially a heavy-duty serrated knife or a small hatchet for older, woodier crowns. Sterilize your tools with rubbing alcohol or a 10% bleach solution to ensure you do not introduce soil-borne pathogens to the fresh cuts.
Step 1: Clearing the Area
Remove any mulch or debris from around the base of the plant. If you are dividing in the spring, look for the pinkish buds. If it is autumn, cut away the dead foliage to see the crown clearly. This gives you a clear view of where to position your shovel without slicing through the best buds.
Step 2: Digging the Root Ball
Start digging about 12 inches (30 cm) away from the center of the crown. Rhubarb roots are surprisingly deep and wide. Use your garden fork to loosen the soil all the way around the plant. Once the soil is loose, use the spade to lever the entire root mass out of the ground. For a 5-year-old plant, this root ball can weigh 20 to 30 pounds (9-13 kg), so take care of your back.
Step 3: Finding the Eyes
Shake off the excess soil or give the root a quick rinse with a hose. You are looking for the “eyes”—the growing points where next year’s stalks will emerge. A healthy division needs at least 1 to 2 large, healthy buds and a substantial piece of the thick, fleshy root system. Think of the root as the battery and the buds as the motor; you need both for the plant to run.
Step 4: Making the Cut
Position your spade or knife between the buds. With one firm, downward motion, slice through the crown. Do not be afraid of the “crunching” sound; rhubarb is tough. A large crown can often be split into 4 to 8 pieces. Each piece should be roughly the size of a large grapefruit or a small fist. If you encounter any soft, mushy, or blackened areas, cut them away and discard them, as these are signs of rot.
Step 5: Immediate Replanting
Exposing these fleshy roots to air and sun causes them to dry out quickly. Have your new holes prepped and ready before the roots ever leave the ground. If you must wait, wrap the divisions in a damp burlap sack or keep them in a bucket of cool water in the shade. Never let them sit in the direct sun for more than a few minutes.
Preparing the New Home
Rhubarb is a heavy feeder, often called a “gross feeder” by old-timers. Since these plants will stay in their new spots for a decade or more, the soil preparation you do now is an investment in your future pies. These plants thrive in rich, loamy soil with a pH between 6.0 and 6.8.
Dig a hole that is twice as wide as your division and at least 12 inches (30 cm) deep. Mix the excavated soil with a generous amount of well-rotted manure or finished compost. A ratio of 50% native soil and 50% organic matter is ideal. If your soil is heavy clay, consider planting in a slightly raised mound to improve drainage, as rhubarb “feet” do not like to stay wet.
Add a handful of balanced fertilizer, such as a 10-10-10 or 12-12-12, to the bottom of the hole and cover it with an inch of soil so the roots don’t touch the granules directly. This provides a “slow-burn” energy source for the roots as they begin to expand in their first year.
DIY PROJECT: Collect rainwater no matter where you live...

This DIY project is the best way to legally collect rainwater NO MATTER where you live. Get chlorine-free water, cut down on your water bills, and have enough for an emergency situation or to water your garden. Read More Here...
Spacing and Depth
Space your new plants at least 3 feet (91 cm) apart. While they look small now, a mature rhubarb plant can easily reach 4 feet (122 cm) in diameter. Give them room to breathe to prevent fungal issues like leaf spot or crown rot later on. Rows should be spaced 4 to 5 feet (120-150 cm) apart if you are planting a larger patch.
The depth of the planting is the most common mistake beginners make. Place the division in the hole so the buds are sitting 1 to 2 inches (2.5-5 cm) below the soil surface. If you plant them too deep, the buds may rot before they can break through. If you plant them too shallow, they may dry out or be damaged by frost heaving in the winter.
Benefits of Dividing Over Buying
Choosing to divide your own plants offers several distinct advantages that you won’t find at a big-box garden center. The most obvious is the cost, but the biological benefits are even more significant for the serious gardener.
- Acclimatization: Your parent plant has already survived your local winters and summers. Its offspring carry that “local knowledge” in their DNA, making them much hardier than a plant shipped from a different climate zone.
- Instant Maturity: A nursery crown is often a yearling. A division from a mature plant has a massive energy reserve in its fleshy root, allowing it to establish much faster and produce larger stalks sooner.
- Revitalization: Dividing an old plant actually makes it younger. By removing the old, woody center and giving the fresh outer growth a new place to thrive, you increase the overall health and yield of your garden.
- Variety Control: If you have a specific heirloom variety that has been in your family for years, dividing is the only way to ensure you keep that exact flavor and color profile. Seeds are notoriously unreliable for maintaining specific rhubarb traits.
Challenges and Common Mistakes
Even the hardiest plants have their limits. One frequent error is harvesting stalks during the first year after division. It is tempting to pull a few for a small tart, but the plant needs every bit of energy from its leaves to rebuild its root system. Pulling stalks too early can stunt the plant for years or even kill it.
Another pitfall is improper watering. While rhubarb hates “wet feet,” it also has a very high water requirement because of its massive leaves. During the first summer after division, ensure your new plants get at least 1 inch (2.5 cm) of water per week. If the leaves start to wilt, the plant is under stress and will stop growing, delaying your future harvests.
Failing to remove flower stalks is a third common mistake. In the first year or two, your divisions might try to “bolt” or produce a thick, hollow stalk with a white flower head. Cut these off at the base immediately. You want the plant to focus on roots and leaves, not on making seeds that likely won’t even grow true to the parent.
Limitations and Realistic Expectations
It is important to understand that dividing is not a magic fix for a diseased plant. If your original rhubarb crown is suffering from Crown Rot (Phytophthora), which shows up as mushy, foul-smelling roots and wilting leaves, do not divide it. You will only be spreading the pathogen to new parts of your garden. In this case, it is better to destroy the plant and start fresh with certified disease-free stock in a completely different location.
Furthermore, do not expect a harvest immediately. The standard rule of thumb for rhubarb is “Year 1: Sleep, Year 2: Creep, Year 3: Leap.” In the first year after division, do not harvest any stalks. In the second year, you can take a light harvest for about two weeks. By the third year, you can harvest for the full season (typically 8 to 10 weeks).
Practical Comparison: Division vs. Nursery Crowns
To help you decide which route to take, consider the following factors based on common gardening scenarios.
| Feature | Division (Free) | Nursery Crown ($15-$30) |
|---|---|---|
| Cost | $0.00 | $15 – $30 per plant |
| Root Mass | Large, established energy reserves | Small, often trimmed for shipping |
| Establishment | Very fast; adapted to local soil | Slower; requires acclimation |
| Reliability | Guaranteed genetic clone | Dependent on label accuracy |
Maintenance and Long-Term Care
Once your divisions are in the ground, they require very little intervention. Apply a 2- to 3-inch (5-8 cm) layer of mulch around the base of the plant every spring, being careful not to cover the crown itself. Straw, shredded leaves, or clean grass clippings work well. This mulch suppresses weeds, which compete for the nitrogen your rhubarb desperately needs.
Every spring, before the leaves emerge, top-dress the area with an inch of composted manure. This mimics the natural forest floor and provides a slow release of nutrients throughout the growing season. If your soil is particularly poor, a supplemental feeding of liquid seaweed or compost tea in mid-summer can provide a boost for the following year’s bud development.
Stop harvesting stalks by early to mid-July. The plant needs the rest of the summer to photosynthesize and store carbohydrates in its roots for the winter. If you keep pulling stalks into August, you are effectively starving the plant for the following spring. Think of the late-summer leaves as solar panels charging the root’s battery.
Advanced Considerations for the Serious Grower
If you want to take your rhubarb game to the next level, consider “forcing” a few of your new divisions in their third or fourth year. Forcing is the process of covering the crown with a large, opaque pot or “cloche” in late winter. The lack of light and the trapped warmth trick the plant into growing long, pale, incredibly sweet stalks that are ready weeks before the outdoor crop.
However, forcing is exhausting for the plant. If you force a division one year, you must let it grow naturally without any harvest for the next two years to allow it to recover. Serious practitioners often keep a rotating schedule, where they force one or two plants each year while the others are allowed to “recharge” in the sun.
Also, keep an eye on your soil’s calcium levels. Rhubarb stalks are high in oxalic acid, and the plant uses calcium to help regulate its internal chemistry. If you notice the stalks are unusually brittle or the leaves are yellowing despite plenty of nitrogen, a light application of garden lime or bone meal can help balance the soil, provided your pH isn’t already too high.
Scenario: From One Tired Plant to a Neighborhood Legend
Let’s look at a real-world example of how this plays out. Imagine a gardener named Martha who inherited a single, massive 10-year-old ‘Victoria’ rhubarb plant in the corner of her yard. It was producing about 5 pounds (2.3 kg) of thin, stringy stalks per year. In early April, Martha dug up the plant and found a root system nearly 3 feet (91 cm) across.
Using a sharpened spade, she divided that single crown into 8 fist-sized pieces. She kept 4 for herself, planting them 3 feet (91 cm) apart in a newly amended, sunny bed. She gave the other 4 pieces to her neighbors. By the second year, Martha’s 4 plants were already producing thicker stalks than the original parent. By the fourth year, she was harvesting over 40 pounds (18 kg) of prime rhubarb—enough for her family, her neighbors, and the local bake sale.

Do you have some charcoal in your house right now? We call charcoal a “miracle leftover” for anyone who wants to be a little more self-sufficient and cut costs. That’s because it can help you with so many different things around the house and garden. You can even use it to make an energy-free fridge. Read More Here...
Martha spent zero dollars on this expansion. Had she purchased 8 established crowns from a nursery, she would have easily spent $200. Instead, she used ten minutes of labor and a bit of compost to create a perennial food source that will likely outlive her garden shed.
Final Thoughts
Dividing rhubarb is more than just a chores; it is an act of garden renewal. It connects us to the cycles of the seasons and reminds us that nature is inherently generous if we know how to work with it. By taking the time to split your crowns every few years, you ensure a lifetime of tart, delicious harvests and plenty of extra plants to share with friends and family.
Don’t be intimidated by the size or the toughness of the roots. Rhubarb is a survivor, and it is designed to be resilient. As long as you give it a bit of rich soil, plenty of water, and some breathing room, those small divisions will grow into the centerpiece of your vegetable garden. Start checking your plants this spring; your “biological printer” might already be ready to start work.
As you master the art of division, you might find yourself exploring other aspects of garden health, such as high-yield composting or organic pest management. Every skill you add to your repertoire makes your garden more productive and less dependent on outside inputs. Happy digging, and may your future pies be filled with the fruits of your own labor.