
Your pearls aren’t meant to just hang; they were born to crawl. If you just let your pearls hang over the edge, you’re starving the plant of its natural strength. In the wild, these plants are ground-creepers that root as they go. By integrating the strands back into the soil surface, you trigger a massive root network that fuels the thick, juicy pearls you see in magazines. Stop isolating the vines—integrate them!
I’ve spent many mornings leaning over the garden fence, watching my neighbors struggle with their string of pearls. They often ask why their plants look like a balding head with a few long strands of hair. It usually comes down to one thing: they treat a creeper like a curtain. Once you understand that these little green beads are designed to hug the earth, your whole approach to care changes.
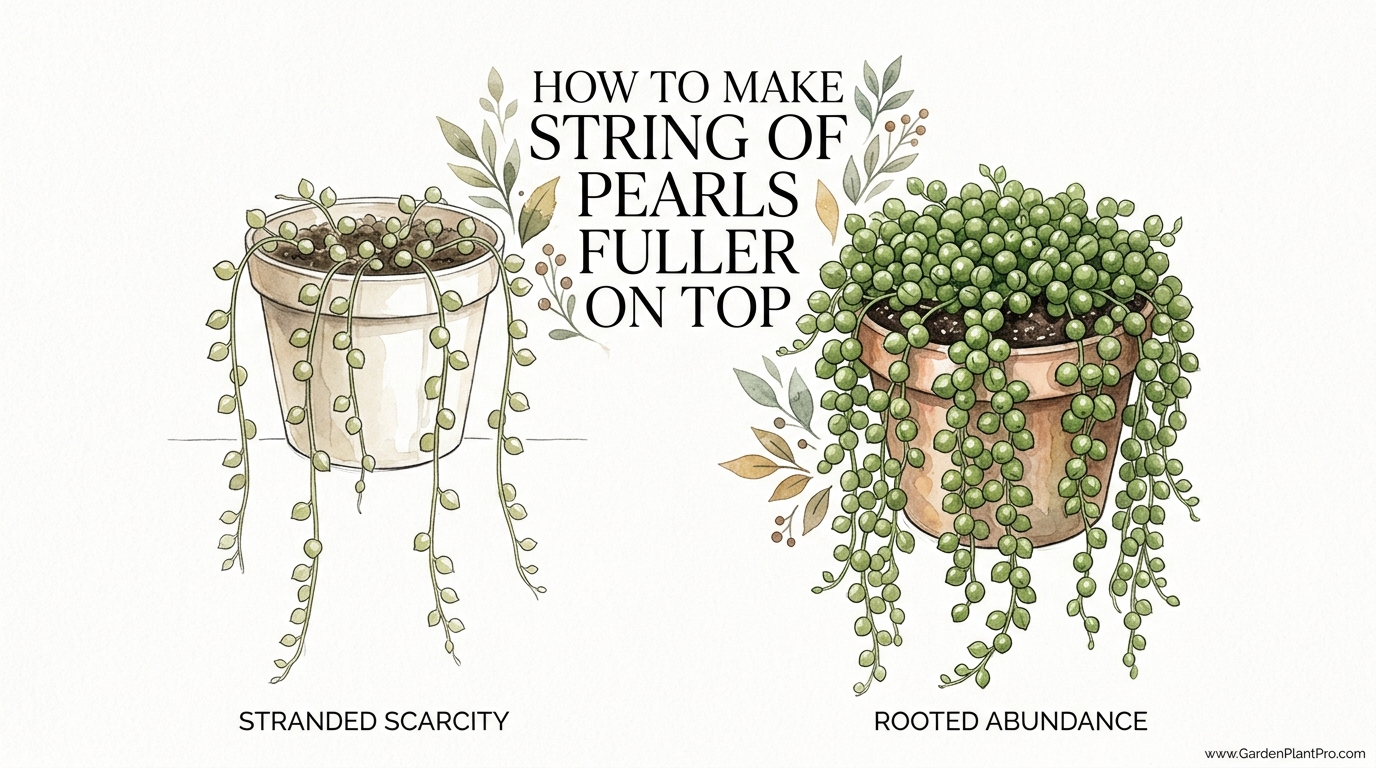
Success with a string of pearls (Curio rowleyanus) isn’t about luck or a secret fertilizer. It is about replicating the harsh, rocky environments of South Africa right in your living room. You want a plant that looks like a lush carpet before it ever starts to spill over the sides. This rooted abundance creates a resilient plant that can handle a missed watering or a sudden change in light.
How To Make String Of Pearls Fuller On Top
Making a string of pearls fuller on top requires a shift in how you view the plant’s architecture. Most gardeners buy a small pot with three or four strands and wait for them to grow long. While the strands do get longer, the soil surface remains bare, which eventually leads to a weak root system. To fix this, you must encourage the plant to utilize its natural ability to root at every node along the stem.
The “nodes” are the small points where each pearl attaches to the main vine. In their native habitat, these nodes touch the ground and sprout tiny aerial roots almost immediately. When you coil your existing strands back onto the soil surface—a technique some call “choiling”—you provide those nodes the contact they need to anchor. Every time a node roots, it sends up new vertical growth points, effectively doubling or tripling the number of vines in your pot.
Another critical factor is light exposure on the crown. Many people hang their pearls high up near a window, which means the trailing vines get plenty of light while the top of the pot sits in the shade of the container’s rim. This lack of “top-down” light causes the pearls on the surface to shrivel and die, leaving the top bald. To keep the top full, you must ensure the soil surface receives as much bright, indirect light as the trailing ends.
The Mechanics of Growth: How Surface Rooting Works
Every single pearl on your vine is a water-storage tank. These plants evolved in arid regions where rainfall is unpredictable, so they developed a spherical shape to minimize surface area and reduce evaporation. They also have a clever “epidermal window”—that little dark slit on the side of the bead—which allows light to penetrate deep into the leaf for photosynthesis even if the plant is partially buried in sand or rocks.
Understanding this biology helps you realize why contact with the soil is so beneficial. When a vine is pinned to the soil, the plant recognizes it has found a new source of nutrients and moisture. It no longer has to pump water 2 feet (60 cm) down a single thin stem. Instead, it creates a localized root system that supports the pearls in that specific area. This localized support is what allows the pearls to stay plump and “juicy” rather than looking thin and stringy.
Growth is also stimulated by pruning. When you snip the end of a vine, you remove the “apical dominance,” which is the plant’s internal signal to keep growing in one direction. Removing the tip forces the plant to push energy into the dormant buds further up the stem. This often results in two or three new vines emerging from a single cut point, quickly filling in any gaps on the soil surface.
Step-by-Step Technique for a Fuller Crown
- Gather Your Tools: You will need clean, sharp scissors, a handful of bobby pins or u-shaped floral pins, and a small amount of fresh succulent soil.
- Coil the Vines: Take your longest, healthiest strands and gently loop them back onto the top of the soil. Try to cover the bare patches of dirt.
- Pin for Contact: Use the bobby pins to lightly secure the stems against the soil. Ensure the “nodes” (where the beads meet the stem) are touching the dirt. Do not bury the pearls themselves, as this can lead to rot.
- Add a Light Top-Dress: Sprinkle a very thin layer (about 1/8 inch or 3 mm) of sand or succulent mix over the stems to help hold moisture around the new rooting points.
- Mist the Surface: While established pearls hate wet feet, new surface roots need a bit of humidity. Lightly mist the top of the soil every few days until you see new growth.
Environmental Factors and Garden Conditions
The climate inside your home plays a massive role in how quickly your pearls will fill out. These succulents prefer temperatures between 70°F and 80°F (21°C to 27°C) during their active growing season in the spring and summer. If your home is too cold, the plant will enter a semi-dormant state and won’t put energy into the new surface roots you are trying to encourage.
Airflow is the unsung hero of succulent care. In a dense pot, the pearls on top can trap moisture against the soil, creating a perfect breeding ground for fungus or rot. If you are trying to make the top fuller, you must ensure the room has good circulation. A stagnant corner will often lead to the “balding” effect because the humidity stays too high at the soil line, causing the delicate stems to turn to mush.
Lighting is non-negotiable. Aim for 1,000 to 2,000 foot-candles of light (roughly 10,000 to 20,000 lux). If you don’t have a light meter, look at the pearls. If they are spaced far apart on the stem (etiolation), they aren’t getting enough light. If they look purple or reddish, they might be getting a bit too much direct sun. A bright, east-facing window that provides gentle morning sun is usually the “goldilocks” spot for these plants.
Benefits of a Rooted and Abundant Pot
A full pot isn’t just about aesthetics; it is a survival strategy for the plant. When you have a massive network of roots across the entire surface of the soil, the plant becomes much more efficient at absorbing nutrients. This leads to faster growth rates, with some healthy plants putting on as much as 15 inches (38 cm) of new length in a single season.
Resilience is another major benefit. A plant with only one main root system is vulnerable. If that one root system gets rot, the entire plant dies. However, a plant that has been “choiled” and rooted in multiple places has backups. If one section of the pot stays too wet and develops a problem, the other rooted sections can continue to thrive and eventually regrow over the damaged area.
Propagating becomes effortless once you have a full crown. You can simply snip off a 4-inch (10 cm) section of a rooted vine and you already have a “pre-rooted” cutting. These take off much faster in new pots than fresh, unrooted cuttings. You’ll find yourself with plenty of pearls to share with friends or to start new containers around the house.
Challenges and Common Mistakes
The biggest mistake I see is “swamping” the plant. Because you are trying to encourage new roots on the surface, you might be tempted to water more often. Do not fall into this trap. Overwatering is the number one killer of string of pearls. The soil must be well-draining—ideally a 50/50 mix of potting soil and grit like pumice or perlite. If the soil stays wet for more than a few days, the shallow roots will suffocate.
Another frequent error is using a pot that is too deep. String of pearls have very shallow root systems, rarely reaching deeper than 3 or 4 inches (7-10 cm). If you put them in a deep 10-inch (25 cm) pot, the bottom half of the soil will stay wet long after the top has dried out. This creates a “wicking” effect of moisture that keeps the roots too damp for too long. Always opt for shallow “azalea” or bulb-style pots when possible.
Pests can also be a challenge in a dense crown. Mealybugs love to hide in the tight crevices between the pearls on the soil surface. They look like tiny bits of white cotton and can quickly suck the life out of your plant. Check the crown of your plant weekly. If you see any white fluff, dab it with a cotton swab dipped in rubbing alcohol immediately to stop the infestation before it spreads through the thick growth.
Limitations: When a Full Crown Is Not Ideal
While a full top is generally better, there are times when you shouldn’t push for it. If your plant is currently struggling with root rot or a pest infestation, do not try to coil the vines. Adding more density to a sick plant will only reduce airflow and make the problem worse. Focus on getting the plant healthy and the soil dry before you worry about fullness.
DIY PROJECT: Collect rainwater no matter where you live...

This DIY project is the best way to legally collect rainwater NO MATTER where you live. Get chlorine-free water, cut down on your water bills, and have enough for an emergency situation or to water your garden. Read More Here...
Seasonal timing also matters. Trying to force new surface growth in the dead of winter is often a losing battle. Most string of pearls go through a dormancy period when temperatures drop below 50°F (10°C). During this time, they want to be left alone and kept quite dry. Wait until the first signs of spring growth appear before you start pinning vines and misting the surface.
Comparison of Filling Techniques
| Technique | Pros | Cons | Ideal Situation |
|---|---|---|---|
| Coiling (Choiling) | Uses existing vines; fast results. | Temporary loss of trailing length. | Long, leggy plants with bare tops. |
| Tip Pruning | Encourages natural branching. | Takes longer to see results. | Healthy plants that need more density. |
| Butterfly Method | Creates many new growth points. | Highest risk of rot; requires skill. | Advanced gardeners with many cuttings. |
| Top-Down Lighting | Prevents future balding. | Requires specific placement/grow lights. | All plants, especially those high on shelves. |
Practical Tips for Ongoing Care
Once you have achieved a full crown, maintenance is key to keeping it that way. I always recommend bottom watering for established plants. Set the pot in a tray of water for 20 minutes and let it soak up moisture from the bottom. This keeps the crown of the plant dry, which significantly reduces the risk of rot while ensuring the deep roots get a good drink.
Rotation is your best friend. Every time you water, give the pot a quarter-turn. Plants naturally grow toward the light, a process called phototropism. If you don’t rotate, one side of the crown will become thick and lush while the side facing the room becomes sparse and weak. Even lighting ensures the entire surface remains covered with pearls.
Don’t be afraid to snip. If you see a vine that has lost its pearls or looks “woody,” cut it back to the soil line. Removing old, unproductive growth allows the plant to redirect its energy into the younger, more vibrant vines. You can always tuck a new, healthy cutting into the gap to keep the carpet looking seamless.
Advanced Considerations: Soil Biology and Micronutrients
For those who want to take their pearl-growing to the next level, look at your soil’s mineral content. In the wild, these plants grow in rocky, mineral-rich soils rather than organic “peaty” mixes. Adding a bit of horticultural charcoal or volcanic rock dust to your soil can provide trace minerals that make the pearls look more vibrant and increase the plant’s natural pest resistance.
Consider the pH of your water as well. Many municipal water sources are slightly alkaline, but succulents generally prefer a slightly acidic environment (pH 6.0 to 6.5). If your pearls are growing slowly despite perfect light and watering, try using rainwater or adding a tiny drop of apple cider vinegar to your watering can once a month. This can help unlock nutrients in the soil that were previously “locked out” by high pH.
Examples and Scenarios
Let’s look at a common scenario: you have a two-year-old string of pearls that is 3 feet (90 cm) long but only has three strands. The top of the pot is just bare dirt. If you were to take those three strands and coil them twice around the inner rim of the pot, pinning them down every 2 inches (5 cm), you would create about 30 new potential rooting points. Within a month, those nodes will start sending out new “babies.”
Another example involves using grow lights. If you live in a northern climate with grey winters, your pearls will almost certainly thin out on top. Placing a small 10-watt LED grow light just 6 inches (15 cm) above the pot for 12 hours a day can maintain that fullness through the darkest months. It mimics the intense South African sun and keeps the plant’s metabolism active enough to prevent “winter balding.”
Final Thoughts
The secret to a stunning string of pearls isn’t found in a bottle of fertilizer; it’s found in the soil contact. By respecting the plant’s heritage as a ground-creeper, you unlock a level of growth that hanging it alone can never achieve. Take those strands, pin them down, and give the crown the light it craves. You will soon see a transformation from a few sad strings to a overflowing pot of rooted abundance.
Gardening is often a lesson in patience and observation. Watch how the pearls react to your changes. If they plump up and turn a vibrant green, you know you’re on the right track. If they look dull, adjust your light or water. Every plant is a little different, and your specific home environment will dictate the fine-tuning of these rules.
Don’t be discouraged by a few lost beads along the way. Even the most experienced gardeners lose a strand here and there. The beauty of the string of pearls is its resilience once it has a strong foundation. Keep experimenting, keep pinning, and soon your neighbor will be the one leaning over the fence asking you for your secrets.