
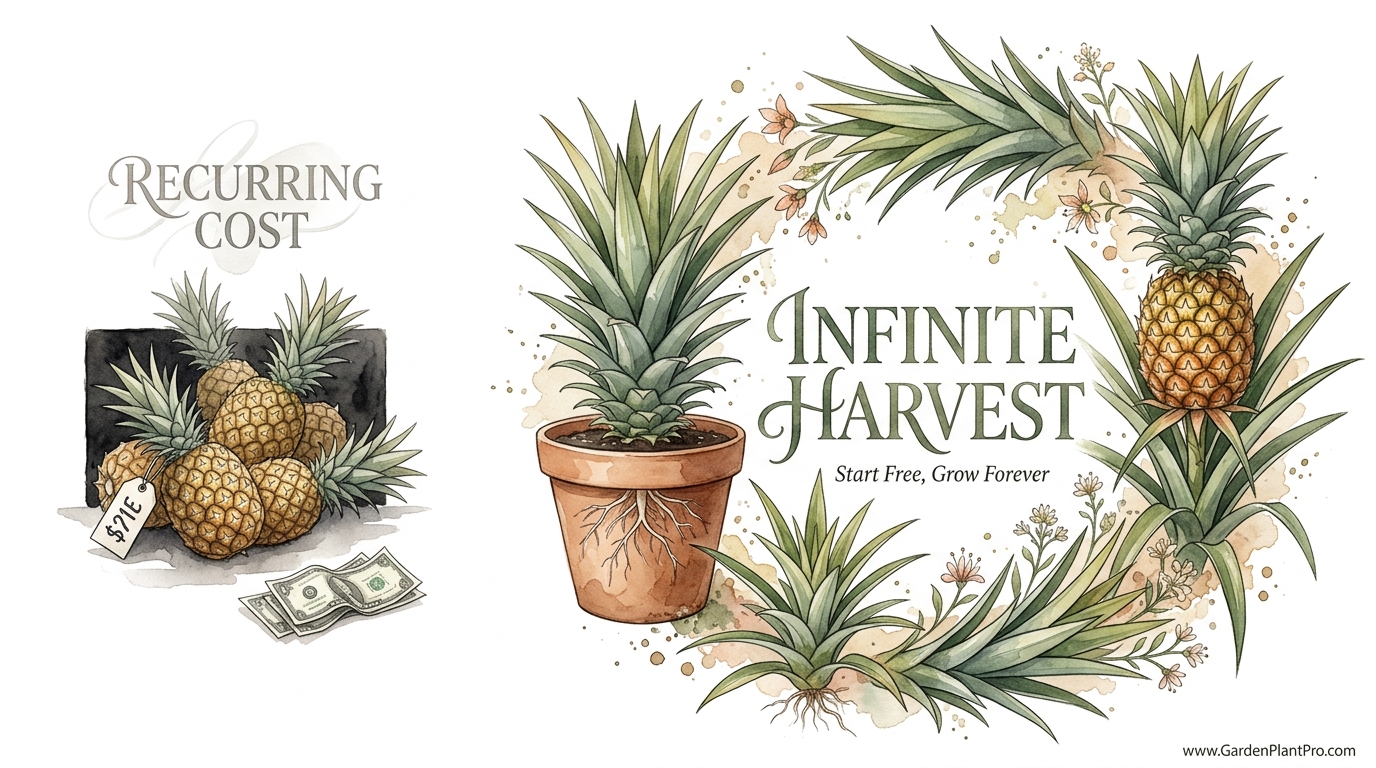
You are currently throwing away a $100 future harvest every single time you prep a fruit salad. Every time you toss a pineapple crown in the trash, you’re throwing away a free plant that can feed your family for years. We’ve been conditioned to think tropical fruit requires an expensive nursery trip, but the ‘seed’ is already in your kitchen. Here is how to turn one grocery store purchase into an infinite supply of sun-ripened gold.
I’ve spent the better part of forty years with dirt under my fingernails, and if there is one thing the garden has taught me, it’s that nature is incredibly generous if you know where to look. Most folks see a pineapple as a one-time treat, a spiky luxury that belongs on a tropical beach. But to a gardener, that prickly top is a biological miracle waiting to happen. It is a dormant powerhouse of genetic potential that costs you exactly zero dollars to “rescue” from the compost bin.
Growing your own food doesn’t always have to start with a seed packet or a trip to the big-box store. Sometimes, the best additions to your backyard come from the grocery store produce aisle. When you learn to propagate these crowns, you aren’t just growing a plant; you’re starting a cycle. In a few years, that one crown will give you a fruit, and that fruit will give you another crown—plus a handful of “pups” or suckers that can turn a single plant into a whole plantation.
In this guide, I want to walk you through the process I’ve used in my own garden for decades. We’ll talk about the mistakes I made when I first started—like letting the stem rot before it even touched the soil—and the little tricks that make all the difference, from the “twist and pull” technique to the secret of “curing” the base. Whether you’re gardening on a sunny Florida patio or a chilly windowsill in the North, you can grow a pineapple.
How To Propagate Pineapple Crowns For Free
Propagation is just a fancy word for making more plants from what you already have. With pineapples, we use a process called vegetative propagation. Unlike starting from a seed, which can be fickle and take forever, using the crown (the leafy top) gives you a head start with a mature piece of the parent plant. This means the fruit you eventually harvest will be an exact genetic clone of the delicious one you just ate.
The pineapple, or Ananas comosus, is a terrestrial bromeliad. This is important because, unlike the air plants you see hanging from trees, pineapples like their feet in the ground—or at least in a good pot of soil. They are remarkably hardy, drought-tolerant, and designed by nature to store water in their leaves. This makes them the perfect “gateway” tropical plant for anyone who thinks they don’t have a green thumb.
You can start this project any time of year, provided you have a warm, sunny spot for the plant to live. In the wild, they thrive in the humid tropics of South America, but they are surprisingly adaptable to life in a container. The key is understanding that a pineapple doesn’t just grow; it prepares. It spends the first year or two building a massive root system and a rosette of leaves before it even thinks about producing that golden fruit.
Selecting Your “Seed” Fruit
Your success starts at the grocery store. Not every pineapple top is a good candidate for growing. Look for a fruit that has a vibrant, deep green crown. If the inner leaves of the crown are brown, shriveled, or easily pull out with a gentle tug, the “heart” of the plant might already be rotting. You want a crown that looks like it could survive a week without water—stiff, healthy, and full of life.
Check the base of the leaves for any sign of tiny gray or white fuzzy spots. These are often mealybugs, the arch-nemesis of the pineapple grower. If you see them, pick a different fruit. It’s much easier to start with a clean plant than to fight a pest war in your living room six months down the line.
The Step-by-Step Preparation Process
Once you’ve got your perfect pineapple home and enjoyed the fruit, it’s time to get to work. Most people make the mistake of just cutting the top off with a knife and burying it. This is a one-way ticket to Rot City. Follow these steps instead to ensure your crown has the best chance of survival.
1. The Twist Method
Instead of reaching for the kitchen knife, grab the fruit in one hand and the leafy crown in the other. Give the crown a firm, steady twist. It should pop right out of the fruit with a small, tapered cone of stem attached. This “twist” method is superior to cutting because it leaves less fruit flesh on the base. Any sugary fruit flesh left on the crown will rot and attract pests, which can kill the developing roots before they even start.
2. Stripping the Leaves
Look at the bottom of your twisted-off crown. You’ll see a bunch of small, stunted leaves at the base. Gently peel away the bottom 1 to 2 inches (2.5 to 5 cm) of leaves. As you peel them back, you might notice some small, brown, pimple-like bumps. Those are “primordia”—baby roots that are already waiting to grow! By stripping the leaves, you’re giving those roots a clear path to reach the water or soil.
3. The “Curing” Phase
This is the secret step that most beginners skip. After stripping the leaves, place the crown on a windowsill or a dry counter for 2 to 4 days. You want the exposed stem at the bottom to “callous” over. This drying period allows the open “wounds” from the leaves to heal, which drastically reduces the risk of fungal infections or rot once you plant it. The crown won’t die; remember, these plants are built for drought.
| Step | Action | Why It Matters |
|---|---|---|
| Twist | Pop the crown off the fruit by hand. | Minimizes rotting fruit flesh on the stem. |
| Strip | Remove bottom 1 inch of leaves. | Exposes root primordia to the growing medium. |
| Cure | Air-dry for 48-72 hours. | Prevents fungal rot and stem diseases. |
Two Ways to Root Your Pineapple
Gardeners are a divided bunch when it comes to rooting. Some swear by the water method because they love seeing the roots grow, while others prefer direct-to-soil planting to avoid “transplant shock.” Both work, but your climate might dictate which one is better for you.
The Water Jar Method
This is the most popular way for beginners. Take your cured crown and suspend it in a clear jar of room-temperature water. Only the bottom 1 inch (2.5 cm) of the stem should be submerged. Avoid getting water into the “cup” of the leaves, as this can lead to crown rot. Change the water every 2 to 3 days to keep it fresh and oxygenated. Within 2 to 3 weeks, you should see white roots stretching out. Once those roots are 2 to 3 inches (5 to 7.5 cm) long, it’s time to move it to a pot.
The Direct Soil Method
If you live in a humid area, you can skip the jar. Stick the cured crown directly into a pot of well-draining soil. This method is “tough love”—it encourages the plant to establish itself in its permanent home right away. The downside is that you can’t see the roots, so you have to trust the process. A gentle tug on the crown after 4 weeks will tell you if it’s working; if there’s resistance, the roots have taken hold.
Creating the Perfect Growing Environment
Pineapples aren’t particularly demanding, but they do have a few “non-negotiables.” If you give them the right soil and light, they will reward you with steady growth. If you treat them like a standard houseplant, they might just sit there looking sad for three years.
Soil and Drainage
Pineapples hate “wet feet.” In their native habitat, they often grow in sandy, loamy soils that drain almost instantly. For a container-grown pineapple, I recommend a mix of 50% high-quality potting soil, 25% perlite, and 25% coarse sand or cactus mix. This ensures that when you water, the moisture moves through the root zone quickly. Always use a pot with a drainage hole. I’ve seen many a beautiful plant die because it was stuck in a decorative pot that held stagnant water at the bottom.
The Power of Sunlight
Sunlight is the fuel that builds the fruit. A pineapple plant needs at least 6 to 8 hours of bright light every day. If you’re growing indoors, a south-facing window is your best bet. If you live in a northern climate with dark winters, you will almost certainly need a supplemental grow light to keep the plant from going dormant. Outdoors, pineapples love full sun, though in extremely hot climates (above 95°F or 35°C), they appreciate a little bit of dappled shade during the harshest part of the afternoon.
DIY PROJECT: Collect rainwater no matter where you live...

This DIY project is the best way to legally collect rainwater NO MATTER where you live. Get chlorine-free water, cut down on your water bills, and have enough for an emergency situation or to water your garden. Read More Here...
Feeding and Watering Your Golden Harvest
A pineapple plant is a “heavy feeder,” especially when it comes to nitrogen. Think about how much energy it takes to build those thick, leathery leaves and eventually a sugar-dense fruit. You can’t just set it and forget it.
The “Cup” Watering Technique
Unlike most plants, pineapples can absorb a significant amount of water and nutrients through their leaves. In the wild, they catch rain in the central “cup” formed by their leaves. When you water, it’s okay to pour a bit directly into the center of the plant. However, during the winter or in low-light conditions, be careful—if the water sits there for too long without evaporating, it can cause the center of the plant to rot. Generally, water when the top 2 inches (5 cm) of soil feel dry to the touch.
Nutritional Needs
I like to use a balanced organic fertilizer every 6 to 8 weeks during the growing season. A 10-10-10 NPK ratio is fine, but pineapples especially love extra nitrogen. I often toss a handful of aged chicken manure or compost around the base of the plant in the spring. If the leaves start turning a pale yellow, it’s usually a sign they need more nitrogen or that the soil is too alkaline. Pineapples prefer a slightly acidic pH between 4.5 and 6.5. If your tap water is very “hard” (alkaline), try using rainwater instead.
Benefits of Growing Your Own Pineapples
Beyond the obvious thrill of a “free” plant, there are several practical reasons to turn your kitchen scraps into a garden. Once you taste a home-grown pineapple that ripened on the stalk, you’ll never want to buy one from the store again.
- Superior Flavor: Store-bought pineapples are picked green so they can survive shipping. A pineapple picked when it is 100% yellow on the plant has a sugar content and aroma that is incomparable.
- Ornamental Beauty: The architectural shape of a pineapple plant is stunning. It adds a “tropical punch” to any patio or sunroom.
- Sustainability: You are reducing waste and the carbon footprint of your food. No plastic packaging, no long-haul trucking—just sunshine and water.
- Exponential Growth: A single mother plant will eventually produce “pups” (offshoots). You can snap these off and plant them, meaning you’ll never have to buy another pineapple start as long as you live.
Challenges and Common Mistakes
I won’t sugarcoat it: growing a pineapple requires patience. The biggest challenge isn’t the difficulty of the task, but the timeline. Here are the pitfalls that catch most people off guard.
The “Wait-and-See” Trap
People often get discouraged because the plant seems to do nothing for months. It takes time for those tiny roots to establish. I’ve had neighbors throw away perfectly healthy crowns because “they didn’t grow a single leaf in three months.” Be patient. If the center of the crown is still green, the plant is working hard underground.
Overwatering
This is the number one killer. Because pineapples are “tropical,” people assume they need to be soaking wet. In reality, they are more like cacti. Saturated soil will rot the roots in a matter of days. If the bottom leaves of your plant turn mushy and brown, you’re likely watering too much. Let that soil dry out!
Temperature Shocks
Pineapples are frost-tender. Anything below 32°F (0°C) will cause immediate damage, and prolonged exposure to temperatures below 50°F (10°C) will stop growth entirely. If you live in a region with cold winters, you must have a plan to bring the plant indoors before the first frost hits. I’ve lost beautiful two-year-old plants because I thought “one more night outside won’t hurt.” It does hurt.
Advanced Considerations: Forcing a Flower
If your plant is at least two years old, has about 30 healthy leaves, and still hasn’t fruited, you can actually “trick” it into flowering. In nature, pineapples flower in response to ethylene gas—usually produced by decomposing forest matter or even forest fires.
You can replicate this at home using a simple apple. Place a ripe apple in the center of the pineapple’s leaf rosette (or place the whole pot in a large plastic bag with a couple of ripe apples) and leave it for two weeks in a shaded area. The apples release ethylene gas, which signals the plant to start its reproductive cycle. Within 2 to 3 months of this treatment, you should see a tiny, reddish-purple “button” appearing in the center. That is your future pineapple!
Integration With Other Practices
Pineapples fit beautifully into a larger gardening system. Because they are slow-growers and don’t take up much vertical space initially, I often use them as “filler” plants in my greenhouse or along the sunny borders of my vegetable garden. They also pair exceptionally well with composting systems. The high-nitrogen runoff from a compost tea is exactly what a hungry pineapple wants during its vegetative stage.
If you’re interested in sustainable gardening, think about how the “cycle of the pup” works. After the mother plant produces her one and only fruit, she will die. But before she goes, she will send out suckers from her base. This is the perfect time to learn about soil health and transplanting. Moving these pups into fresh, nutrient-rich soil is a great way to practice your potting skills and expand your garden for free.
Practical Tips for Success
- The Tug Test: Check for root health by gently tugging on the inner leaves. Resistance means healthy roots. If the leaves pull out, the plant is rotting from the center.
- Zinc Matters: If your plant’s leaves look twisted or “crooked,” it might be a zinc deficiency. A foliar spray with a trace-mineral fertilizer often fixes this overnight.
- Ant Management: Ants love the sweet sap of pineapples and will actually “farm” mealybugs on your plants. If you see ants, you likely have a pest problem starting. Control the ants to control the bugs.
- Pot Size: Start small (6 inches / 15 cm) and move up as the plant grows. A final pot size of 5 to 7 gallons (19 to 26 liters) is usually enough to support a full-sized fruit.
Examples of Growth Timelines
To give you a realistic idea of what to expect, here is a typical timeline for a crown-propagated pineapple in a temperate climate (growing outdoors in summer, indoors in winter):
- Month 1: Root establishment. No visible leaf growth.
- Months 2–6: Rapid leaf development. The plant begins to look like a spiky bush.
- Year 1: The plant reaches roughly 2 feet (60 cm) in diameter. It requires regular feeding.
- Year 2: The plant is mature (3–4 feet / 90–120 cm wide). Flowering may occur naturally in spring or can be forced.
- Month 24–30: The fruit begins to grow. It starts as a small “pinecone” and slowly expands.
- Month 30–36: Harvest! The fruit turns golden yellow and smells sweet.
Final Thoughts
Growing a pineapple from a kitchen scrap is one of the most rewarding “long-game” projects a gardener can undertake. It teaches you to slow down and appreciate the quiet, steady work that nature does every day. There is a deep sense of satisfaction in sitting down to a breakfast of fresh fruit that you literally rescued from the trash three years prior.
Don’t be afraid to fail. My first three attempts ended in a moldy mess because I didn’t let the crowns dry out properly. But once you get the hang of it, you’ll start seeing every pineapple in the grocery store as a potential new addition to your collection. It’s an addictive, low-cost way to bring a bit of the tropics into your home.
Take that crown out of the bin today. Twist it, strip it, and let it cure. In a few years, when you’re slicing into a sun-ripened, homegrown golden pineapple, you’ll realize that the best things in the garden really do come for free. If you enjoy this process, you might find yourself exploring other ways to improve your garden’s efficiency, like deep-diving into composting or mastering the art of rainwater harvesting to keep your tropical friends happy.