
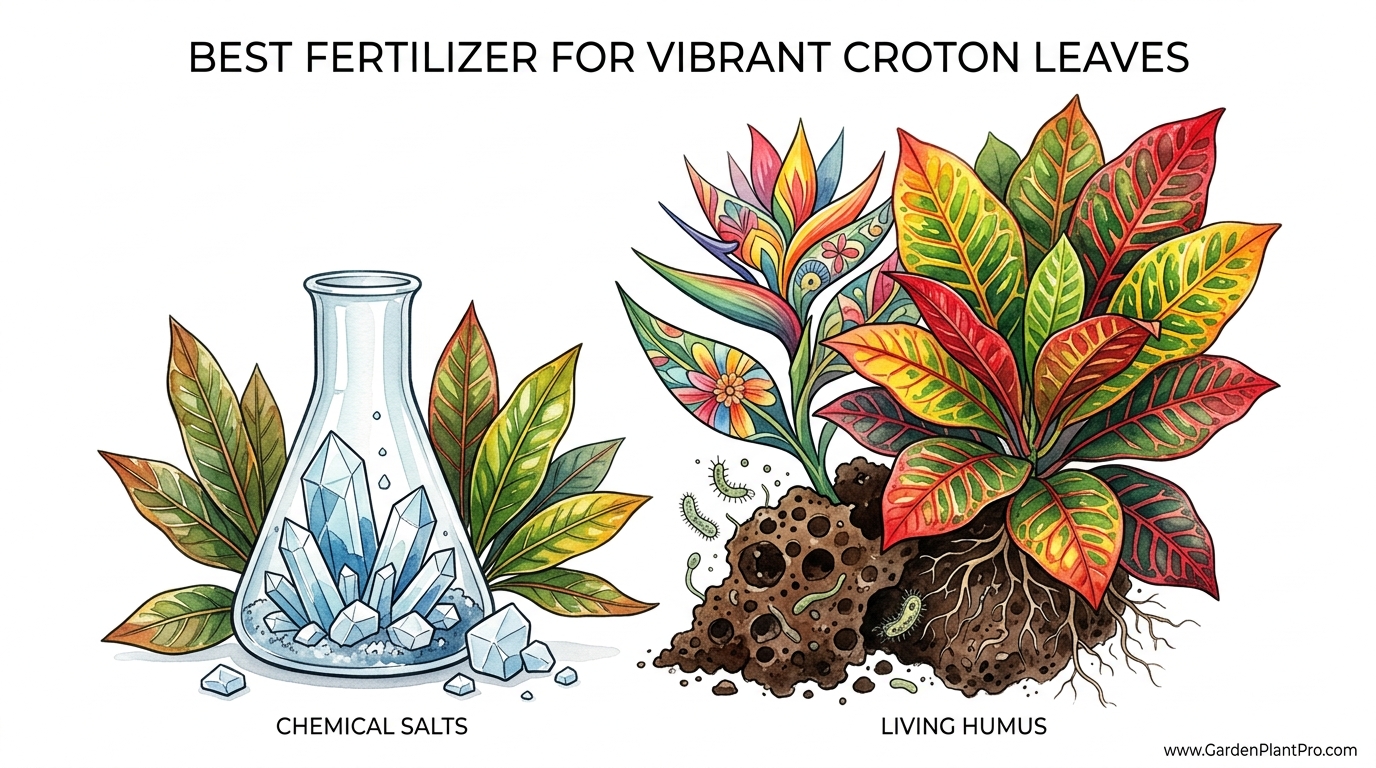
Is your expensive ‘color booster’ actually bleaching the life out of your Croton’s roots? We have been conditioned to believe that vibrancy comes from a bottle. But in the wild, the most stunning Crotons grow in ‘forest trash.’ Synthetic salts provide a quick hit but eventually starve the soil’s biology, leading to dull, faded leaves. Switch to living humus and watch your plant turn into a living sunset.
I remember sitting on my porch years ago, looking at a Petra Croton that looked like it had seen better days. The leaves were a dusty green, lacking those fiery reds and oranges that made me buy it in the first place. I did what most folks do: I went to the big-box store and bought the strongest “bloom booster” I could find. Within a week, the plant perked up, but a month later, it started dropping leaves like it was autumn in New England. That was the day I realized that feeding a plant is not the same thing as nourishing the soil.
When we talk about getting those legendary colors out of a Codiaeum variegatum, we aren’t just talking about dumping chemicals into a pot. We are talking about recreating the floor of a tropical rainforest. Out there, nobody is measuring out precise teaspoons of blue crystals. Instead, the plants thrive on a steady, slow-release diet of decaying leaves, bird droppings, and microbial activity. This “forest trash” is the living humus that makes tropical plants truly sing.
In this guide, I want to walk you through what I’ve learned over forty years of trial and error. We’ll look at why your Croton might be acting a bit shy with its colors and how the right balance of nutrients—and the right way of delivering them—can turn a “mostly green” shrub into a backyard masterpiece. Whether you are growing your Crotons in a sunny Florida garden or a cozy apartment in London, these principles of soil health and nutrient timing remain the same.
Best Fertilizer For Vibrant Croton Leaves
The best fertilizer for vibrant Croton leaves is one that balances immediate growth needs with long-term soil health, typically favoring an NPK ratio of 3-1-2 or 8-2-10. While many general-purpose fertilizers work, Crotons are “foliage-first” plants. They aren’t trying to produce massive flowers or heavy fruit; they are putting all their energy into the complex pigments—anthocyanins, carotenoids, and xanthophylls—that create those red, orange, and yellow patterns.
Nitrogen (N) is the engine of growth. It keeps the leaves large and the stems strong. However, too much nitrogen, especially from synthetic sources, can actually cause a Croton to revert to plain green. The plant gets “lazy” and produces simple chlorophyll instead of the colorful protective pigments it uses to handle bright light. This is why we look for fertilizers that don’t overdo the nitrogen but provide a healthy dose of Potassium (K).
Potassium is the secret weapon for color. It regulates the opening and closing of stomata (the plant’s breathing pores) and helps the plant manage its water pressure. A plant with plenty of potassium is a resilient plant, and a resilient Croton is much more likely to show off its “stress” colors—those reds and purples we love. Additionally, micronutrients like Magnesium and Iron are non-negotiable. Magnesium sits at the center of the chlorophyll molecule, and without it, your plant will look pale and sickly regardless of how much nitrogen you give it.
In the real world, you’ll find these nutrients in two main forms: synthetic salts and organic matter. Synthetic fertilizers are like a shot of espresso; they provide a fast hit of energy that the plant can absorb almost instantly. Living humus, on the other hand, is like a slow-cooked meal. It consists of decomposed organic matter that has been processed by fungi and bacteria. This doesn’t just feed the plant; it builds the soil structure, allowing the roots to breathe and preventing the dreaded salt buildup that often plagues container-grown Crotons.
The Role of Nitrogen (N)
Nitrogen is essential for the production of chlorophyll, the green pigment that allows plants to turn sunlight into food. For a Croton, nitrogen ensures that the “canvas” of the leaf is healthy and wide. If you see your plant’s older leaves turning yellow and falling off, it might be hungry for nitrogen. But remember, we want a steady trickle, not a flood. High-nitrogen fertilizers (like those meant for lawns) will give you a giant green plant with very little variegation.
The Power of Phosphorus (P)
While Crotons aren’t known for their flowers, they still need phosphorus for a robust root system. A plant is only as good as the roots hidden beneath the soil. In the wild, phosphorus is often cycled through the soil by mycorrhizal fungi. When we use high-salt fertilizers, we often kill these beneficial fungi, forcing us to add more and more synthetic phosphorus to compensate. By keeping the soil biology alive, you ensure the plant can “mine” its own phosphorus as needed.
The Importance of Potassium (K)
If you want those deep reds and oranges to pop, potassium is your best friend. It strengthens the cell walls and helps the plant withstand the bright, direct sunlight it needs to produce color. In my experience, a slightly higher potassium ratio—something like an 8-2-10—is the sweet spot for older, established Crotons that you want to see reach their full color potential.
How Soil Biology Drives Leaf Color
Understanding how a Croton eats is the first step to mastering its care. Unlike a human who eats a meal and then waits for the next, a plant is constantly exchanging ions with the soil around its roots. This is where the difference between chemical salts and living humus becomes critical. Imagine your soil as a sponge. Chemical fertilizers are like pouring saltwater over that sponge. It provides nutrients, but as the water evaporates, it leaves behind crusty salts that can actually “suck” water back out of the plant’s roots through osmosis.
Living humus, or high-quality organic compost, works differently. It acts as a reservoir. The organic matter holds onto nutrients and releases them slowly as the soil microbes break it down. This creates a stable environment where the pH doesn’t swing wildly. For Crotons, which prefer a slightly acidic soil pH of 5.5 to 6.5, this stability is vital. When the pH is off, the plant can’t “unlock” certain nutrients like Iron or Manganese, leading to dull, faded foliage even if those nutrients are present in the soil.
To transition your plant from a synthetic diet to a biological one, start by top-dressing your pots or garden beds with an inch (2.5 cm) of well-aged compost or leaf mold. This introduces the “forest trash” atmosphere. Over time, the worms and microbes will pull this goodness down into the root zone. You’ll notice the leaves start to feel thicker and look glossier—a sign that the plant is getting a full spectrum of minerals rather than just the “Big Three” NPK basics.
Feeding Schedules: When and How to Fertilize
Timing is everything when it comes to Crotons. Because they are tropical natives, their metabolism is tied to heat and light. If you live in a region where the days get shorter and the temperatures drop in the winter, your Croton is going to take a nap. Feeding a sleeping plant is a recipe for root rot and salt burn.
- Spring (Early Season): As soon as you see the first signs of new growth, it’s time to start. I like to begin with a half-strength dose of a liquid organic fertilizer, such as fish emulsion or seaweed extract. This “wakes up” the soil biology and provides a gentle push for those first new leaves.
- Summer (Active Growth): This is when Crotons are hungriest. If your plant is outdoors in the sun, it’s processing light at a high rate. Fertilize every 2 to 4 weeks with a balanced liquid feed, or apply a slow-release granular organic fertilizer once at the start of summer. If you are using synthetic liquids, always dilute them to half the recommended strength.
- Fall (The Slowdown): As the nights get cooler (around 50°F or 10°C), back off on the feeding. You want the plant to harden off its current growth, not produce tender new shoots that might get nipped by a stray cold front or dry out in the winter heater air.
- Winter (Dormancy): Stop fertilizing entirely unless you live in a truly tropical climate like Zone 11 or 12 where growth continues year-round. For indoor plants, the lack of light means they can’t use the fertilizer, leading to a toxic buildup in the pot.
When applying fertilizer, always water the soil first. Never put fertilizer—liquid or granular—onto bone-dry soil. The dry roots are like a thirsty sponge; they will soak up the concentrated salts too fast, which can lead to “fertilizer burn.” I always give my plants a good drink of plain water, wait an hour, and then go in with the fertilizer solution. This ensures the nutrients are distributed evenly throughout the root ball.
Benefits of an Organic Approach
Choosing living humus and organic-based fertilizers over pure synthetics offers several practical advantages that you can see with your own eyes. While synthetics might give you a bigger plant faster, organics give you a healthier plant that can survive the occasional mistake or weather shift.
First, organic fertilizers improve the soil structure. They add “glue” (humic acids) that helps the soil hold onto both water and air. Crotons hate “wet feet,” but they also hate being bone dry. A soil rich in organic matter acts as a buffer, keeping the moisture levels consistent. This reduces the stress on the plant, and a stress-free Croton is a colorful Croton.
Second, the risk of “burning” the plant is significantly lower. Organic nutrients have to be “unlocked” by soil organisms before the plant can take them up. This built-in delay prevents the nutrient spikes that cause brown leaf tips and crispy edges. You also won’t see that white, crusty salt buildup on the edges of your pots, which is a clear sign that the soil chemistry is becoming toxic.
DIY PROJECT: Collect rainwater no matter where you live...

This DIY project is the best way to legally collect rainwater NO MATTER where you live. Get chlorine-free water, cut down on your water bills, and have enough for an emergency situation or to water your garden. Read More Here...
Finally, organic feeding supports the long-term longevity of the plant. I’ve seen Crotons in old tropical gardens that are decades old, growing in nothing but leaf mulch. They have a depth of color—deep burgundies and neon yellows—that you just don’t see in pampered, over-chemicalized nursery plants. By feeding the soil, you are investing in a plant that will still be stunning ten years from now.
Challenges and Common Mistakes
The most common mistake I see neighbors make is thinking that more fertilizer equals more color. In reality, the opposite is often true. If your Croton is green and “leggy” (lots of stem between the leaves), you are likely over-fertilizing with nitrogen and under-supplying light. Fertilizer is a supplement, not a replacement for sunshine.
Another pitfall is the “Salt Trap.” This happens most often with indoor Crotons. Because we aren’t getting heavy rain to flush the pots out, the chemical salts from fertilizers build up over time. This changes the soil pH and makes it impossible for the plant to take up water. If your plant looks wilted even though the soil is wet, you probably have a salt buildup. The solution is to “leach” the soil by taking the plant to the sink or garden hose and running plain water through the pot for five minutes to wash away the excess minerals.
Lastly, don’t ignore the micronutrients. Many “cheap” fertilizers only contain Nitrogen, Phosphorus, and Potassium. A Croton needs a “multivitamin” approach. If your new leaves are coming out yellow with green veins (a condition called chlorosis), the plant is likely deficient in iron or magnesium. Look for a fertilizer that specifically lists “trace elements” or “micronutrients” on the label, or add a little bit of kelp meal to your potting mix.
When Fertilizer Isn’t the Answer
It is important to remember that fertilizer is only one piece of the puzzle. If your Croton is losing its color, the culprit is almost always light. Crotons are like solar-powered machines; they need bright, indirect light (and often some direct morning sun) to trigger the production of those vivid pigments. If you put a Croton in a dark corner, no amount of fertilizer in the world will turn it red. It will stay green to maximize what little light it has.
Environmental stress is another factor. If your plant is sitting in a drafty hallway or right next to an A/C vent, it will drop its leaves in protest. Crotons are sensitive to sudden changes. They prefer a stable, humid environment. If the air is too dry, the leaves will lose their luster and become magnets for spider mites. Before you reach for the fertilizer bottle, make sure your plant is getting at least 4 to 6 hours of bright light and that the humidity is above 40%.
| Feature | Synthetic Fertilizer | Living Humus / Organic |
|---|---|---|
| Speed | Instant (1-3 days) | Slow (1-4 weeks) |
| Soil Health | Can degrade biology over time | Builds structure and microbes |
| Risk of Burn | High (if not diluted) | Very Low |
| Micronutrients | Often missing | Naturally occurring |
Practical Tips for Best Results
If you want to see an immediate improvement in your Croton’s appearance, start by cleaning the leaves. Because they are waxy and broad, they catch a lot of dust. A dusty leaf can’t “eat” sunlight efficiently. Every few weeks, take a damp cloth and gently wipe down the leaves. It’s a simple task, but it makes a world of difference in the plant’s ability to photosynthesize and produce color.
Another “pro” tip is to use rainwater whenever possible. Tap water often contains chlorine, fluorides, and heavy minerals that can shift the soil pH and contribute to that salt buildup I mentioned. Rainwater is naturally slightly acidic and full of dissolved nitrogen—exactly what these plants evolved to drink. If you have a rain barrel, your Crotons will be your best customers.
- Mulching: Use a thin layer of pine bark or cocoa shells on top of the soil. This helps maintain the acidity that Crotons love and keeps the moisture levels even.
- The “Finger Test”: Don’t water on a schedule. Stick your finger an inch (2.5 cm) into the soil. If it feels dry, water. If it’s still moist, wait another day. Consistency is more important than quantity.
- Group Your Plants: If you have several tropicals, group them together. They will create a “microclimate” of higher humidity, which prevents leaf drop and keeps the foliage vibrant.
Advanced Considerations: Mycorrhizae and Biochar
For those of you who really want to take your gardening to the next level, let’s talk about the invisible world beneath the soil. Advanced practitioners often use mycorrhizal fungi inoculants. These are beneficial fungi that attach to the plant’s roots and extend their reach, allowing the plant to absorb nutrients and water from much further away than the roots could reach on their own. This is how “forest trash” works in the wild—it’s a massive underground network of cooperation.
Another tool is biochar. This is essentially a specialized form of charcoal that acts like a “coral reef” for soil microbes. It provides millions of tiny nooks and crannies where beneficial bacteria can live. When you mix a little biochar with your living humus, you are creating a permanent battery for your soil. It won’t break down, and it will hold onto nutrients, preventing them from washing away every time you water. This is especially helpful if you are growing Crotons in sandy soils, which are notoriously bad at holding onto nutrition.
Real-World Scenario: Reviving a Dull ‘Petra’
Let’s look at a practical example. Imagine you have a 3-foot (1-meter) tall Petra Croton in a 12-inch (30-cm) pot. It’s mostly green, with a few yellow veins, and hasn’t grown a new leaf in six months. Here is how I would fix it over the course of a season.
First, I would move it to a brighter spot—maybe an east-facing window where it gets 3 hours of direct morning sun. Next, I would “flush” the pot with three gallons (11 liters) of plain water to clear out any old salts. After a week, I would top-dress the pot with a handful of worm castings and a tablespoon of kelp meal. I would then begin a bi-weekly feeding of fish emulsion diluted to half-strength.
Within three weeks, you’d likely see a flush of new growth at the top. Because the plant is now in better light and has access to organic micronutrients, those new leaves wouldn’t just be green—they would emerge with bright yellow splotches that eventually turn to deep orange and red as they mature. By the end of the summer, the plant wouldn’t just be bigger; it would be a completely different color. That is the power of working with the plant’s biology instead of against it.
Final Thoughts
Gardening is often about unlearning the “fast and easy” shortcuts we see in commercials. While a bottle of blue liquid might provide a quick fix, the real secret to those show-stopping Croton leaves is in the soil. By focusing on living humus and a balanced, biological approach to feeding, you are giving your plant the tools it needs to thrive for the long haul.
Remember that a Croton is a storyteller. Its leaves tell you exactly what it needs. Green and leggy? It needs more light. Brown tips? Too much salt or too little humidity. Dull and stagnant? It’s time for some “forest trash” and a gentle organic feed. Once you learn to read these signs, you’ll find that growing these tropical gems is one of the most rewarding parts of the hobby.
I encourage you to experiment with your own compost mixes or to look into local sources of organic matter. Every garden is a little different, and half the fun is finding the perfect “recipe” for your specific corner of the world. If you keep your soil healthy and your light bright, your Crotons will reward you with a display that no bottle of chemicals could ever match. Happy gardening!