
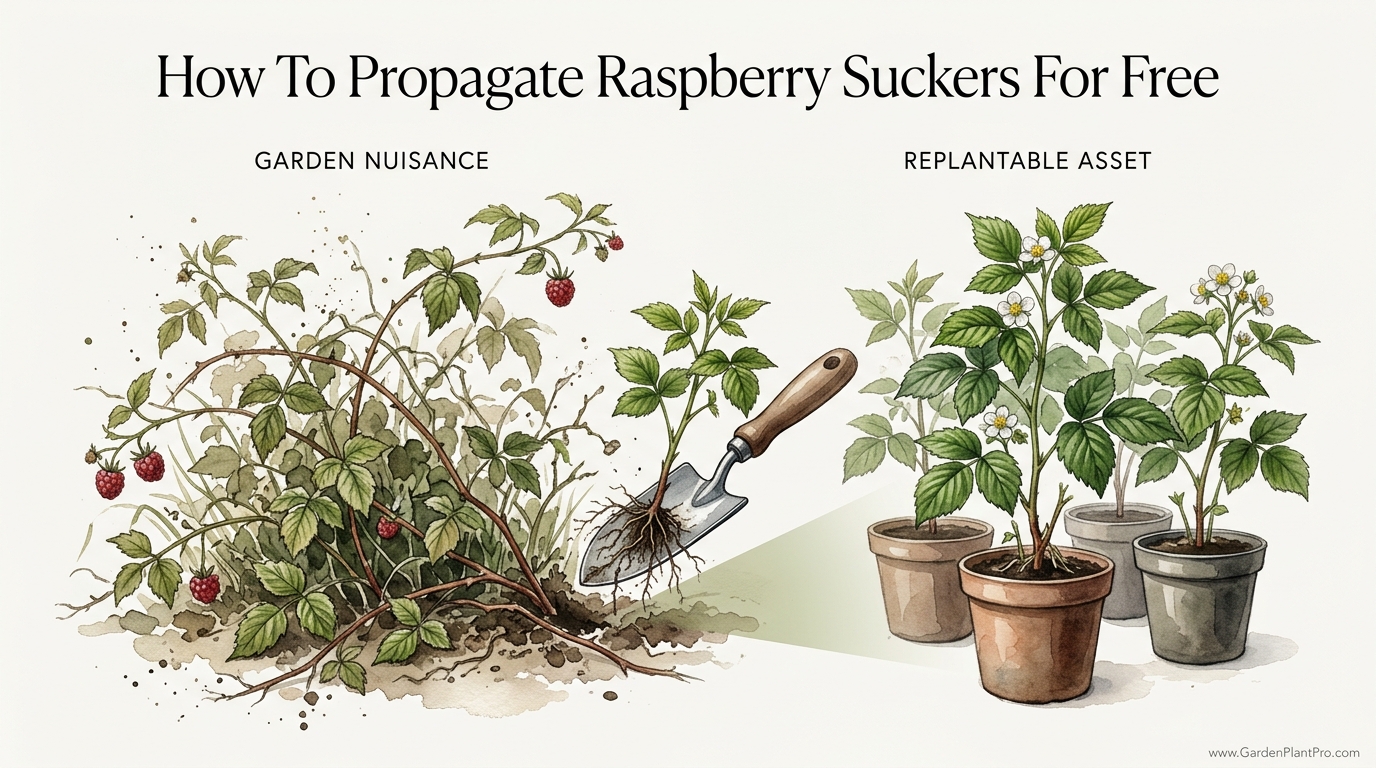
That ‘invasive’ sprout in your lawn is actually a $25 nursery plant waiting for a home. Most gardeners see a raspberry runner in their lawn and reach for the mower. But that ‘nuisance’ is actually a genetic clone of your best-producing berry bush. Understanding the ‘Asset’ mindset allows you to double your berry patch for zero dollars or trade them with neighbors for plants you don’t have yet.
Working with the soil for decades teaches you that nature rarely wastes energy. When a healthy raspberry plant sends a shoot out into the middle of your walking path, it isn’t trying to annoy you. It is attempting to expand its reach and ensure the survival of its lineage. Treating these runners as free inventory rather than weeds transforms the way you look at your garden layout.
Starting a berry patch from scratch can be an expensive endeavor. Most high-quality raspberry cultivars retail for a significant price at local nurseries. Growing your own from the “volunteers” already appearing in your yard is the most cost-effective way to build a massive, productive berry hedge. This guide will walk you through the process of identifying, digging, and successfully relocating these hidden treasures.
How To Propagate Raspberry Suckers For Free
Raspberry suckers are new shoots that emerge from the expansive, horizontal root system of an established mother plant. These shoots are genetically identical to the parent, meaning they will produce the same flavor, size, and quantity of berries. Gardeners often find these sprouts popping up several feet or meters away from the main row, sometimes appearing in lawns, flower beds, or gravel paths.
Propagating from suckers is the most common and successful method for expanding a red or yellow raspberry patch. Unlike black or purple raspberries, which often require “tip layering” to propagate, red and yellow varieties are prolific spreaders. They use underground structures called rhizomes to travel through the soil. When environmental conditions are right, a bud on that rhizome pushes upward to create a new cane.
Identifying a viable sucker is the first step in this journey. You are looking for a “primocane”—a first-year shoot that is green and flexible. The best candidates for transplanting are usually between 5 and 8 inches (12.7 to 20.3 cm) tall. At this size, the young plant has started to develop its own independent root system but is still receiving nutrients and support from the parent plant. Moving them at this stage balances the plant’s resilience with the ease of handling.
Understanding the Raspberry Root System
Appreciating how these plants grow underground helps you understand why suckering happens so aggressively. Raspberries have a shallow, wide-reaching root system. Most of the active roots live in the top 8 to 12 inches (20 to 30 cm) of soil. This is why they thrive with regular mulching and consistent moisture; they don’t have deep taproots to find water during a drought.
The horizontal roots, or runners, act like a communication network. When the parent plant is healthy and established, it sends excess energy into these runners. A single healthy plant can produce dozens of suckers in a single season. If left unchecked, these suckers create a dense thicket that becomes difficult to harvest and prone to disease due to poor airflow.
Strategic thinning of these suckers is essential for a productive patch. Rather than simply pulling them up and tossing them on the compost pile, you can harvest them. Severing the connection to the parent plant forces the sucker to become a self-sufficient individual. This is the “Asset” mindset in action—turning a maintenance chore into a propagation opportunity.
The Best Time to Move Your New Berry Assets
Timing is everything when it comes to transplant success. While you can technically move a raspberry sucker at almost any time during the growing season, certain windows offer a much higher success rate. Most experienced gardeners prefer to work with the plants during their dormant or semi-dormant stages to minimize stress.
Early spring is widely considered the gold standard for transplanting. Aim to move the suckers as soon as the soil can be worked but before the parent plants have fully leafed out. The cool temperatures and frequent spring rains provide the perfect environment for the young roots to establish themselves without having to support a heavy load of foliage. In the Northern Hemisphere, this usually falls between March and April, while in the Southern Hemisphere, it occurs around September or October.
Late fall is the second-best window. Once the harvest is finished and the leaves have begun to drop, the plant enters dormancy. Moving suckers in the fall allows them to settle into their new home over the winter. They will be ready to burst into growth the moment the soil warms up in the spring. If you choose this route, ensure you complete the move at least four to six weeks before the ground freezes solid to give the roots time to “grab” the soil.
Summer transplants are the most challenging but certainly possible. If you find a particularly beautiful sucker in July that is in the way of your lawnmower, you can move it. Success in the heat requires significant intervention. You must provide artificial shade, such as a burlap screen or a temporary “tunnel” made from a bucket with the bottom cut out, and water the plant daily for at least two weeks. Reducing the height of the cane by half also helps by lowering the amount of water the plant loses through its leaves.
Step-by-Step: Moving the Runner
Moving a raspberry sucker requires more than just a quick pull from the ground. Following a systematic approach ensures that you preserve as much of the delicate root system as possible. You want to bring a “chunk” of the plant’s world with it to its new location.
1. Preparation of the New Site
Never dig up a plant until its new home is ready. Raspberry roots are incredibly sensitive to air and light; even a few minutes of exposure can cause the fine root hairs to dry out and die. Prepare a hole that is roughly 12 inches wide and 8 inches deep (30 cm by 20 cm). Mix in a handful of well-aged compost or leaf mold to provide a nutrient boost. Fill the hole with water and let it drain completely before you go to fetch your plant.
2. Selecting and Severing
Choose a sucker that looks vibrant and pest-free. Avoid any that show signs of yellowing leaves or spotted stems. Use a sharp, clean spade to slice vertically into the ground exactly halfway between the sucker and the parent plant. This cut severs the connecting rhizome. By doing this first, you signal to the sucker that it needs to start relying on its own roots.
3. Digging the Root Ball
Position your spade about 6 inches (15 cm) away from the base of the sucker. Dig in a circle around the plant, angling the spade slightly inward. You want to lift a “plug” of soil that contains the sucker’s roots. Gently pry the plug upward. If you feel resistance, don’t yank it; use your pruners to snip any remaining woody roots that are holding it down.
4. The Immediate Move
Carry the plant—soil and all—directly to the prepared hole. If you have to move it a long distance or to a neighbor’s house, place the root ball in a bucket and cover the roots with a damp towel or a few handfuls of moist soil. Never let the roots sit in the sun.
5. Planting and Backfilling
Place the sucker in the new hole at the exact same depth it was growing previously. Planting too deep can cause the crown to rot, while planting too shallow can cause the roots to dry out. Fill the space around the root ball with loose, high-quality soil. Press down firmly with your hands to remove any air pockets, but avoid stomping on the soil, which can compact it and make it hard for new roots to penetrate.
DIY PROJECT: Collect rainwater no matter where you live...

This DIY project is the best way to legally collect rainwater NO MATTER where you live. Get chlorine-free water, cut down on your water bills, and have enough for an emergency situation or to water your garden. Read More Here...
6. Pruning for Balance
This is the step most beginners skip, but it is the most important for survival. Cut the cane back so that only 6 to 12 inches (15 to 30 cm) remain above the soil. While it feels painful to cut a healthy plant, this reduction is necessary. The damaged and moved root system cannot support a tall cane. Removing the top growth allows the plant to focus 100% of its energy on rebuilding its roots.
Essential Soil and Spacing Requirements
Success with raspberries depends heavily on where you put them. These plants are picky about their “feet.” They require soil that is rich in organic matter and, most importantly, well-drained. Raspberries are highly susceptible to Phytophthora root rot, a fungal disease that thrives in “wet feet” or waterlogged soil.
| Factor | Ideal Requirement | Why It Matters |
|---|---|---|
| Soil pH | 5.5 to 6.5 (Slightly Acidic) | Nutrient availability is highest in this range for berries. |
| Sunlight | 6 to 8+ hours of Full Sun | Maximizes fruit production and prevents fungal leaf diseases. |
| Spacing (Plants) | 2 to 3 feet (60 to 90 cm) | Allows for adequate root expansion and future suckering. |
| Spacing (Rows) | 7 to 8 feet (2.1 to 2.4 meters) | Provides room for maintenance and air circulation. |
| Soil Type | Sandy Loam | Provides the perfect balance of drainage and moisture retention. |
If you have heavy clay soil, consider planting your new suckers in raised beds. A bed raised just 6 to 10 inches (15 to 25 cm) above the ground level can provide the drainage needed to keep the roots healthy. Incorporating sand or small pea gravel into the bottom of the planting hole can also help in marginal areas.
Post-Transplant Care: The First 30 Days
The first month is the “critical care” phase for a relocated sucker. Even with the best technique, the plant has undergone a significant shock. Monitoring and intervention during this time determine whether the plant thrives or simply survives.
Watering is your primary task. The soil should be kept consistently moist, like a wrung-out sponge. During the first week, you may need to water every morning. Check the moisture level by sticking your finger an inch into the soil. If it feels dry, give it a drink. Using a soaker hose is often better than a spray nozzle, as it keeps the water at the roots and the foliage dry, reducing the risk of mildew.
Applying a thick layer of mulch is the best thing you can do for a young raspberry. Use 3 to 4 inches (7 to 10 cm) of clean straw, wood chips, or shredded leaves. Mulch does three vital jobs: it suppresses the weeds that would compete for nutrients, it keeps the soil temperature stable, and it prevents moisture from evaporating. Keep the mulch a few inches away from the actual stem of the cane to prevent rot.
Avoid the temptation to fertilize immediately. The young roots are delicate and can be “burned” by concentrated synthetic fertilizers. Wait until you see new green growth appearing from the nodes of the cane or from the base of the plant. At that point, a light top-dressing of compost or a mild organic berry fertilizer is appropriate.
Common Mistakes and How to Avoid Them
Even experienced gardeners run into trouble when moving runners. Understanding where things usually go wrong allows you to take preventative action.
Mistake 1: Moving “Spent” Canes.
Many people try to move a cane that has already fruited. In the raspberry world, canes are biennial. They grow the first year (primocanes) and fruit the second year (floricanes). Once a cane fruits, it dies. Always select the green, non-woody primocanes for transplanting. If you move a brown, woody cane that has already produced berries, it will likely die shortly after the move.
Mistake 2: Waiting Too Long to Replant.
Setting a dug-up sucker on the grass while you go to find a shovel or answer the phone is a recipe for failure. The fine feeder roots of a raspberry can die within three to five minutes of exposure to dry air. Always have your destination ready before you make the first cut.
Mistake 3: Over-Watering in Heavy Soil.
While moisture is key, drowning the plant is just as dangerous. In heavy soil, a deep hole can act like a “bucket” that holds water, rotting the roots. If your soil doesn’t drain well, don’t dig a deep hole; instead, mound the soil up and plant the sucker into the mound.
Mistake 4: Forgetting the Trellis.
Raspberries are essentially vines that think they are bushes. As your new suckers grow, they will become top-heavy. Installing a simple T-post or wire trellis system early prevents the canes from flopping over into the dirt, where the berries will rot and the plant will be more susceptible to pests.
When This May Not Be Ideal
Propagation through suckers is wonderful, but there are times when you should decline the “free” plant. The most significant concern is disease. Raspberries are prone to viral infections, such as Raspberry Mosaic Virus, which are systemic. If the parent plant is infected, every sucker it produces will also be infected.
Symptoms of a diseased plant include stunted growth, yellow mottling on the leaves, or “crumbly” fruit that falls apart when picked. If your neighbor offers you free starts from a patch that looks sickly, politely decline. It is far better to spend $25 on a certified disease-free plant from a reputable nursery than to introduce a permanent virus into your garden soil.
Furthermore, if you are working with a patented cultivar, be aware of the legalities. Some modern berry varieties are protected by plant patents, and asexual propagation (even for personal use) may technically be restricted. For most heritage and common varieties found in backyard gardens, this is rarely an issue.
Advanced Strategies: Creating a Nursery Bed
If you find yourself with dozens of suckers but you haven’t decided where the new row should go, consider a “nursery bed.” This is a small, dedicated area with perfect soil where you can “heel in” the suckers for a few months.
Planting the suckers close together (about 6 inches or 15 cm apart) in a nursery bed allows you to care for them efficiently in one spot. You can provide them with optimal shade and water while they develop a robust, independent root system. By the following fall or spring, you will have high-quality, “potted-style” starts that are much tougher and ready to be moved to their permanent home.

Do you have some charcoal in your house right now? We call charcoal a “miracle leftover” for anyone who wants to be a little more self-sufficient and cut costs. That’s because it can help you with so many different things around the house and garden. You can even use it to make an energy-free fridge. Read More Here...
This strategy is also useful if you are planning to trade plants. It is much easier to hand a friend a well-established, rooted plant in a pot than a freshly dug sucker that might wilt before they get home.
Practical Tips for Success
* The Sugar Water Trick: Some old-timers swear by watering newly transplanted suckers with a very weak solution of sugar and water (one tablespoon per gallon). The idea is that the sugar provides an immediate carbohydrate boost to the stressed plant. While the science is debated, it won’t hurt the plant and many gardeners swear it reduces wilting.
* Cloudy Day Digging: Always try to move your plants on a cloudy, overcast day or in the late evening. This reduces the immediate transpiration stress on the leaves.
* Check for Root Buds: When you lift a sucker, look for small, white “nubs” on the horizontal root. These are future suckers. If you have a root with several of these nubs, you are essentially getting three or four plants for the price of one.
* Label Everything: It is remarkably easy to forget which variety you moved. Use a permanent marker on a plastic stake to identify the cultivar and the date it was moved.
Real-World Scenario: The $200 Berry Hedge
Imagine you have a small patch of “Heritage” red raspberries. In the spring, you notice 10 suckers creeping into your flower bed and another 15 popping up in the grass. At a nursery, 25 plants would cost you roughly $500 depending on the size and source.
By spending two hours on a Saturday morning following the steps in this guide, you can move those 25 suckers to a new 50-foot (15-meter) fence line. Within two years, those “nuisances” will have filled in to create a solid hedge. By the third year, that hedge will produce enough berries for fresh eating, preserves, and freezing for the winter. This is the ultimate example of the “Asset” mindset—turning a few hours of labor into hundreds of dollars of organic produce.
Final Thoughts
Mastering the art of propagating raspberry suckers is a rite of passage for the serious backyard gardener. It marks the transition from being a consumer of garden products to being a steward of a living, self-sustaining system. These plants want to grow; they want to spread. Your job is simply to provide the guidance and the destination.
Treat every runner in your lawn as a potential gift. Whether you use them to expand your own harvest, beautify a bare fence line, or share the joy of gardening with a neighbor, these free plants are among the greatest rewards of working with the soil.
Experiment with different timings and locations. Gardening is a lifelong conversation with nature, and raspberries are particularly chatty. Listen to what they need, give them a little help during the transition, and they will reward you with bowls of sun-warmed fruit for decades to come. Don’t let that $25 plant get shredded by the mower—grab a spade and give it a new home instead.