

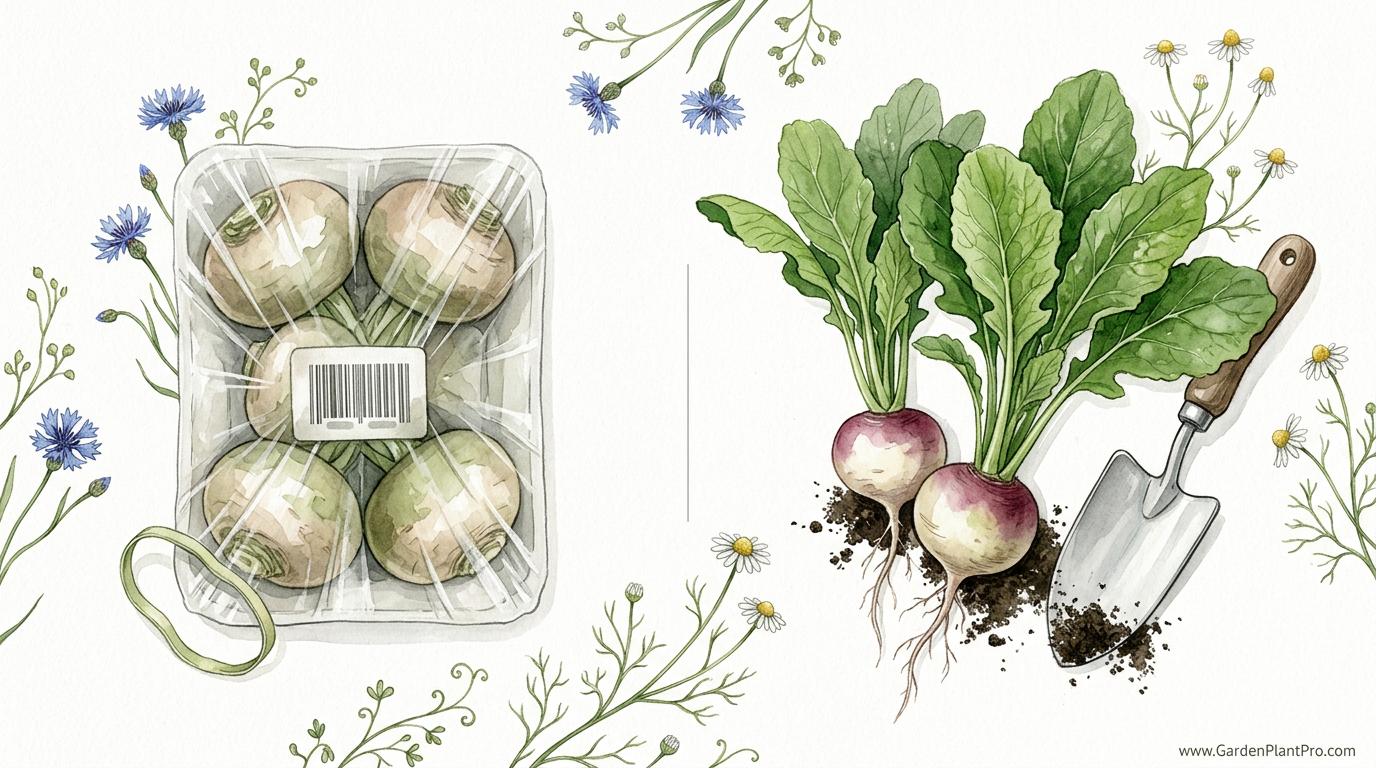
If you think turnips taste like bitter wood, you’ve probably only eaten the ones from the supermarket. The ‘standard’ turnip is often overgrown, waxed, and bitter. The ‘pro’ gardener harvests varieties like Hakurei at the size of a golf ball. These home-grown gems are so sweet and crisp you can eat them raw like an apple. It’s time to redefine what a turnip can be.
If you are like me, you spent years ignoring the turnip patch because you associated it with the tough, pungent roots of winter stews. Those old storage types have their place, but the Japanese salad turnip—often called the “Tokyo turnip”—is a different beast entirely. Imagine a vegetable that grows faster than a radish, tastes like a cross between a crisp apple and a mild water chestnut, and provides hairless, buttery greens that actually taste good.
Learning how to grow sweet salad turnips is one of the most rewarding skills for any backyard gardener. These little white globes grow in a fraction of the time it takes to produce a carrot, and they are far more forgiving of heavy soil than parsnips. Because they are meant to be eaten small and fresh, they bridge the gap between early spring radishes and the heat-loving summer crops.
How To Grow Sweet Salad Turnips
Salad turnips (Brassica rapa) are a specialized class of turnip bred for tenderness and a lack of the “mustard oil” bite found in their larger cousins. While a standard Purple Top White Globe might take 55 to 60 days to reach maturity, a salad turnip like the famous Hakurei is ready in as little as 35 to 40 days.
These plants were popularized in Japan during the 1950s as a response to severe food shortages following World War II. Breeders were tasked with creating a crop that was incredibly fast-growing, calorie-dense, and palatable enough to be eaten raw without the need for complex cooking or heavy seasoning. The result was the Hakurei, an F1 hybrid that sets the global gold standard for flavor and texture.
Today, salad turnips are used by market gardeners and home growers alike to maximize garden space. They are “short-season” crops, meaning you can tuck them into a bed while waiting for your tomatoes to go in, or use them as a quick filler in the fall after the bush beans have finished. They are particularly prized in high-end culinary circles because the entire plant is edible. Unlike common turnips, the leaves of salad varieties are smooth and hairless, making them a delicious addition to raw salads or quick stir-fries.
Popular Salad Turnip Varieties
- Hakurei: The most famous salad turnip. It produces smooth, white, globe-shaped roots with a fruity, sweet flavor. It is a hybrid, so you cannot save the seeds, but the consistency is unmatched.
- Tokyo Cross: An All-America Selections winner that is slightly larger and very disease-resistant. It grows exceptionally fast, often ready for harvest in just 30 to 35 days.
- Oasis: This variety is noted for its unique, almost melon-like sweetness. It is slightly more heat-tolerant than Hakurei, making it a good choice for late spring plantings.
- White Lady: A hybrid that stays sweet even as it gets a bit larger (up to 3 inches or 7.5 cm). It is very resistant to pithiness, which is when the center of the root becomes spongy.
- Hirosaki Red: For those who want a pop of color, this variety has bright red skin but retains the mild, sweet flesh of a traditional salad turnip.
How to Plant and Grow Salad Turnips
Growing these sweet treats successfully starts with timing and soil preparation. Because turnips are members of the brassica family, they thrive in cool weather and can become woody or “hot” if they mature during the peak of summer heat.
Soil Preparation and Environmental Factors
The ideal soil for salad turnips is a loose, well-draining sandy loam rich in organic matter. They prefer a soil pH between 6.0 and 7.0, though they can tolerate slightly more alkaline soil up to 7.5. If your soil is too acidic (below 6.0), you run a much higher risk of clubroot, a devastating soil-borne disease that causes the roots to swell and rot.
Before planting, I recommend working in 2 to 4 inches (5 to 10 cm) of well-aged compost or a low-nitrogen organic fertilizer. Avoid high-nitrogen fertilizers; too much nitrogen will give you a massive forest of green leaves but tiny, stunted roots. Look for a balanced fertilizer like a 5-10-10 or even a 5-5-5 NPK ratio.
Step-by-Step Planting Guide
- Direct Sowing: Turnips do not like their roots disturbed, so do not try to start them indoors in trays. Sow them directly into the garden as soon as the soil can be worked in the spring, or roughly 6 to 8 weeks before your first expected fall frost.
- Depth and Spacing: Sow seeds 1/4 to 1/2 inch (6 to 12 mm) deep. I like to sow them about 1 inch (2.5 cm) apart in rows that are 12 to 14 inches (30 to 35 cm) apart.
- Watering for Germination: Keep the soil consistently moist until the seeds sprout, which usually happens in 3 to 7 days. If the soil surface crusts over, the tiny seedlings might struggle to break through.
- Thinning: This is the most important step that beginners skip. Once the seedlings are about 2 inches (5 cm) tall, thin them to a final spacing of 2 to 4 inches (5 to 10 cm) apart. If they are crowded, the roots will never swell into those beautiful round globes.
Succession Planting
Because salad turnips grow so fast, you can plant a new batch every 10 to 14 days to ensure a continuous harvest. In most temperate regions, you can start your first spring planting in March or April and continue until late May. Stop planting during the hottest summer months, then resume in August or September for a fall crop. Fall-grown turnips are often the sweetest because the cooling soil temperatures encourage the plant to convert its starches into sugars.
Maintenance and Care
Once your turnips are thinned and growing, they are relatively low-maintenance, but they do have a few non-negotiable needs.
Consistent Moisture
Inconsistent watering is the primary cause of bitter or “woody” turnips. If the soil dries out completely and then gets drenched, the roots may also crack. Aim for about 1 inch (2.5 cm) of water per week. I highly recommend using a thick layer of organic mulch, such as straw or shredded leaves, to help hold moisture in the soil and keep the roots cool.
Temperature Considerations
Salad turnips are at their best when daytime temperatures stay between 50°F and 70°F (10°C to 21°C). If temperatures consistently soar above 80°F (26°C), the plants will likely bolt (go to seed). Once a turnip bolts, the root becomes tough, fibrous, and loses its sweetness. If a heatwave is predicted, you can try to buy some time by using a 30% shade cloth over the bed.
Managing Pests and Diseases
The biggest challenge in growing salad turnips isn’t the soil or the water—it’s the bugs. Since these are brassicas, they attract every pest that loves cabbage and kale.
Flea Beetles
If you see hundreds of tiny “shot holes” in your turnip leaves, you have flea beetles. These tiny black insects jump like fleas and can defoliate a young seedling overnight.
- Organic Control: The best defense is a physical barrier. Cover your turnip beds with a lightweight insect-proof mesh or floating row cover the very day you plant the seeds. Make sure the edges are pinned down tight so the beetles can’t crawl underneath.
- Sticky Traps: Yellow sticky traps placed just above the foliage can help reduce adult populations.
- Trap Cropping: Some gardeners plant a “sacrifice” crop of spicy mustard greens nearby to draw the beetles away from the sweet turnips.
Cabbage Root Maggot
These are the larvae of a small fly that lays its eggs at the base of the plant. The maggots tunnel into the roots, leaving brown, slimy tracks that ruin the harvest. Again, floating row covers are the best prevention as they stop the fly from laying eggs in the first place. If you find maggots in your crop, you must rotate your brassicas to a different part of the garden next year.
Clubroot
This is a fungus-like organism that stays in the soil for up to 20 years. It causes the roots to become grotesquely swollen and prevents the plant from taking up water.
- Prevention: Maintain a soil pH of 7.0 to 7.2 using garden lime. The pathogen thrives in acidic soil.
- Sanitation: Never move soil from an infected bed to a clean one. Clean your tools and boots thoroughly after working in an area known to have clubroot.
Benefits of Growing Salad Turnips
Why should you give up valuable garden real estate for a turnip? The benefits are practical and measurable.
Unrivaled Speed
There are very few root vegetables that can go from seed to plate in 35 days. This makes them the ultimate “gap filler” crop. If you have a space where you plan to plant peppers in June, you can easily pull a full harvest of salad turnips from that spot before the peppers are ready to go in.
Culinary Versatility
Unlike storage turnips, you do not need to peel salad turnips. Their skin is thin and tender. You can eat them whole like a radish, slice them into rounds for a charcuterie board, or grate them into a slaw. When cooked, they become buttery and silky. The greens are also a nutritional powerhouse, packed with Vitamins A, C, and K.
DIY PROJECT: Collect rainwater no matter where you live...

This DIY project is the best way to legally collect rainwater NO MATTER where you live. Get chlorine-free water, cut down on your water bills, and have enough for an emergency situation or to water your garden. Read More Here...
High Yield in Small Spaces
Because they are harvested small (about 2 inches or 5 cm in diameter), you can grow dozens of turnips in a single square foot of garden space. They are also excellent candidates for container gardening; a pot that is at least 12 inches (30 cm) deep can easily support a small cluster of salad turnips.
Challenges and Common Mistakes
Even though they are fast, salad turnips aren’t “set it and forget it” crops. Here are the pitfalls I see most often:
Letting Them Get Too Big
A salad turnip is meant to be eaten at the “golf ball” size. Once they get larger than 2.5 to 3 inches (6 to 7.5 cm), the texture begins to change. They start to become pithy and lose that signature apple-like crunch. The rule of thumb: If you’re wondering if they are ready, pull one and eat it.
Planting Too Late in Spring
Many gardeners wait until the “traditional” planting time in May to put in their turnips. By the time the plants are sizing up in June, the heat has arrived. This results in spicy, bitter roots. If you live in a warm climate, you must start your spring crop as early as humanly possible or wait for the cooling temperatures of late summer.
Inconsistent Thinning
If you leave the plants 1 inch apart, they will fight for space. The roots will be small, distorted, and the leaves will be prone to powdery mildew due to poor airflow. Give them 3 to 4 inches (7.5 to 10 cm) of breathing room for the best results.
Limitations: When This May Not Work
While I love these vegetables, they aren’t for every situation.
- Extremely Acidic Soil: If your soil pH is below 5.5 and you cannot amend it with lime, you will likely struggle with stunted growth and disease.
- High Heat Environments: If you live in a tropical climate where it never cools down, turnips may never form a sweet root. They require those cool nights to signal the plant to store sugar in the bulb.
- Poor Drainage: In heavy clay that stays waterlogged, turnip roots will rot or develop “scab,” a cosmetic but unappealing skin condition.
Salad Turnips vs. Storage Turnips
It helps to see the differences side-by-side to understand why salad turnips require a different mental approach than the ones you see in the grocery store.
| Feature | Salad Turnip (e.g., Hakurei) | Storage Turnip (e.g., Purple Top) |
|---|---|---|
| Days to Maturity | 35–45 days | 55–70 days |
| Flavor Profile | Sweet, mild, fruity | Pungent, peppery, earthy |
| Skin | Thin, edible, no peeling | Thick, often needs peeling |
| Greens | Smooth, hairless, buttery | Hairy, coarse, needs boiling |
| Best Use | Raw, quick pickles, light sauté | Roasting, stews, mashing |
Practical Tips for the Best Harvest
Over the years, I’ve picked up a few “neighborly” tricks that can make your turnip growing much more successful.
- Harvest the Greens Early: You can snip a few outer leaves from each plant when they are 4 to 6 inches (10 to 15 cm) long. Just don’t take too many, or the root won’t have enough energy to grow.
- The Ice Water Trick: If your turnip greens look wilty after harvest, submerge the whole plant (roots and all) in a bowl of ice water for 20 minutes. They will snap back to life and become incredibly crisp.
- Store Separately: As soon as you bring them into the kitchen, twist the greens off the roots. If you leave them attached, the greens will continue to draw moisture out of the root, leaving you with a shriveled turnip. Store the roots in a perforated plastic bag and the greens in a damp towel.
- Boron is Key: If your turnips have dark, hollow centers, your soil may be deficient in boron. A simple fix is adding more organic matter, but a quick foliar spray of diluted Borax (1 tablespoon per gallon of water) can help in extreme cases.
Advanced Considerations: Growing for Peak Sugar
For those who want to reach “pro” status, you need to understand the relationship between temperature and sugar. Turnips, like carrots and parsnips, are biennials. They want to store energy (sugar) in their roots to survive the winter so they can flower the following year.
When soil temperatures drop in the fall, the plant begins to produce higher concentrations of sugar as a biological “antifreeze.” If you can time your fall harvest to occur after one or two light frosts (down to about 28°F or -2°C), you will be amazed at the flavor. The roots will taste almost like candy. To protect them from a deep freeze, you can pile 6 inches (15 cm) of straw mulch over the rows, allowing you to harvest fresh turnips even into the early winter.
Example Scenario: The “Hungry Gap” Planting
Let’s look at a real-world example of how to use these in a small garden.
Suppose you live in a region where you can’t plant your tomatoes until May 15th. On March 20th, the soil is finally workable. You prepare a 4×4 foot (1.2m x 1.2m) bed with compost and sow four rows of Hakurei turnips.
By April 5th, you have thinned them to 3 inches (7.5 cm) apart. By April 25th, the greens are lush and you start harvesting baby turnips the size of marbles for your lunch salads. By May 10th, you harvest the entire crop—about 60 perfectly sized salad turnips. You clear the bed, add a fresh inch of compost, and five days later, you plant your tomato starts exactly where the turnips were. You’ve just squeezed a full, high-value harvest out of a space that would have otherwise sat empty for two months.
Final Thoughts
The humble salad turnip is a masterclass in why home gardening beats the grocery store every single time. You simply cannot find these in most supermarkets because they don’t ship well; the thin skins bruise easily and the delicate greens wilt within a day of being cut. To eat a Hakurei turnip at its peak, you have to be the one who pulled it from the earth.
If you are a beginner, treat them as a “confidence builder” crop. They grow so fast that even if you make a mistake, you can try again three weeks later. If you are an experienced gardener, use them as a tool to stretch your season and add a layer of gourmet sophistication to your kitchen.
Experiment with different varieties, play with your planting dates, and most importantly, share a few with your neighbors. Once they taste a sweet, crisp salad turnip fresh from the soil, they’ll never look at that “bitter wood” in the grocery store the same way again. Happy planting!