

Stop throwing away the most nutrient-dense part of your chard harvest. Gardeners often toss chard stalks, but they are a crunchy goldmine. Turn your ‘scraps’ into a gut-healing probiotic preserve with just salt and time.
I have spent many years leaning over the garden gate, watching neighbors harvest their Swiss chard. It is a beautiful sight when those vibrant red, yellow, and white stalks catch the light. Yet, more often than not, I see the leaves going into the basket and the stems heading straight for the compost pile. It breaks my heart a little every time. Those stems are not just structural supports for the leaves; they are packed with minerals and a unique crunch that you simply cannot find elsewhere in the garden.
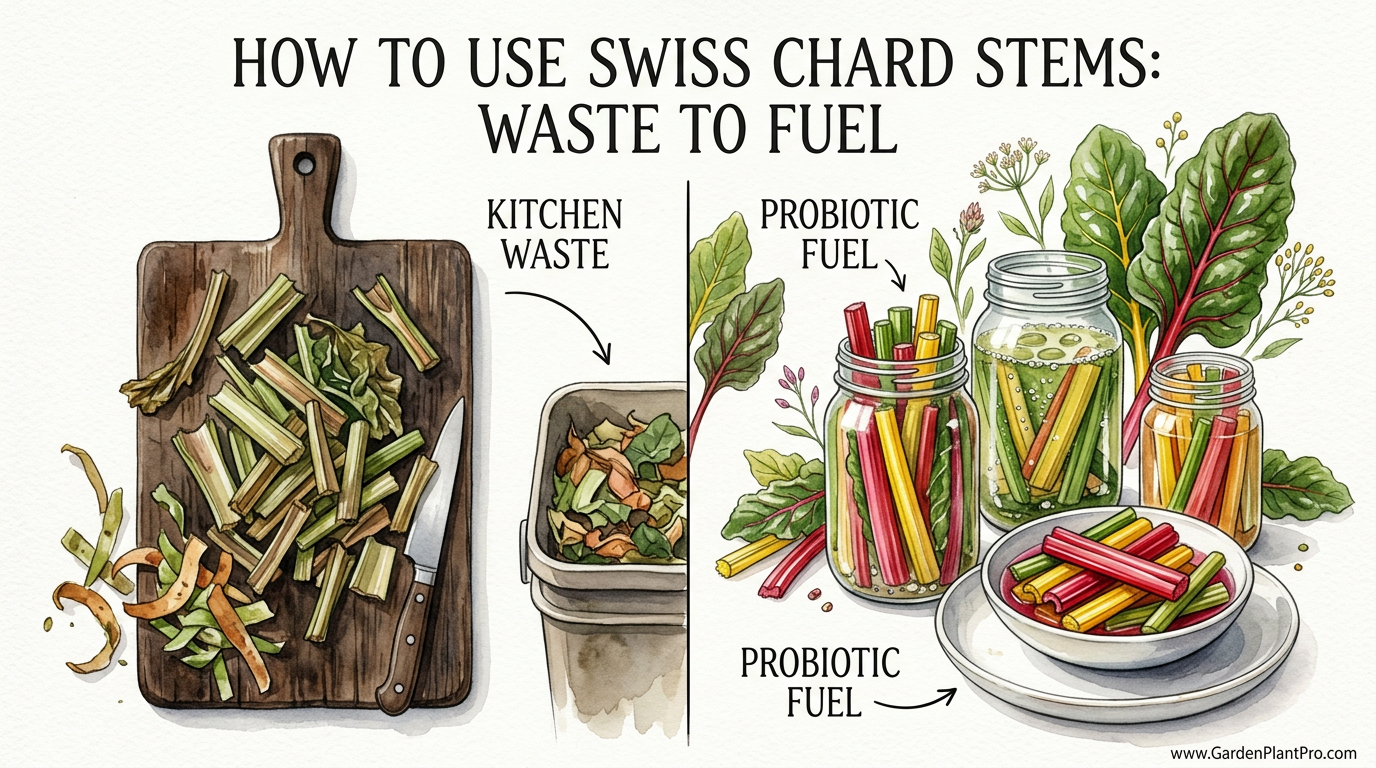
Thinking of these stalks as KITCHEN WASTE is a mistake we have been conditioned to make. In reality, they are PROBIOTIC FUEL waiting to happen. When you learn to ferment them, you are not just preserving a harvest; you are creating a living, breathing food that supports your gut health and adds a zesty, sour snap to your winter meals. It is a tradition as old as the hills, and today, I want to show you exactly how to do it right in your own kitchen.
How To Use Swiss Chard Stems
Swiss chard stems, often referred to as petioles, are the thick, succulent ribs that run from the base of the plant up through the center of the leaf. They belong to the same family as beets and spinach, which explains their earthy undertone. In the gardening world, we often categorize chard into two types: those grown for their massive, wide stalks (often called “stem chard”) and those grown for their lush, tender leaves. Regardless of the variety, the stems are entirely edible and remarkably versatile.
In most real-world situations, gardeners use these stems as a hardy vegetable that holds its shape much better than the leaves. While the greens wilt down to almost nothing in a hot pan, the stems retain a texture similar to celery or bok choy. They have a slightly salty, mineral-forward flavor that comes from the plant’s ability to pull deep nutrients from the soil. Because they are so fibrous, they are the perfect candidate for lacto-fermentation, a process that softens the tough fibers while preserving the crunch.
You can think of fermented chard stems as a “garden pickle.” They serve the same purpose on a plate as a traditional cucumber pickle or a kraut, providing a bright, acidic contrast to rich meats, starchy potatoes, or even tossed into a fresh salad. Beyond fermentation, they can be blanched and served like asparagus, roasted with olive oil and garlic, or finely diced to provide a base for soups and stews. Once you stop seeing them as scraps, your kitchen options expand significantly.
The Science of the Crunch: How Fermentation Works
Fermenting your chard stems is not about “rotting” them; it is about creating a controlled environment where beneficial bacteria can thrive. This process relies on Lactobacillus, the same friendly bacteria found in yogurt and high-quality sauerkraut. These microbes live naturally on the surface of your garden vegetables. When you submerge the stems in a salt brine, you create an anaerobic (oxygen-free) environment that kills off harmful bacteria but allows the Lactobacillus to flourish.
As these bacteria eat the natural sugars in the chard, they produce lactic acid. This acid is what “pickles” the vegetable, giving it that signature tang and preventing spoilage. The process typically happens in three distinct stages:
- Stage One (The First 3 Days): Various microbes from the soil are active. You might see some small bubbles. The salt is doing the heavy lifting here, keeping the “bad guys” at bay while the environment becomes more acidic.
- Stage Two (Days 4 to 14): Leuconostoc bacteria take over, producing a lot of carbon dioxide. This is when your jar might “burp” or bubble vigorously. The brine will start to look a little cloudy, which is a perfectly normal sign of microbial life.
- Stage Three (Day 15 and Beyond): Lactobacillus species become dominant. They produce the bulk of the lactic acid, deepening the sour flavor and fully preserving the stalks. By the end of week three or four, the stems are transformed into a probiotic powerhouse.
Step-by-Step: Fermenting Your Chard Harvest
Getting started is simpler than most people think. You do not need fancy equipment—just a clean glass jar, some non-iodized salt, and filtered water. Follow these steps to ensure a successful ferment every time.
1. Harvest and Prep
Pick your chard in the cool of the morning when the stems are at their crispest. Separate the leaves from the stalks using a sharp knife. You can use the leaves for dinner tonight and save the stalks for your ferment. Wash the stems thoroughly in cool water to remove any garden soil or hitchhiking bugs. Slice them into uniform pieces; I find that 2-inch (5 cm) lengths or long “spears” work best for packing into jars.
2. Create Your Brine
The secret to a safe and tasty ferment is the salt ratio. For chard stems, a 2.5% brine is ideal. To calculate this precisely, you can weigh your water and multiply by 0.025. In practical terms, this is roughly 1.5 to 2 tablespoons of sea salt per 1 quart (approx. 1 liter) of filtered water. Make sure to use non-iodized salt (like sea salt or Himalayan salt), as iodine can inhibit the growth of the beneficial bacteria we want.
3. Pack the Jar
Place any aromatics you like at the bottom of the jar—garlic cloves, peppercorns, or a sprig of dill are classic choices. Pack the chard stalks in tightly. You want them to be snug so they do not float to the top. Leave about 1 to 2 inches (2.5 to 5 cm) of headspace at the top of the jar.
4. Submerge and Seal
Pour your brine over the stems until they are completely covered. Crucial rule: everything must stay below the liquid. If a piece of chard is exposed to air, it can grow mold. Use a fermentation weight or even a small, clean stones inside a plastic bag to keep the stems submerged. Close the lid loosely to allow gases to escape, or use a proper fermentation airlock if you have one.
5. Wait and Taste
Store the jar at room temperature (around 65-75°F or 18-24°C), out of direct sunlight. Start tasting after 7 days. If you like a mild tang, they might be ready. If you prefer a deep, complex sourness, let them go for the full 3 to 4 weeks. Once they taste right to you, move them to the refrigerator to slow down the process.
The Practical Benefits of Keeping the Stems
Choosing to ferment your chard stalks provides more than just a tasty snack; it offers measurable health and garden benefits. When you preserve the stalks, you are essentially concentrating the nutrients that the plant worked so hard to produce all season long.
- Nutrient Bioavailability: Fermentation breaks down the tough cellular walls of the stems, making the vitamins and minerals easier for your body to absorb. This is especially true for the Vitamin K and Magnesium that chard is famous for.
- Gut Health: Every bite of these fermented stems delivers millions of live probiotics to your digestive system. This can improve digestion, boost the immune system, and even influence mood via the gut-brain axis.
- Waste Reduction: In a typical kitchen, up to 30% of a chard bunch is discarded as “waste.” By using the stems, you are maximizing your garden’s output and getting more value for every seed you plant.
- Pigment Power: If you grow rainbow or red chard, the stems contain betalains—the same antioxidants found in beets. These are powerful anti-inflammatory compounds that are preserved beautifully in a cold-ferment.
Common Pitfalls and How to Avoid Them
Even seasoned gardeners run into trouble sometimes. Fermentation is a living process, and nature occasionally throws a curveball. Here are the most frequent issues you might encounter with your chard stems.
The most common “scare” for beginners is Kahm Yeast. This is a thin, white, opaque film that forms on the surface of the brine. It is not mold, and it is not harmful. It usually happens if the environment is a bit too warm or if the brine isn’t salty enough. If you see it, simply skim it off with a clean spoon. It can sometimes affect the flavor if left too long, so keep an eye on it.
Another issue is mushiness. Chard stems should stay crunchy. If they turn soft or slimy, it is usually because the temperature was too high (above 80°F or 27°C) or the salt concentration was too low. While they aren’t necessarily dangerous to eat if they smell okay, the texture is often unpleasant. To keep them crisp, you can add a grape leaf or a black tea bag to the jar; the tannins help keep the vegetable fibers firm.
Finally, there is the “putrid” smell. A healthy ferment should smell pleasantly sour, like a good pickle. If the jar smells like rotting garbage or old gym socks, something has gone wrong and harmful bacteria have taken over. If this happens, do not taste it—simply toss the batch and start over with cleaner equipment and a fresh brine. It is rare, but it is nature’s way of telling you to try again.
Limitations and When to Skip Fermentation
While I am a huge advocate for fermenting chard, there are times when it might not be the best approach. It is important to have a balanced view of what this method can and cannot do.
DIY PROJECT: Collect rainwater no matter where you live...

This DIY project is the best way to legally collect rainwater NO MATTER where you live. Get chlorine-free water, cut down on your water bills, and have enough for an emergency situation or to water your garden. Read More Here...
If your chard has been sitting in the fridge for two weeks and the stems are already starting to go limp or show brown spots, do not ferment them. Fermentation is a preservation method, not a rescue mission. You must start with the freshest, highest-quality produce to ensure the beneficial bacteria have the upper hand from the start. Old stems are more likely to result in a failed, mushy ferment.
Additionally, those with specific health conditions, such as a high sensitivity to oxalates or histamine intolerance, should proceed with caution. Swiss chard is naturally high in oxalates, which can be an issue for people prone to kidney stones. While fermentation can reduce some anti-nutrients, it also increases histamine levels, which can cause reactions in sensitive individuals. Always listen to your body and consult a professional if you have concerns.
Comparison: Fermenting vs. Vinegar Pickling
Many folks ask me why they should bother with fermentation when they can just make a quick vinegar pickle. Both have their place in the kitchen, but they are very different animals. Here is how they stack up:
| Feature | Lacto-Fermentation | Vinegar Pickling |
|---|---|---|
| Method | Salt brine + time | Vinegar + heat (usually) |
| Probiotics | High (Live, active cultures) | None (Pasteurization kills them) |
| Flavor Profile | Complex, tangy, “funk” | Sharp, acidic, bright |
| Shelf Life | 2–6 months (Refrigerated) | 1–2 years (Canned) |
| Difficulty | Low (Set and forget) | Moderate (Boiling, sealing) |
If you are looking for PROBIOTIC FUEL, fermentation is the clear winner. However, if you want a shelf-stable product that can sit in a pantry for a year, vinegar pickling and water-bath canning are the way to go. I personally keep a jar of both—one for the health benefits and one for the long-term food security.
Practical Tips for Success
After decades of trial and error, I have picked up a few tricks that make a world of difference. Apply these to your next batch of chard stems for the best possible results.
- Use Filtered Water: Chlorine in tap water is designed to kill bacteria. Unfortunately, it doesn’t distinguish between “bad” bacteria and the “good” ones we need for fermentation. Use filtered or spring water to give your microbes a head start.
- Mind the Temperature: A steady temperature is your best friend. Fluctuations can lead to uneven fermentation. A cool, dark corner of the kitchen is usually perfect. Avoid placing jars near the stove or in direct sunlight.
- Don’t Forget the “Weights”: I cannot stress this enough—submergence is the law of fermentation. If you don’t have glass weights, a small jelly jar that fits inside your larger jar can work perfectly to hold the stems down.
- Experiment with Colors: If you use “Bright Lights” or “Rainbow” chard, the pigments will bleed into the brine, creating a stunning pink or golden liquid. This brine is incredibly healthy and can be used as a “tonic” or as a base for salad dressings once the stems are gone.
Advanced Considerations: Soil Health and Nutrient Density
For the serious practitioner, the quality of your ferment starts long before you reach the kitchen. It starts in the soil. The nutritional profile of your chard stems is a direct reflection of the minerals available in your garden beds.
Research shows that Swiss chard is an excellent “accumulator” of minerals. If your soil is rich in Potassium and Magnesium, your chard stems will be significantly more nutrient-dense. This is where composting and organic soil management pay off. Using a well-balanced compost or vermicompost increases the plant’s ability to take up nitrogen and minerals, leading to thicker, more succulent stalks that hold up better during the fermentation process.
Interestingly, the pH of your soil also plays a role. Chard prefers a slightly acidic to neutral pH (around 6.5 to 7.5). If your soil is too alkaline, the plant may struggle to take up iron and manganese, which are essential for the production of the antioxidants we want. By focusing on soil health, you are not just growing a bigger plant; you are growing a more potent form of PROBIOTIC FUEL.
Real-World Scenario: The “Winter Preservation” Plan
Imagine it is late autumn. You have a massive row of “Fordhook Giant” chard that survived the first light frost. You know the hard freeze is coming. Instead of letting those beautiful plants wither, you spend an afternoon harvesting the entire row.
You blanch and freeze the leaves for winter lasagnas and sautes. But the stems? You have enough to fill four half-gallon (2-liter) crocks. You pack one with garlic and dill, another with ginger and chili flakes, and a third with just salt and peppercorns. By the time the snow is deep on the ground in January, you have a rotating supply of crunchy, sour, mineral-rich pickles to liven up your heavy winter diet. This is how you close the loop in your garden and ensure nothing goes to waste.
Final Thoughts
Stop throwing away the most nutrient-dense part of your chard harvest. It is a simple shift in mindset, moving from a culture of disposal to one of preservation and health. By taking those colorful stems and giving them a little salt and time, you are honoring the effort the plant put into growing and the effort you put into tending the soil.
Fermenting Swiss chard stems is one of the easiest entries into the world of probiotics. It requires no specialized skills, only a bit of patience and a willingness to observe the natural world at work in a jar. Whether you are a beginner or a seasoned pro, the reward is a delicious, crunchy addition to your pantry that pays dividends for your health.
I encourage you to try a small batch with your next harvest. Don’t worry about being perfect; just get the salt right and keep the stems under the brine. You might just find that the stems become your favorite part of the plant, and you’ll never look at “garden waste” the same way again. Happy fermenting!