

The difference between a bitter, stringy stalk and a gourmet, sweet crunch is often just a piece of cardboard. Most home gardeners give up on celery because it’s too tough and bitter. The pros know the secret: blanching. Blocking out the sun for the final weeks of growth stops the bitterness before it starts.
You might have noticed that store-bought celery is often a pale, almost translucent green or yellow-white. That is not just a result of the variety; it is a deliberate choice made during the growing process. Garden-grown celery that is left to its own devices under the full summer sun develops a deep, forest-green color. While that color looks healthy, it usually signals a high concentration of chlorophyll and tannins that make the stalks woody and unpleasantly sharp to the taste.
Learning to blanch your crop is the bridge between growing “soup celery” and growing “snacking celery.” It is a simple technique that transforms the chemistry of the plant right before you pull it from the earth. I have spent decades perfecting this timing in my own backyard, and I can tell you that the extra effort pays off the moment you take that first crisp, sweet bite.
How To Blanch Celery For Better Flavor
Blanching in the garden is the practice of excluding light from the stalks of the celery plant during the final stages of its growth. This process mimics what happens naturally in a head of cabbage, where the outer leaves protect the inner heart from the sun, keeping those inner leaves tender and mild. Since celery grows in an open bunch, we have to provide that protection manually.
The primary goal is to stop photosynthesis in the lower portions of the plant. When sunlight hits the stalks, the plant produces chlorophyll to turn that light into energy. Chlorophyll is essential for growth, but it is also the source of that “green” bitterness. Reducing light exposure also slows down the development of tough lignins, which are the fibers that make celery feel like you are chewing on a piece of hemp rope.
Gardeners typically perform this task about 14 to 21 days before the intended harvest. You do not want to start too early, as the plant needs sunlight for most of its life to gain the energy required to grow thick, juicy stalks. If you wait until the stalks are about 12 inches (30 cm) tall and looking robust, you have reached the ideal window for the blanching process to begin.
Understanding the Science of the Sweet Stalk
Chlorophyll is the culprit when it comes to the aggressive flavor of wild or unblanched celery. It is the pigment that allows plants to absorb energy from light, but it comes with a chemical baggage of bitter compounds. When we deprive the stalks of light, the plant begins a process called etiolation. In this state, the plant focuses on stretching toward whatever light it can find, while the existing stalks lose their green pigment and soften.
Texture is the second major benefit of this practice. Celery stalks are technically petioles, which are the structures that connect the leaves to the stem. In full sun, these petioles become heavily reinforced with vascular bundles to support the heavy leaf canopy. Blocking the light prevents the plant from “hardening off” these stalks, resulting in a more succulent, watery, and crisp texture that snaps cleanly rather than bending or stringing.
Flavor profiles shift dramatically during these final two weeks. Unblanched celery often has a strong, almost medicinal aftertaste. Once the light is excluded, the natural sugars in the plant—which are usually masked by the bitterness—become much more apparent. This results in a “gourmet” flavor that is mild enough to be eaten raw with just a bit of salt or a dip, rather than being relegated to a slow-cooker where the bitterness can be diluted.
Traditional and Modern Blanching Methods
Gardeners have developed several ways to block the sun, ranging from old-world agricultural techniques to clever modern recycling. Each method has its own set of advantages depending on your climate and how much time you have to spend in the dirt.
The Soil Mounding Technique
Mounding soil is perhaps the oldest way to blanch celery. This method involves literally burying the stalks under a hill of earth. You start when the plants are nearly full-grown, gently pulling the stalks together and piling loose, crumbly soil around the base. Every few days, you add more soil as the plant grows, making sure to keep the leaves at the top exposed to the sun.
Using soil provides excellent insulation and keeps the stalks very cool. However, this method can be messy. Soil often finds its way into the crevices of the stalks, which means you will be doing a lot of scrubbing in the kitchen later. If your soil is heavy or prone to holding moisture, this method also increases the risk of crown rot or attracting slugs that love the dark, damp environment of the mound.
The Cardboard and Paper Wrap Method
Wrapping the stalks is my personal favorite because it keeps the plants clean. You can use thick brown paper, newspaper, or flexible pieces of cardboard. Simply gather the stalks into a tight bunch, wrap the material around them, and secure it with a piece of garden twine or a loose rubber band. Ensure the wrap extends from the soil line up to just below the leaf line.
Cardboard is particularly effective because it is heavy enough to block 100% of the light. Newspaper works well too, but you may need to use several layers to ensure no light leaks through. This method allows for better airflow than soil mounding, which helps prevent the stalks from becoming slimy in humid weather.
Repurposed Cartons and Plastic Tubes
Modern gardeners often use half-gallon milk or juice cartons with the tops and bottoms cut off. These square tubes can be slid right over the young celery plants. As the plant grows, it fills out the carton, which holds the stalks together and keeps them perfectly shaded. This is a great way to recycle household waste while protecting your garden.
PVC pipes or black plastic drainage tubes are also popular in some circles. If you use plastic, you must be careful about heat. In very hot climates, plastic can act like a solar oven, cooking the stalks instead of blanching them. If you go this route, ensure there is plenty of space for air to circulate at the bottom.
Self-Blanching Varieties vs. Manual Blanching
Not every gardener wants to spend their weekends wrapping cardboard around vegetables. This led to the development of self-blanching varieties. These plants are bred to have naturally pale stalks that contain less chlorophyll from the start.
| Feature | Traditional (Trench) Celery | Self-Blanching Celery |
|---|---|---|
| Color | Deep Green (unless blanched) | Pale Green to Yellow-White |
| Flavor | Strong, can be bitter | Mild, sweet |
| Maintenance | High (requires manual blanching) | Low (plant and grow) |
| Storage | Excellent; very hardy | Moderate; stalks are more delicate |
Self-blanching types like “Golden Self-Blanching” or “Tango” are fantastic for beginners. They are often planted in blocks rather than rows. Planting them close together—about 6 to 8 inches (15 to 20 cm) apart—allows the foliage of neighboring plants to shade the stalks of the ones next to them. While this is easier, many old-timers will tell you that the flavor of a manually blanched “Tall Utah” or other traditional trench variety is far superior and much crunchier.
Step-By-Step: The Perfect Cardboard Blanch
If you decide to go with the manual wrap method, following a specific sequence will ensure you don’t damage the plant. Preparation is key to avoiding rot and ensuring a uniform color.
- Step 1: Clean the base. Remove any small, spindly outer stalks that are already yellowing or laying on the ground. These won’t ever become part of the main bunch and will only rot under the wrap.
- Step 2: Dry the plants. Never wrap your celery while it is wet from morning dew or a recent rain. Trapping moisture against the stalks is an invitation for fungal diseases.
- Step 3: Bundle the stalks. Gently gather the stalks into a vertical column. You can use a soft piece of twine to hold them loosely in place before you apply the wrap.
- Step 4: Apply the shield. Wrap your cardboard or paper around the stalks. It should be snug enough to stay up but loose enough that you could still fit a finger between the stalks and the cardboard.
- Step 5: Secure and wait. Tie the wrap at the top and bottom. Check on the plants once a week to make sure no pests have moved in and that the plant hasn’t grown so much that it is being strangled by the twine.
Common Mistakes and Pitfalls
One of the most frequent errors I see is starting the blanching process too early. If you cover the stalks when the plant is only 6 inches (15 cm) tall, you will stunt its growth. The plant needs its green stalks to process sunlight and build the massive root system required for those thick ribs we all love. Always wait until the plant is at least 12 inches (30 cm) tall or roughly three weeks before your expected harvest date.
DIY PROJECT: Collect rainwater no matter where you live...

This DIY project is the best way to legally collect rainwater NO MATTER where you live. Get chlorine-free water, cut down on your water bills, and have enough for an emergency situation or to water your garden. Read More Here...
Another common mistake is wrapping the plants too tightly. Celery stalks need a little bit of “breathing room” to expand. If the wrap is too tight, it can cause the inner heart of the celery to crush against itself, leading to “blackheart”—a physiological disorder where the center of the plant turns dark and dies due to a lack of calcium movement and airflow.
Failing to monitor for slugs is the third major pitfall. Slugs view a cardboard-wrapped celery plant as a five-star hotel. It is dark, moist, and made of food. If you live in a damp climate, it is a good idea to sprinkle some organic slug bait around the base of the plants before you put the wraps on. I have seen entire crops ruined in a week because a family of slugs moved in under the cardboard and went to town on the tender, blanched stalks.
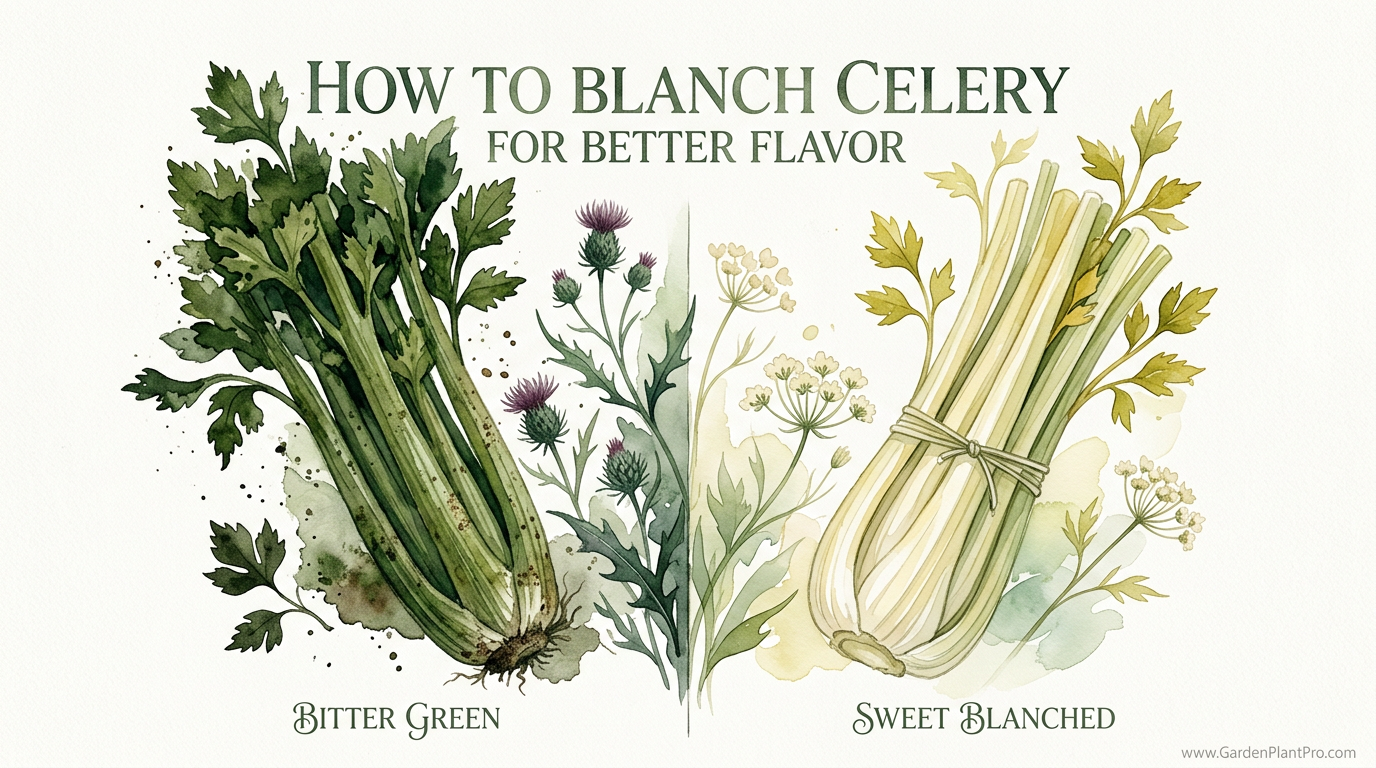
Nutritional Trade-offs: Bitter Green vs. Sweet Blanch
It is important to acknowledge that when we blanch celery, we are technically making it slightly less nutritious. Chlorophyll itself isn’t a nutrient humans digest for much value, but the process of blocking light also reduces the levels of Vitamin A (beta-carotene) and certain antioxidants that the plant produces in response to UV light. Dark green stalks have a higher concentration of these beneficial compounds.
However, gardening is often a balance between nutrition and palatability. If the celery is so bitter that your family won’t eat it, its high Vitamin A content doesn’t matter much. By blanching, you are creating a vegetable that will actually be enjoyed raw in salads or as a snack. Even blanched celery remains an excellent source of fiber, Vitamin K, and potassium, so you aren’t losing the most important parts of the plant’s profile.
When Blanching Might Not Be Necessary
Sometimes, the environment does the work for you. If you are growing celery in a very high-density block or in a part of the garden that naturally receives dappled shade in the afternoon, the bitterness may be naturally lower. In cooler climates, celery often grows slower and develops a milder flavor than in areas with scorching hot summers.
If you are only planning to use your celery for stews, stocks, and mirepoix, you can probably skip the blanching altogether. The long cooking process and the presence of other aromatic vegetables like carrots and onions will neutralize the bitterness. Blanching is truly an “aesthetic and fresh-eating” technique. If you want those beautiful, pale stalks for a crudité platter, then it is a mandatory step.
Practical Tips for Best Results
Maintaining a consistent watering schedule is the secret to great celery, blanched or not. Celery is a marsh plant by origin; it loves “wet feet.” If the soil dries out during the blanching period, the plant will become stressed. Stressed plants produce more bitter compounds as a defense mechanism, which can override the benefits of your blanching efforts.
Mulching around the base of your wraps is another pro tip. Using straw or dried leaves around the bottom of your cardboard collars helps keep the soil moisture even and provides a secondary barrier against light leaking in from the bottom. This also keeps the soil from splashing up into the wraps during heavy rain.
If you find that your blanched celery is still a bit tough, try peeling the very outer stalks with a vegetable peeler. This removes the “strings”—the vascular bundles—and leaves you with the tender, juicy flesh underneath. Many gourmet chefs do this even with the best blanched celery to ensure a perfectly smooth texture.
Advanced Considerations: The Trench Method
For those who want to go truly old-school, the trench method is the gold standard. This involves digging a trench about 12 inches (30 cm) deep before planting. You plant your celery at the bottom of the trench and, as it grows, you gradually fill the trench back in with soil. By the time the plant reaches the top of the trench, the majority of the stalks have been underground for their entire life.
This method produces the whitest, most tender celery possible. It also provides a massive amount of moisture to the roots, which are deep in the cool earth. The downside is the sheer amount of labor involved and the potential for the stalks to get very dirty. However, if you are a serious practitioner looking to win a ribbon at the local fair or simply want the most authentic “Victorian” celery experience, the trench is the way to go.
Scenario: The Late Summer Heatwave
Imagine it is mid-August, and you have just started blanching your “Tall Utah” celery. A heatwave hits with temperatures climbing over 90°F (32°C). In this scenario, your blanching wraps can actually become a liability. The heat trapped inside the cardboard can cause the plant to “bolt” or go to seed, which makes the stalks instantly woody and hollow.
If a heatwave is forecasted, you might want to switch from cardboard to a lighter, more breathable material like white paper or even a light-colored burlap. This will still block the majority of the UV rays but will allow heat to escape. You should also increase your watering to twice a day. Keeping the roots cool is the best way to prevent the plant from bolting while it is under the blanching wrap.
Final Thoughts
Mastering the art of blanching is what separates the casual gardener from the true vegetable enthusiast. It is a process that requires patience and a bit of manual labor, but the result is a crop that rivals anything found in a high-end organic market. Whether you choose the traditional soil mounding or the modern cardboard wrap, the key is consistency and timing.
Experiment with different methods to see which works best in your specific garden environment. You might find that soil mounding works beautifully in your sandy soil, or that cardboard wraps are the only way to keep the slugs at bay in your rainy climate. Gardening is a lifelong lesson in observation, and celery is one of the most rewarding teachers you will ever find in the dirt.
Don’t be discouraged if your first attempt isn’t perfect. Even a partially blanched stalk is a massive improvement over a fully green one. Once you taste that sweet, crunch-filled success, you will never go back to unblanched celery again. It is the simple difference between a bitter green stalk and a piece of garden gold.