

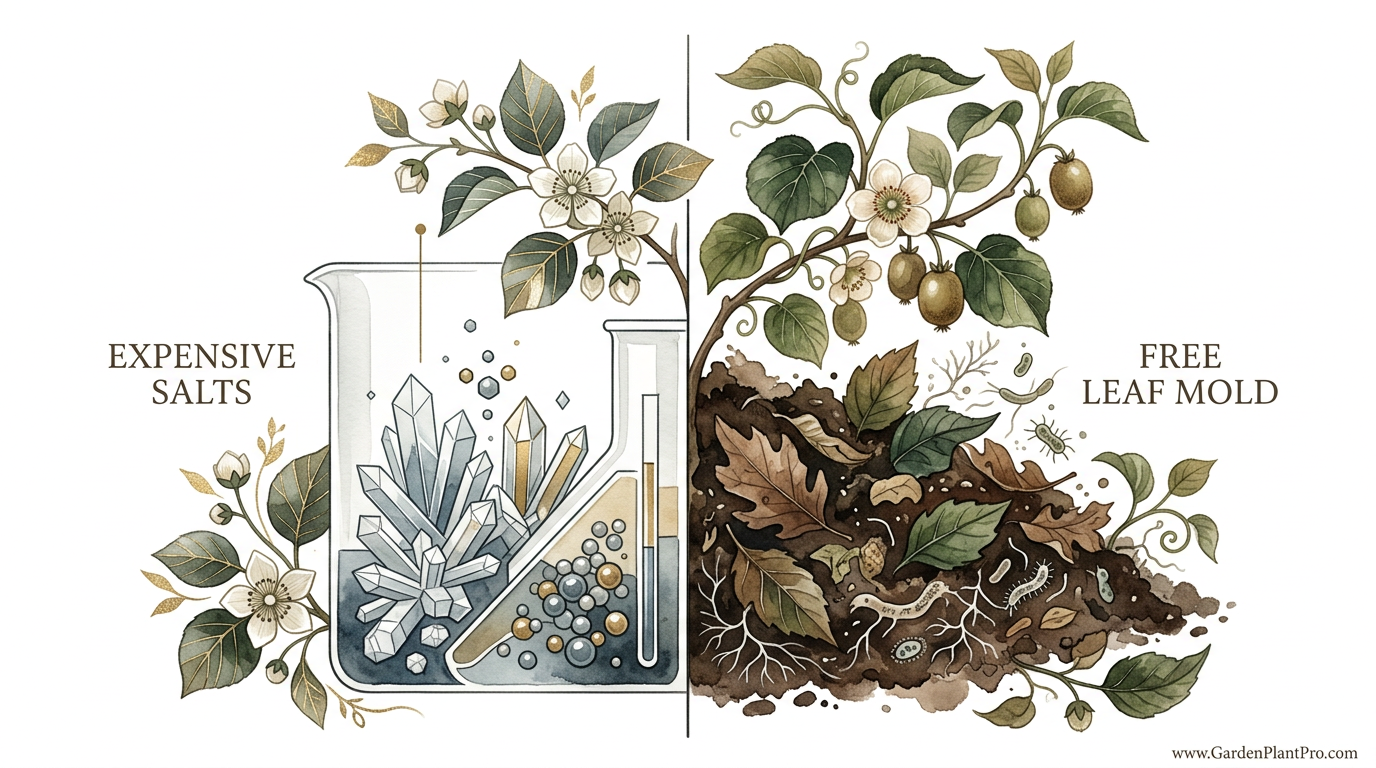
Stop paying for chemicals when the best kiwi food is currently sitting in your yard for free. Stop buying expensive fruit boosters. Kiwi vines evolved in forest margins and they crave leaf mold, not lab-made salts. Here is how to feed them for free.
I have spent the better part of forty years watching kiwi vines swallow up garden trellises. If there is one thing I have learned, it is that these plants are not as complicated as the glossy store-bought fertilizer bags want you to believe. A kiwi vine is basically a jungle plant that lost its way and ended up in our backyards. In the wild, they do not get pampered with precision-engineered pellets; they thrive on the slow, cool decay of the forest floor.
Most folks make the mistake of treating a kiwi vine like a lawn, throwing down heavy synthetic nitrogen and wondering why the leaves look burnt or the fruit tastes bland. When you feed them those “expensive salts,” you are often just forcing a growth spurt that the plant’s roots cannot actually support. Instead, if you look at how they grow in their native habitat, you will see they prefer a steady, humble diet of organic matter. Understanding this shift in perspective is the secret to a vine that produces buckets of fruit without costing you a dime in chemicals.
Best Fertilizer For Kiwi Plants
The best fertilizer for kiwi plants is not a single product you can buy in a bottle, but rather a combination of high-nitrogen organic matter and a thick layer of well-rotted leaf mold. If you must use a commercial product, a balanced organic citrus or avocado fertilizer often works well because it mimics the slightly acidic environment kiwis love. However, for those of us who prefer the “fence-post” method of gardening, nothing beats a 10 cm (4 inch) deep mulch of composted leaves and aged manure.
Kiwi vines are exceptionally hungry for nitrogen (N), especially during the first few years of growth and then again once they reach full maturity. A mature vine can easily consume 0.5 kg (about 1 pound) of actual nitrogen per year. If you are using synthetic salts like urea or ammonium nitrate, you risk flash-burning the shallow, sensitive root system. Organic sources, such as blood meal, composted chicken manure, or even a thick layer of grass clippings (provided they are herbicide-free), provide that nitrogen at a pace the plant can actually handle.
Beyond nitrogen, kiwis have a specific “sweet tooth” for potassium. This is the element that drives fruit size and sugar content. In the gardening world, we often see people obsessed with the green growth, but they forget that without potassium, those kiwis will stay small and hard. Using wood ash in very small amounts or seaweed extracts can provide this boost without shifting the soil pH too far out of the vine’s comfort zone.
How the Forest Floor Method Works
Nature has a very efficient system for feeding vines that most modern gardeners have forgotten. In a forest, leaves fall, they rot, and they turn into a spongy, nutrient-rich layer called leaf mold. This process does three things perfectly: it regulates moisture, provides a steady drip of nutrients, and keeps the soil pH slightly acidic, which is exactly where kiwis want to be (ideally between 5.5 and 6.5 pH).
To replicate this, you should start by creating a “feeding zone” around the base of your vine. Since kiwi roots are famously shallow—often sitting just below the surface—you should never dig fertilizer into the soil. Instead, you lay the food on top. This is the essence of “top-dressing.” When you pile on 5 cm (2 inches) of compost followed by a layer of leaves, the earthworms and microbes do the heavy lifting for you, pulling those nutrients down to the roots without you ever having to lift a spade.
Timing is everything when you are working with the seasons. In early spring, just as the buds begin to swell, you want to apply your heaviest nitrogen layer. This mimics the spring thaw in the forest when the previous year’s leaf drop starts to break down rapidly. Later in the summer, you switch your focus to maintaining moisture and providing light doses of potassium to help the developing fruit. It is a slow-motion dance with the weather, but once you get the rhythm, the vine becomes almost self-sustaining.
Step-by-Step Organic Feeding Routine
- Early Spring (Bud Break): Apply a 5 cm (2 inch) layer of aged compost or well-rotted manure in a 1-meter (3-foot) circle around the base.
- Late Spring (Post-Flowering): Supplement with a liquid organic feed, such as compost tea or diluted seaweed extract, to support fruit set.
- Mid-Summer: Add a fresh layer of mulch (straw, wood chips, or more leaves) to keep the roots cool and moist during the heat.
- Late Autumn: Stop all nitrogen feeding to allow the vine to harden off for winter. This prevents tender new growth from being killed by early frosts.
Benefits of Ditching the Lab-Made Salts
The first thing you will notice when you stop using synthetic fertilizers is the health of your soil. Chemical salts can eventually kill off the beneficial fungi (mycorrhizae) that kiwi roots rely on for water absorption. By using leaf mold and compost, you are building a living ecosystem under your vine. This makes the plant much more resilient to drought because the organic matter acts like a giant sponge, holding onto water that would otherwise drain away.
Fruit quality is the second major benefit. Kiwis fed on a diet of “free” yard waste often have a more complex flavor and higher sugar levels than those pushed by high-intensity chemicals. Excessive synthetic nitrogen often results in “watery” fruit that does not store well. Organic feeding encourages a slower, denser fruit development, which means your harvest will stay firm and delicious in the fridge for months instead of weeks.
Cost is the most obvious advantage. A bag of high-quality organic fertilizer can cost $30 or more, and for a large arbor, you might need several. Leaves are free. Grass clippings are free. Coffee grounds—which are a great nitrogen source and slightly acidic—are usually free if you ask at a local shop. Gardening shouldn’t be a hobby that drains your wallet when the best ingredients are literally falling from the trees every autumn.
Common Mistakes and Pitfalls
One of the biggest mistakes I see neighbors make is “The Nitrogen Burn.” They get excited in the spring, dump a bucket of high-N lawn fertilizer at the base of the vine, and by July, the leaf edges are brown and crispy. This isn’t a disease; it is salt burn. Kiwi roots are very sensitive to salinity. If you see the edges of the leaves turning brown while the rest of the leaf stays green, stop fertilizing immediately and flush the soil with deep, slow watering.
Another frequent error is ignoring the pH. If your soil is too alkaline (above 7.0 pH), the vine can be sitting in a pile of nutrients but unable to “eat” them. This leads to iron chlorosis, where the leaves turn bright yellow but the veins stay dark green. People often think the plant is hungry and add more fertilizer, which only makes the problem worse. Before you feed, check your pH. If it’s too high, a little bit of elemental sulfur or even just more acidic organic matter like pine needles can help bring it back into range.
Over-feeding in late summer is a silent killer in colder climates. If you give a kiwi vine a heavy dose of nitrogen in August or September, it will start pushing out soft, green shoots. These shoots won’t have time to “bark over” before the first freeze. One good frost will kill that new growth and can sometimes lead to crown rot that kills the entire vine. The rule of thumb is: no nitrogen after the Fourth of July in the Northern Hemisphere (or early January in the Southern Hemisphere).
Limitations of the Organic Approach
While I am a firm believer in the forest-floor method, it is not a magic wand. Organic fertilizers are slow. If your vine is currently dying from an extreme nitrogen deficiency, leaf mold won’t save it today. It takes time for soil microbes to break down organic matter into a form the plant can use. In cases of severe deficiency, you might need a “bridge” fertilizer—a liquid organic spray that can be absorbed through the leaves for a quick fix while the soil recovers.
Space and aesthetics can also be a limitation. Not everyone wants a 10 cm (4 inch) deep pile of rotting leaves and manure in their backyard. If you are growing kiwis in a formal garden or a small patio space, the “messy” look of a forest-margin ecosystem might not fit your style. In these cases, you have to be much more careful with organic pellets or liquid feeds to ensure you aren’t starving the plant while trying to keep the garden looking tidy.
Comparing Fertilizer Types
| Feature | Synthetic Salts (NPK 10-10-10) | Organic Compost / Leaf Mold |
|---|---|---|
| Cost | High (Ongoing expense) | Zero to Low (Free yard waste) |
| Nutrient Release | Fast (Risk of root burn) | Slow (Sustainable growth) |
| Soil Health | Can degrade soil over time | Builds soil structure and life |
| Fruit Quality | Can produce “watery” fruit | High sugar and better storage |
| Application | Precise but easy to overdo | Bulkier but much safer |
Practical Tips for Better Harvests
If you want to maximize your yield, you should pay attention to how you water after you feed. Because kiwi roots are so close to the surface, they dry out incredibly fast. Always water your vine deeply after applying any fertilizer. This helps move the nutrients into the root zone and prevents the “salts” from concentrating in one spot and causing damage. A thirsty vine cannot transport nutrients, no matter how much food is in the soil.
Keep your feeding ring wide. As a vine grows, its root system expands outward, usually reaching slightly past the “drip line” of the leaves. If you only put fertilizer at the very base of the trunk, you are missing most of the “feeder roots.” For a mature vine, your feeding circle should be at least 1.5 to 2 meters (5 to 6 feet) wide. Think of it like a giant dinner plate rather than a small bowl.
Don’t forget the micronutrients. Every couple of years, it is a good idea to sprinkle a small amount of kelp meal or rock dust around the base. These don’t provide much nitrogen, but they are packed with minerals like zinc, boron, and manganese. Kiwis are surprisingly sensitive to boron levels; too little and you get poor fruit set, too much and you can poison the plant. Using organic sources like kelp is the safest way to keep these in balance without needing a chemistry degree.
DIY PROJECT: Collect rainwater no matter where you live...

This DIY project is the best way to legally collect rainwater NO MATTER where you live. Get chlorine-free water, cut down on your water bills, and have enough for an emergency situation or to water your garden. Read More Here...
Advanced Considerations for Serious Growers
For those looking to really push the limits of their kiwi production, you should start looking at “fertigation” or the use of foliar sprays. Foliar feeding involves spraying a very weak solution of nutrients directly onto the leaves. This is most effective in the early morning before the sun gets too hot. It is a fantastic way to deliver a quick boost of magnesium or iron if you see signs of yellowing between the veins, bypassing the soil altogether if your pH is currently off.
Scaling up your organic matter is also a consideration. If you have a long row of kiwis, you might find that you cannot produce enough compost on your own. In this case, looking into “cover cropping” between your rows can be a game changer. Planting nitrogen-fixing legumes like clover or vetch in the autumn and then mowing them down in the spring provides a massive, free nitrogen boost. It is like growing your own fertilizer right under the vines.
Understand the difference between “Hardy Kiwi” (Actinidia arguta) and “Fuzzy Kiwi” (Actinidia deliciosa). Hardy kiwis are often a bit more resilient and can handle slightly less fertile soil, but they respond just as well to the leaf-mold method. Fuzzy kiwis are the true gluttons of the garden; they will take all the compost you can give them and ask for more. Adjust your quantities based on the vigor of the specific variety you are growing.
Example: The “Free Feed” Scenario
Let’s look at a real-world example of how to feed a 5-year-old “Hayward” fuzzy kiwi vine. This vine is now a teenager—it’s big, aggressive, and ready to produce a massive crop. Instead of buying a $25 bag of fruit-tree fertilizer, you can follow this plan:
In March, you gather four large buckets of “black gold” (compost) from your backyard bin and spread it 5 cm (2 inches) thick around the vine. In April, you take your first lawn mowings of the year—making sure they haven’t been treated with weed-killer—and layer them on top of the compost. This adds a fresh hit of nitrogen. By June, the vine is flowering. You take a bucket of water, drop in a handful of seaweed you found at the beach (or a cheap bottle of extract), and drench the root zone. Total cost? Usually $0. The result is a vine that stays deep green all summer and produces fruit that is twice as sweet as the supermarket variety.
Final Thoughts
Growing kiwis doesn’t have to be a battle with the chemistry set. These plants are built for a simple, rugged life on the edge of the woods. When we stop trying to force them with lab-made salts and start respecting their need for cool, damp, organic-rich soil, the plants respond with incredible vigor. It is about working with the biology of the vine rather than against it.
Spend your time on building your soil health and your mulch layers rather than shopping for the latest “miracle” fruit booster. A handful of well-rotted leaves and a bit of patience will always outperform a handful of chemicals in the long run. Once you see the earthworms thriving under your kiwi arbor, you will know you’ve finally got the recipe right. Go ahead and start your compost pile today; your vines will thank you for it next spring.