
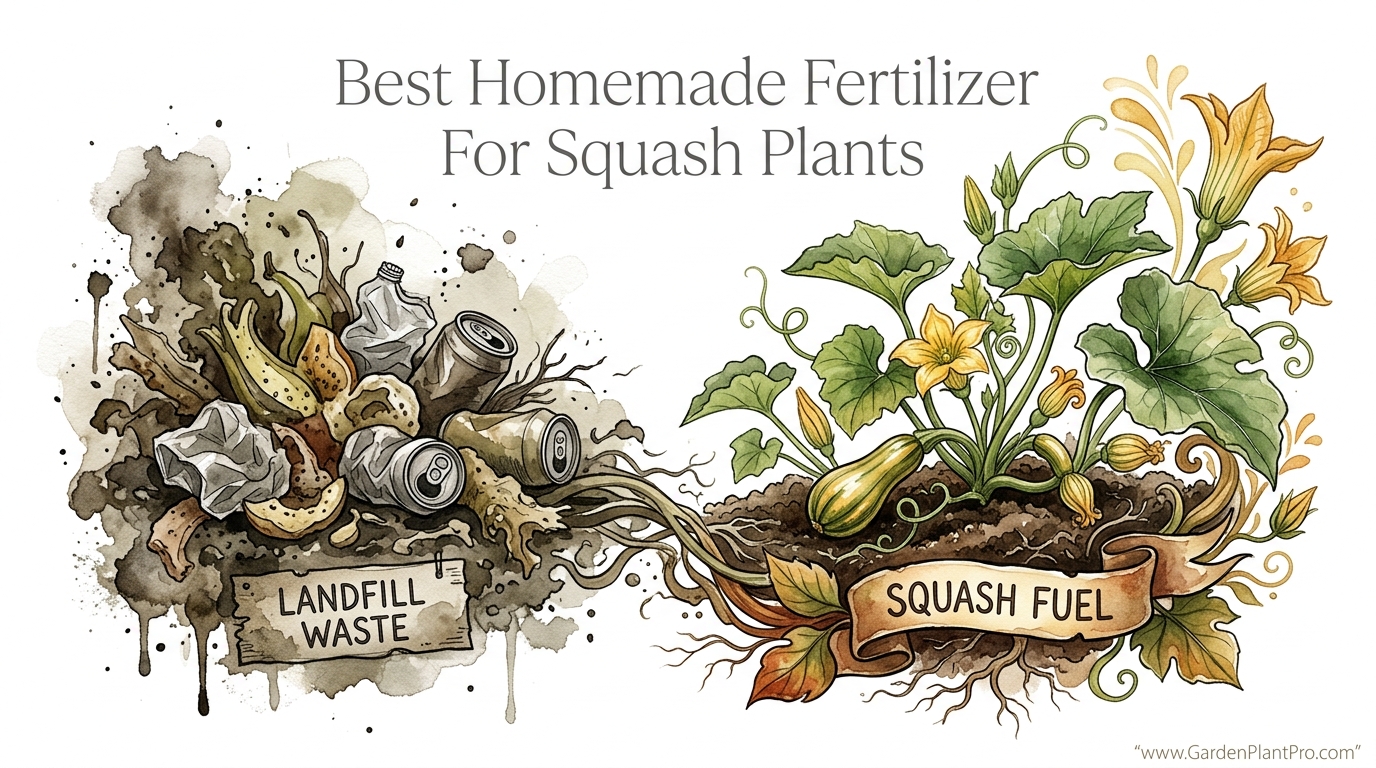
That ‘garbage’ in your kitchen bin is actually the high-octane fuel your squash needs to explode in size. Most gardeners pay to have their best resources hauled away in a garbage truck. Learn how to transform your daily kitchen waste into the nutrient-dense fuel that produces massive, trophy-sized squash.
Feeding your garden doesn’t have to mean a trip to the big-box store for a bag of synthetic blue crystals. Some of the most potent nutrients are currently sitting in your scrap bucket, waiting to be unlocked. Your squash plants are particularly well-suited for this kind of home-brewed nutrition because they are famously heavy feeders with massive root systems.
Think of your kitchen as a mini-fertilizer factory. Every banana peel, eggshell, and coffee ground contains specific minerals that help build strong vines and heavy fruit. Instead of letting these riches end up in a landfill, you can cycle them directly into your soil to build long-term fertility.
Best Homemade Fertilizer For Squash Plants
The best homemade fertilizer for squash is a “closed-loop” organic blend made from nitrogen-rich green scraps and mineral-dense shells. Squash varieties, whether they are summer zucchinis or winter pumpkins, require high levels of nitrogen for leaf growth and significant amounts of potassium and phosphorus for fruit production. Kitchen waste provides these nutrients in a slow-release format that mimics how nature feeds plants in the wild.
This approach exists because squash plants have an incredible appetite that can quickly deplete standard garden soil. Using homemade fuel ensures that the soil remains biologically active and rich in organic matter. Gardeners use this method in backyard plots, raised beds, and even large-scale market gardens to reduce costs and improve the flavor of the harvest.
Think of your squash plant like a high-performance engine. It needs a steady stream of energy to produce those massive leaves and heavy fruits. Scraps like potato skins, carrot tops, and even old tea leaves provide the complex carbohydrates and micronutrients that synthetic fertilizers often skip.
How to Turn Your Kitchen Bin into Squash Fuel
Transforming your waste into fuel requires a few simple techniques to ensure the nutrients are available to the plant when needed. You can choose between “trenching,” which is a slow-digestion method, or “liquid tea,” which acts as an immediate pick-me-up for struggling vines. Both methods have their place in a productive garden.
Trench composting is perhaps the most effective way to prep a squash bed. Dig a hole roughly 30 cm to 45 cm (12 to 18 inches) deep in the spot where you plan to plant your squash. Fill the bottom 15 cm (6 inches) with a mix of fruit and vegetable scraps, then cover it back up with soil.
Liquid “scrap tea” is better for plants that are already growing. Place a mix of banana peels and coffee grounds into a 20-liter (5-gallon) bucket and fill it with water. Let this mixture sit for 3 to 5 days, stirring it once a day to help the nutrients leach into the liquid.
Applying this liquid is easy once it has steeped. Strain out the solids and dilute the tea with water at a ratio of one part tea to five parts water. Pour this directly onto the soil at the base of the plant every two weeks to keep the vines vigorous.
Benefits of Using Kitchen Waste for Squash
One of the primary advantages of this method is the incredible improvement in soil structure over time. Unlike chemical salts that can eventually kill off soil life, kitchen scraps encourage earthworms and beneficial microbes to move in. These tiny workers tunnel through the dirt, creating air pockets that help squash roots breathe and expand.
You also save a significant amount of money over a single growing season. Commercial organic fertilizers can be expensive, especially for heavy feeders like butternut squash or pumpkins. Using your own waste eliminates the cost of inputs and the carbon footprint of transporting heavy bags of soil amendments.
Nutrient diversity is another massive plus for the home gardener. Most store-bought fertilizers focus on N-P-K (Nitrogen, Phosphorus, and Potassium) but leave out the trace minerals. Kitchen scraps provide a buffet of micronutrients like magnesium, sulfur, and calcium, which are essential for preventing common issues like blossom end rot.
Challenges and Common Mistakes
Burying fresh scraps too shallowly is a mistake that many beginners make. If the waste is only a few inches under the surface, it can attract raccoons, dogs, or rodents who will dig up your garden to get to the “treats.” Always ensure you have at least 15 cm to 20 cm (6 to 8 inches) of soil covering your buried scraps to mask the scent.
Another common pitfall is using too much “green” material without enough “brown” material nearby. Fresh kitchen waste is high in nitrogen, and as it breaks down, microbes need carbon to do their work. If the balance is off, the process can smell like rot rather than earth. Adding some shredded cardboard or dried leaves into your trench can help balance the chemistry.
Avoid putting meat, dairy, or oily foods into your squash fuel mix. These items take much longer to break down and are the primary cause of foul odors and unwanted pests. Stick to plant-based scraps and eggshells to keep your garden smelling fresh and your plants healthy.
Limitations of Kitchen Scraps
Patience is a requirement when you rely on raw kitchen waste. While liquid teas work quickly, buried scraps can take several months to fully decompose into usable humus. If you have extremely poor soil, you might not see the full benefit until the following growing season.
Environmental conditions also play a role in how well this method works. In very cold climates, soil microbes go dormant, and decomposition stops entirely during the winter. Gardeners in these regions need to trench their scraps in late summer or early autumn so the material has time to break down before the ground freezes.
Quantity can be a limitation for those with very large gardens. A few banana peels won’t feed a dozen pumpkin plants through an entire summer. In these cases, you may need to supplement your kitchen waste with other organic materials like grass clippings or aged manure to meet the high nutrient demands of the crop.
DIY PROJECT: Collect rainwater no matter where you live...

This DIY project is the best way to legally collect rainwater NO MATTER where you live. Get chlorine-free water, cut down on your water bills, and have enough for an emergency situation or to water your garden. Read More Here...
Comparison of Kitchen Fuel vs. Commercial Fertilizer
| Feature | Kitchen Waste Fuel | Commercial Synthetic |
|---|---|---|
| Cost | Zero / Free | High ($20-$50 per season) |
| Nutrient Release | Slow and Steady | Rapid and Temporary |
| Soil Health | Improves microbes & structure | Can degrade soil life over time |
| Ease of Use | Requires digging or steeping | Shake and water |
Practical Tips for Success
Start collecting your eggshells weeks before you plant your squash. Crush them into a fine powder using a blender or a rolling pin. This increases the surface area, allowing the soil’s acidity to break down the calcium much faster, which helps protect your zucchini from blossom end rot later in the season.
Coffee grounds are a fantastic addition, but use them sparingly. While they are a great source of nitrogen, they can be slightly acidic. If your soil pH is already low, mixing too many grounds into one spot can stress the plants. A good rule of thumb is to spread them out thinly or mix them with crushed eggshells to neutralize the acidity.
Rotate your “fueling spots” every year. If you buried a heavy load of scraps in one bed this year, move your squash to a different spot next year. This prevents the buildup of pests or diseases that might target specific types of decaying matter and ensures your whole garden gets a turn at being enriched.
Advanced Considerations for Serious Growers
Understanding the carbon-to-nitrogen ratio can take your squash game to the next level. When you add high-nitrogen scraps like fruit peels, try to balance them with a small amount of high-carbon “browns” like shredded brown paper bags. This balance prevents “nitrogen tie-up,” where microbes steal nitrogen from the plants to help them digest the woodier materials in the soil.
Temperature monitoring is another advanced trick. Microbial activity peaks when the soil temperature is between 20°C and 30°C (68°F to 86°F). If you apply your liquid scrap tea during a cold snap, the plants won’t be able to take up the nutrients as effectively. Wait for a warm, sunny morning to water your vines with your homemade brew.
Serious practitioners often use a “blender method” for immediate results. Instead of waiting for a tea to steep, they blend kitchen scraps with water into a thick slurry and pour it into a shallow trench a few inches away from the plant roots. This mechanical breakdown makes the nutrients bioavailable almost instantly, though it requires more frequent application.
Squash Success Scenario
Imagine you are growing a giant Atlantic Pumpkin. This plant can grow up to 15 cm (6 inches) a day during its peak. A standard fertilizer routine might leave the soil empty after just a few weeks of this rapid expansion.
A gardener using kitchen waste might bury 10 kg (22 lbs) of scraps in a wide circle around the planting site in early spring. As the pumpkin’s massive root system expands outward, it hits these pockets of rich, decomposing organic matter right when it needs the energy to set fruit.
By mid-summer, the gardener supplements this with a weekly dose of banana peel tea. The high potassium in the tea supports the heavy fruit, while the buried scraps continue to provide the nitrogen needed to maintain the massive leaf canopy. This combination of slow and fast-release “garbage fuel” results in a much larger harvest than synthetic fertilizers alone could produce.
Final Thoughts
Transforming your kitchen waste into squash fuel is one of the most rewarding shifts you can make in your gardening routine. It connects your indoor habits to your outdoor success, creating a cycle of growth that benefits both the planet and your dinner table. You will find that the plants grown in this living soil are often more resilient to pests and drought.
Experiment with different scraps and see how your plants respond. Every garden has its own unique soil chemistry, and your “garbage” might be the exact missing piece of the puzzle. Over time, you will develop a sense for what your squash needs just by looking at the color of the leaves and the vigor of the vines.
The next time you go to toss a handful of vegetable peels into the trash, remember the massive squash waiting in your garden. Those scraps are the building blocks of your next great harvest. Start small, bury deep, and watch as your kitchen waste turns into the best fertilizer you’ve ever used.