
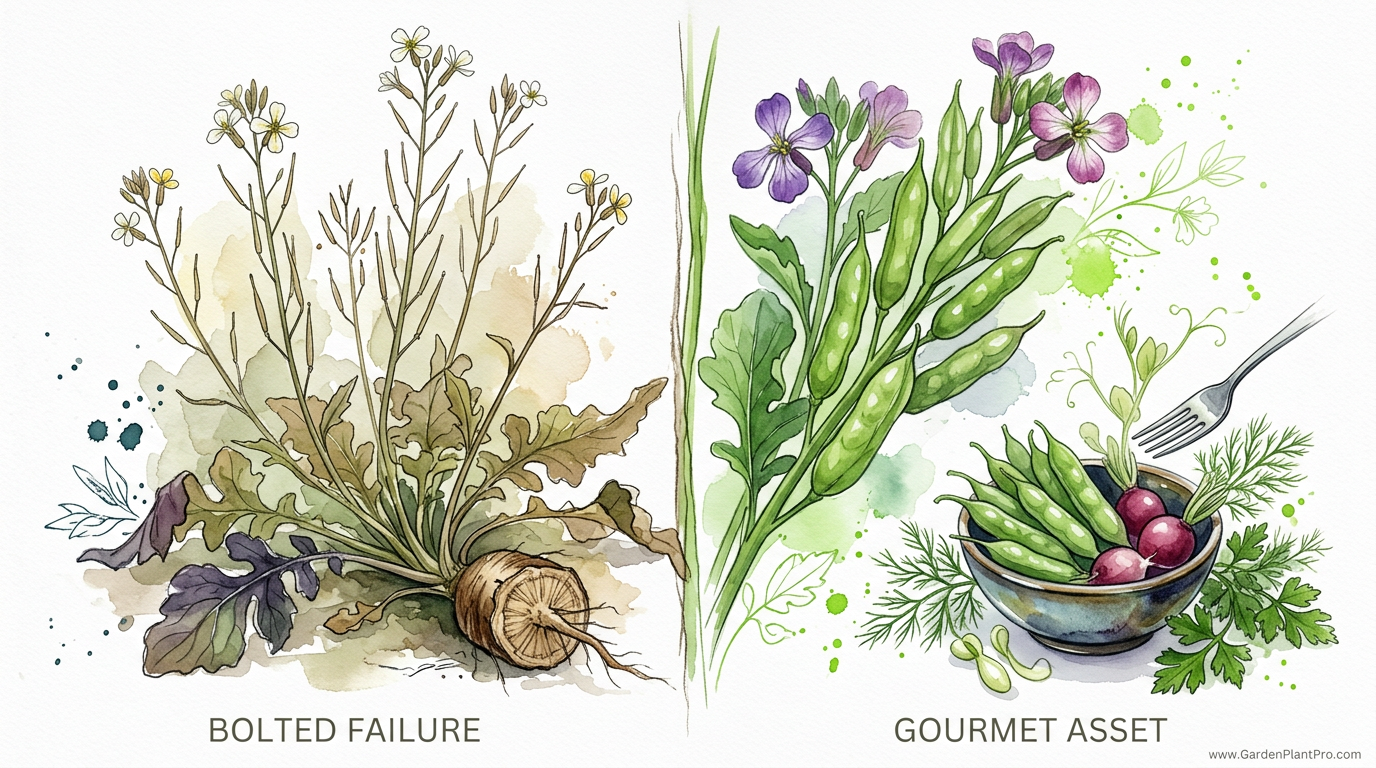
Did you know the most flavorful part of the radish appears only after you think the growing season is over? Most gardeners get discouraged when their radishes bolt in the summer heat, thinking the crop is ruined. But the ‘failure’ of a woody root is actually the beginning of a gourmet treat: radish seed pods. They taste like peppery snap peas and never get woody!
If you have ever stared at a row of tall, lanky radish plants covered in white or purple flowers and felt a twinge of regret, I am here to tell you that you are actually looking at a jackpot. For years, I did the same thing—I would pull those bolted plants and toss them onto the compost pile, frustrated that the “real” harvest was over. It wasn’t until a neighbor from overseas saw my “messy” garden and asked why I wasn’t picking the pods that I realized what I was missing.
In this guide, I want to walk you through why you should stop worrying about bolting and start looking forward to it. We will talk about the science behind these pods, how to harvest them so they are crisp rather than pithy, and why every backyard gardener should have at least a few radish plants dedicated to this “hidden” harvest.
Eating Radish Seed Pods: The Hidden Harvest
Technically known as siliques, radish seed pods are the fruit that develops after the plant’s flowers are pollinated. In the gardening world, we often talk about “bolting” as a failure of the crop. When temperatures climb above 80°F (27°C), the radish plant shifts its energy from storing sugar in the root to producing seeds for the next generation. The root becomes tough, woody, and almost inedibly spicy, while the plant sends up a flower stalk that can reach heights of 3 to 5 feet (0.9 to 1.5 meters).
While the root might be a loss at this stage, the plant is actually entering its most productive phase. A single radish plant that might have provided one small root can produce hundreds of edible pods over several weeks. These pods are succulent, crunchy, and carry a milder version of the parent plant’s peppery kick. They look quite a bit like small, pointed green beans or pea pods, but the texture is much more like a water chestnut or a very fresh snap pea.
Radish seed pods have been a staple in South Asian and East Asian cuisines for centuries. In India, they are known as mungra or mogri and are prized for their ability to hold up in spicy curries and stir-fries. Because they are part of the Brassicaceae family—alongside broccoli, kale, and cabbage—they are packed with similar health-promoting compounds, including antioxidants and fiber, but in a convenient, snackable form.
How the Process Works: From Flower to Pod
Understanding the life cycle of the radish is the key to timing your pod harvest perfectly. When you plant a radish, it focuses on vegetative growth first, producing a rosette of leaves and a swollen taproot. As soon as the days get longer and the soil warms up, the plant receives a biological signal to reproduce.
Once the central stalk shoots up, it will branch out and produce dozens of small, four-petaled flowers. These flowers are a favorite for bees and other pollinators. Once a flower is pollinated, the petals fall away, and a tiny green nub appears. This nub grows rapidly into a fleshy pod. Inside this pod, the seeds are beginning to form, surrounded by a moist, spongy tissue that provides the “crunch” we are looking for.
If you are growing standard table radishes, you can expect pods to be about 1 to 2 inches (2.5 to 5 cm) long. If you are growing specialized “podding” varieties like the Rat’s Tail radish, these pods can reach a staggering 10 to 12 inches (25 to 30 cm) in length. Regardless of the variety, the goal is to harvest them while they are still bright green and firm to the touch.
Choosing the Right Varieties for Pods
While every radish variety produces edible pods, some are better suited for it than others. If you are specifically interested in a pod harvest, you might want to look into heirloom varieties that have been bred for this exact purpose over generations.
- Rat’s Tail (Raphanus sativus caudatus): This is the king of podding radishes. It doesn’t even bother forming a bulbous root; all its energy goes into producing massive quantities of long, purple-tinted pods. They are incredibly heat-tolerant and will keep producing all summer long.
- Dragon’s Tail: Similar to the Rat’s Tail, this variety produces beautiful, dark purple pods that look stunning in a salad. They tend to be a bit spicier than the green varieties.
- München Bier: An heirloom variety from Germany traditionally grown to be eaten with beer. It produces a large white root, but it is also famous for its high yield of delicious, crisp pods.
- Daikon Radishes: If you let your fall-planted Daikon go to seed in the spring, the pods are exceptionally large and juicy. They have a milder flavor that is perfect for those who find standard radishes too “hot.”
Even your standard “Cherry Belle” or “French Breakfast” radishes will produce tasty pods. If you find you’ve planted too many radishes to eat the roots in time, simply leave a few in the ground. They will bolt, and you will get a second harvest that lasts much longer than the initial root harvest.
The Benefits of Growing for Pods
Choosing to harvest radish pods offers several practical advantages for the home gardener. First and foremost is the sheer volume of food. As I mentioned before, one plant equals one root. However, that same plant can produce upwards of 300 pods if kept well-watered and harvested regularly. This makes radishes one of the highest-yielding plants in terms of space-to-calorie ratio in the garden.
Another major benefit is heat tolerance. Most gardeners struggle to grow radishes in the height of summer because the roots become poor quality so quickly. Podding radishes, especially the specialized varieties, thrive in the heat. When the rest of your cool-season greens are wilting or bitter, the radish pods are just getting started.
Finally, there is the pollinator benefit. Radish flowers are absolutely magnetic to beneficial insects. By allowing your radishes to flower and pod, you are providing a vital food source for bees and hoverflies, which in turn will help pollinate your tomatoes, peppers, and cucumbers. It’s a win-win for the entire garden ecosystem.
How to Harvest and Store Radish Pods
Harvesting is simple, but timing is everything. If you wait too long, the seeds inside will become hard, and the pod itself will become dry and “foamy” or “woody.”
The Snap Test: The best way to tell if a pod is ready is to use the “snap test,” much like you would with a green bean. Pick a pod and snap it in half. It should be crisp and break cleanly with a distinct “pop.” If it bends or feels leathery, it has likely gone too far and should be left on the plant to dry for seed saving instead.
To harvest, you can simply pinch the pods off the stems with your fingers or use a pair of garden snips. I like to harvest every two to three days. Regular harvesting encourages the plant to keep producing more flowers and more pods, extending your season by weeks.
For storage, treat them like snap peas. Keep them in a breathable bag in the crisper drawer of your refrigerator. They are best when eaten within 3 to 5 days, as they will eventually lose their moisture and become less crunchy. If you have a massive harvest, they are excellent candidates for pickling, which preserves that crunch almost indefinitely.
Common Culinary Uses for the Pod Harvest
Once you have a bowl full of these peppery treats, what do you do with them? The possibilities are surprisingly broad.
DIY PROJECT: Collect rainwater no matter where you live...

This DIY project is the best way to legally collect rainwater NO MATTER where you live. Get chlorine-free water, cut down on your water bills, and have enough for an emergency situation or to water your garden. Read More Here...
- Raw Snacking: This is my favorite way to enjoy them. Just wash them and eat them whole. They make a great addition to a veggie platter with a bit of hummus or ranch dressing.
- Salad Toppers: Slice them into rounds or leave them whole to add a spicy crunch to a standard green salad. They pair exceptionally well with creamy dressings or acidic vinaigrettes.
- The Quick Stir-Fry: In Indian cooking, radish pods are often sautéed with turmeric, cumin, and potatoes. Because they contain a fair amount of water, they cook quickly. Sauté them on high heat for 3-4 minutes to maintain their texture.
- Pickled “Dilley” Pods: You can use any standard refrigerator pickle recipe (vinegar, water, salt, sugar, and dill) to preserve your pods. They stay much crunchier than cucumber slices and make for a unique garnish for drinks or sandwiches.
- Tempura: If you want to get fancy, dip the pods in a light tempura batter and fry them. The heat mellows the spiciness, leaving a sweet, earthy flavor.
Challenges and Common Mistakes
While growing radish pods is relatively easy, there are a few pitfalls to watch out for. The most common mistake is neglecting the water. Even though the plant is heat-tolerant, if the soil dries out completely, the pods will become intensely spicy and tough. Consistent moisture is the secret to a “sweet” and crunchy pod.
Another challenge is pests. Aphids absolutely love radish flower stalks. Because the stalks are often the highest point in the garden, they become a beacon for these tiny sap-suckers. I usually find that a strong blast of water from the garden hose is enough to knock them off. Since you are eating the pods, I would avoid using any heavy oils or pesticides.
Lastly, don’t forget that these plants get heavy. As the pods develop, the weight can cause the tall, thin stalks to flop over, especially after a heavy rain or wind. I usually find it helpful to grow my podding radishes near a fence or to provide a simple bamboo stake for support.
Limitations: When This Method Isn’t Ideal
Despite their many benefits, there are times when letting your radishes go to seed might not be the best move. If you have a very small garden, a 5-foot-tall radish plant might shade out your smaller crops. You have to decide if the yield of pods is worth the “real estate” the plant occupies.
Additionally, if you are planning on saving seeds for next year’s crop, you need to be careful. Radishes are notorious for cross-pollinating with other varieties—and even with wild mustard weeds. If you let multiple varieties of radish flower at the same time, the seeds you save won’t be “true to type.” However, if you are just in it for the eating, cross-pollination doesn’t matter one bit; the pods will still taste great.
Radish Pods vs. Table Radish Roots
| Feature | Standard Root Harvest | Seed Pod Harvest |
|---|---|---|
| Yield per Plant | 1 Root | Hundreds of Pods |
| Best Climate | Cool (50–65°F / 10–18°C) | Warm (70–90°F / 21–32°C) |
| Harvest Window | Short (3–7 days) | Long (4–6 weeks) |
| Flavor Profile | Sharp, crisp, earthy | Peppery, sweet, like a snap pea |
| Maintenance | Low | Medium (requires staking/deadheading) |
Practical Tips for Success
If you are ready to try this in your own garden, here are a few “pro” tips I’ve picked up over the years:
- Succession Plant for Pods: Don’t just plant once. Sow a few radish seeds every 2 weeks. By the time your first batch is finishing its pod production, the next batch will just be starting to flower.
- Mulch Heavily: Radish plants have a shallow root system. A 2-inch (5 cm) layer of straw or shredded leaves will help keep the soil cool and moist, which leads to better-tasting pods.
- Harvest in the Morning: Like most vegetables, radish pods are at their most hydrated and crisp early in the morning before the sun starts to beat down on them.
- Don’t Forget the Flowers: Radish flowers themselves are also edible! They have a very mild radish flavor and look beautiful as a garnish on desserts or salads.
Advanced Considerations: The Science of Isothiocyanates
For those who want to get into the nitty-gritty of why radishes taste the way they do, it all comes down to a group of compounds called isothiocyanates. These are the same compounds that give mustard and wasabi their heat. They are produced when the plant’s cells are damaged (like when you bite into a pod).
In the root, these compounds can become overwhelming as the plant ages. However, in the pod, the concentration is often balanced by a higher sugar content, which is why pods often taste “sweeter” than the roots. Furthermore, these compounds are being studied for their anti-inflammatory and anti-cancer properties. By eating the pods, you are getting a concentrated dose of these beneficial phytonutrients in a much more palatable form than a woody, overripe root.
A Real-World Scenario: The “Forgotten” Row
Let’s look at a common situation. You planted a 10-foot (3-meter) row of French Breakfast radishes in April. Life got busy, and you only harvested half of them. By mid-June, the remaining radishes have shot up flower stalks and are covered in white blossoms.
Instead of tilling them under, you decide to wait. By late June, you notice hundreds of 1-inch (2.5 cm) green pods. You spend 10 minutes every other morning filling a pint jar with pods. For the next month, your family has a constant supply of “radish peas” for stir-fries and snacking. By the time the plants finally give out in August, you have harvested the equivalent of 20 or 30 bunches of radishes from a row that you originally thought was a total loss. This is the essence of no-waste gardening.
Final Thoughts
The “bolted failure” of a radish is one of the biggest myths in the gardening world. Once you realize that the radish plant is simply transitioning from a root crop to a fruit crop, a whole new world of culinary possibilities opens up. Whether you are growing the exotic Rat’s Tail radish or just salvaging a row of common garden radishes that got too much sun, the result is the same: a delicious, high-yielding, and nutritious harvest that requires almost no extra work.
Next time the summer heat starts to bake your garden, don’t reach for the shovel to pull those flowering radishes. Grab a bowl instead. Experiment with pickling them, tossing them in a hot skillet, or just enjoying them fresh while you walk through your rows. You might just find that you prefer the pods to the roots!
I encourage you to leave at least two or three radish plants to go to seed this season. It’s a small experiment that pays off in big flavor, and it’s a great way to deepen your connection to the full life cycle of the plants in your care. Happy gardening!