
Why are the best gardeners tying their plants in knots to get a better harvest? Most people think getting snowy white cauliflower requires expensive shade cloth and hours of setup. The pros know the plant already has everything it needs to protect itself. This one-minute strategic tuck is the difference between a bitter, yellow harvest and a grocery-store-perfect curd.
If you have ever looked at your garden-grown cauliflower and wondered why it looks more like a faded yellow sponge than the pristine white heads at the market, you are not alone. Sunlight is a gardener’s best friend for almost every crop, but for the delicate white cauliflower curd, it is a formidable foe. Exposure to UV rays triggers the development of chlorophyll, turning that beautiful head yellow, light green, or even a dusty purple. Along with the color change comes a change in flavor, often leaning toward the bitter and the tough.
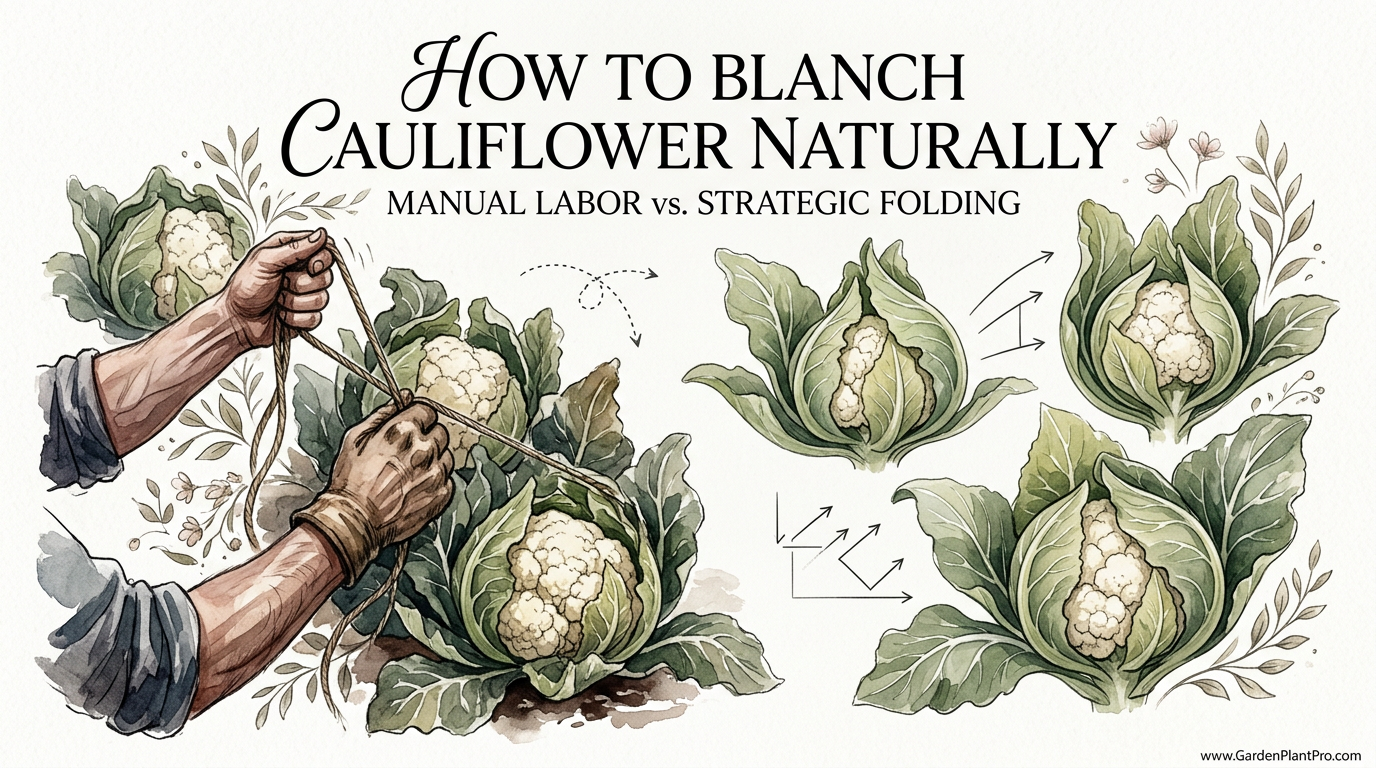
Learning the art of natural blanching is like learning a secret handshake in the gardening world. It is a simple, low-tech way to work with the plant’s own anatomy to ensure a harvest that is as sweet and tender as it is beautiful. Seasoned growers have used these techniques for generations, and once you master the “tuck and tie,” you will never go back to leaving your curds exposed.
How To Blanch Cauliflower Naturally
Natural blanching is the process of protecting the developing cauliflower head, known as the curd, from direct sunlight using the plant’s own leaves. This technique is essential for white cauliflower varieties because the curd is actually a cluster of undeveloped flower buds. When these buds are shielded from the sun, they remain creamy white, dense, and mild in flavor. Sunlight not only changes the color but also alters the chemical composition of the plant, increasing bitterness and sometimes causing the head to become “ricey” or loose.
Gardeners use this method primarily during the peak growing season when the sun is strongest. It is a manual intervention that mimics the natural growth habit of “self-blanching” varieties. While some modern hybrids have been bred to have upright leaves that naturally wrap around the head, traditional heirloom varieties usually require a little help from the gardener to achieve that classic look.
This practice is used in both home gardens and small-scale organic farms where chemical-free quality is the priority. It involves identifying the moment the curd becomes visible—usually when it is about the size of a golf ball or a large hen’s egg—and then gently securing the outer leaves over it. This creates a dark, cool microclimate that allows the head to expand without the stress of sunscald or excessive heat.
The Science Behind the Shade
Understanding why we blanch requires a quick look at how cauliflower grows. Unlike broccoli, which we want to stay green and tight, the white cauliflower curd is highly sensitive to the environment. The “white” we see in the grocery store is actually a lack of pigment. In nature, most cauliflower would naturally turn a yellowish-brown to protect its flower buds from burning.
Chlorophyll production is the main culprit for the color shift. As soon as sunlight hits the tender white tissues, the plant begins to produce chlorophyll for photosynthesis. While this is great for the leaves, it makes the curd tough. Furthermore, the heat from direct sun can cause the florets to separate prematurely, a condition known as “riciness.” A blanched head stays cool, often staying 5 to 10 degrees Fahrenheit (3 to 6 degrees Celsius) cooler than the surrounding air.
Strategic folding also protects the curd from light frosts in the late autumn. While cauliflower is a cool-season crop, the curd itself is more sensitive to freezing than the leaves. A well-wrapped head can withstand a light dip in temperature that might otherwise turn an exposed curd into a mushy, translucent mess.
Step-by-Step Guide to the Strategic Tuck
Timing is everything when it comes to tying up your plants. If you start too early, you risk trapping moisture and causing the tiny curd to rot. If you wait too long, the sun has already done its damage.
1. Identifying the Right Size
Monitor your plants daily once they reach their mature leaf size. Peer into the center of the plant. You are looking for a white button that is approximately 1 to 2 inches (2.5 to 5 cm) in diameter. This is the “sweet spot” for blanching. At this size, the leaves are still pliable enough to bend without snapping, and the curd hasn’t yet been exposed to enough light to discolor.
2. Choosing Your Materials
Avoid using thin wire or anything that might cut into the leaf tissue. Soft garden twine, thick rubber bands, or even large clothespins are the tools of choice. Experienced gardeners often use different colored rubber bands to track which heads were tied on which day. This helps in predicting harvest dates later on.
3. The Gentle Fold
Select three or four of the largest outer leaves. Pull them up and over the center of the curd, overlapping them to create a “tepee” or a tent. Ensure there is enough space inside the tent for the head to double or triple in size. Airflow is vital. If you tie the leaves too tightly, you create a humid trap for fungus and pests.
4. Securing the Leaves
Loosely tie the twine or snap the clothespin at the very top of the leaves. You want a secure hold that won’t blow over in the wind, but you must leave the sides somewhat open. Think of it as a sun umbrella rather than a plastic wrap.
Benefits of Natural Blanching
The primary advantage of this method is the superior quality of the harvest. A blanched cauliflower has a buttery, mild flavor that is markedly different from the “cabbagy” or bitter taste of sun-exposed heads.
Cost is another significant factor. You do not need to purchase expensive row covers or shade cloths for the entire garden bed. Using the plant’s own leaves is free, sustainable, and reduces the amount of plastic waste in your garden. It also allows you to grow traditional heirloom varieties that might have better flavor or disease resistance but lack the self-wrapping trait of modern hybrids.
Furthermore, blanching acts as a physical barrier against certain birds. Some birds love to peck at the tender white florets, leaving unsightly brown marks. A leaf-wrapped head is hidden from sight and much harder for a bird to access.
Environmental Factors and Soil Nutrition
While tying the leaves is a physical solution, the health of your cauliflower starts in the dirt. Cauliflower is one of the most demanding “heavy feeders” in the vegetable world. If the plant is stressed by a lack of nutrients, the leaves will be stunted, making it impossible to find enough foliage to wrap the curd.
Temperature Thresholds
The ideal temperature for curd development is between 50°F and 70°F (10°C to 21°C). If temperatures consistently rise above 80°F (27°C), the plant may struggle to form a solid head. Heat stress often leads to “blindness,” where the plant grows plenty of leaves but never produces a curd. In such cases, no amount of blanching will help.
DIY PROJECT: Collect rainwater no matter where you live...

This DIY project is the best way to legally collect rainwater NO MATTER where you live. Get chlorine-free water, cut down on your water bills, and have enough for an emergency situation or to water your garden. Read More Here...
The Role of Boron and Molybdenum
Micronutrients play a massive role in the success of your cauliflower. A deficiency in boron often manifests as browning of the curd and hollow stems. If your soil is lacking this mineral, the head will turn brown even if it is perfectly blanched.
Molybdenum deficiency is another common issue, often called “whiptail.” This causes the leaves to become narrow and distorted, looking like long, thin whips. Since you need broad, healthy leaves for blanching, a molybdenum deficiency makes the natural tucking process impossible. Most gardeners address this by ensuring their soil pH is between 6.0 and 7.0, as these minerals become less available in highly acidic soil.
Common Mistakes to Avoid
Many beginners make the mistake of tying the leaves when they are wet. This is a recipe for disaster. Trapping moisture inside the leaf “tent” leads to downy mildew or soft rot. Always wait for the morning dew to evaporate before you head out to tie your plants.
Another frequent error is checking the heads too infrequently. Once tied, a cauliflower head can grow remarkably fast, especially in warm weather. You should peek inside the leaves every few days. If you leave the head tied for too long, it will become “over-mature,” meaning the florets will start to separate and the texture will become grainy.
Failure to account for pests is perhaps the biggest pitfall. Slugs, aphids, and cabbage loopers find the dark, protected space inside the blanched leaves to be a perfect luxury hotel. Before you tie the leaves, inspect the area thoroughly. A quick blast of water or a dusting of organic insecticidal soap can save you from a nasty surprise at harvest time.
When To Use Self-Blanching Varieties
If you find the process of tying dozens of plants to be too labor-intensive, you might consider “self-blanching” or “self-wrapping” varieties. These plants have been specifically bred so that the inner leaves naturally curl inward as the head grows.
Popular self-blanching varieties include:
- Amazing: A reliable producer that handles heat better than most.
- Snowball Y: A classic heirloom that has a natural tendency to wrap itself.
- Twister: Known for its tight, spiral leaf wrap that protects the curd through various weather conditions.
- Skywalker: A hybrid that excels in fall harvests with excellent leaf coverage.
While these varieties are helpful, they are not foolproof. In extreme heat or if the plant is under-fertilized, even a self-blanching variety may fail to wrap itself properly. The wise gardener always keeps a roll of twine handy to assist any “lazy” plants that aren’t covering up.
Comparing Manual Blanching vs. Self-Wrapping
| Factor | Manual Blanching | Self-Wrapping Varieties |
|---|---|---|
| Labor Level | High – Requires individual plant attention. | Low – Plant does most of the work. |
| Curd Whiteness | Superior – You can ensure 100% shade. | Variable – Depends on plant vigor. |
| Variety Choice | Unlimited – Works for all white varieties. | Limited – Must buy specific seeds. |
| Cost | Pennies for twine or rubber bands. | Standard seed prices. |
Practical Tips for a Flawless Harvest
Success with cauliflower often comes down to the small details. Here are a few tricks from the old-timers to help you get the best results:
- Vary Your Colors: Use different colored rubber bands to represent different days of the week. Red for Monday, Blue for Wednesday, etc. This allows you to know exactly how long a head has been “in the dark” without opening it every day.
- The Snap Test: If the leaves feel very stiff and brittle, they might snap when you try to fold them. Water the plants heavily the night before you plan to tie them. This makes the leaves more turgid and slightly more flexible.
- Watch the Weather: If a heatwave is predicted, you may need to add a second layer of protection, such as a temporary piece of cardboard or a burlap sack draped over the tied leaves to provide extra insulation.
- The Salt Water Soak: After harvesting your perfectly blanched head, soak it in a basin of cool water with a tablespoon of salt for 20 minutes. This will drive out any cabbage loopers or aphids that managed to sneak into your leaf tent.
Advanced Considerations for Serious Growers
For those looking to take their cauliflower game to the next level, consider the timing of your nitrogen applications. Large, healthy leaves are the foundation of good blanching. Applying a high-nitrogen organic fertilizer, such as fish emulsion or blood meal, during the first six weeks of growth is crucial. Once the curd begins to form, however, you should back off the nitrogen. Excess nitrogen late in the season can actually encourage “riciness” and loose curds, negating the benefits of your blanching efforts.
Spacing also plays a hidden role. If you plant your cauliflower too close together (less than 18 inches or 45 cm apart), the plants will compete for light and nutrients. This results in smaller leaves that are harder to tie. Giving each plant 24 inches (60 cm) of space ensures they have the resources to build a robust “wardrobe” of wrapper leaves.
Regional timing is another advanced factor. In northern latitudes, spring-planted cauliflower must be blanched quickly before the summer heat arrives. In southern regions, cauliflower is often a winter crop. In these areas, the sun is less intense, but the blanching process is still necessary to protect against the drying effects of winter winds and occasional frosts.
Harvesting Your Hard Work
Knowing when to cut the plant is just as important as knowing when to tie it. Generally, a head is ready for harvest 7 to 14 days after tying, depending on the temperature. The curd should be 6 to 8 inches (15 to 20 cm) in diameter, firm, and compact.
Use a sharp garden knife to cut the main stem about an inch below the head. Leave a few of the smaller, inner wrapper leaves attached to the head during storage; this helps maintain humidity and protects the florets from bruising in the refrigerator. If you see the florets starting to separate or look “fuzzy,” harvest immediately, regardless of size. An over-mature head is still edible, but it loses the premium texture you worked so hard to achieve.
Final Thoughts
Tying your cauliflower in knots might seem like an odd chore, but it is one of the most rewarding tasks in the vegetable garden. It represents the perfect bridge between manual labor and strategic gardening, allowing you to use the plant’s own biology to produce a superior result. By spending just one minute per plant to tuck and tie, you are ensuring a harvest that is beautiful, sweet, and free of the bitterness that plagues so many home-grown brassicas.
Do not be discouraged if your first few attempts result in a snapped leaf or a hidden slug. Gardening is a practice of observation and adjustment. As you become more familiar with the “feel” of the leaves and the growth rate of your specific variety, the process will become second nature. You will find that the pride of pulling back those leaves to reveal a pristine, snowy white curd is one of the true highlights of the growing season.
Experiment with different tying materials and track your results. Whether you are a beginner or a seasoned pro, the art of natural blanching is a skill that will elevate your garden from ordinary to extraordinary. Next time you see those “knots” in a neighbor’s garden, you will know exactly why they are there—and you’ll likely be inspired to head out and do the same for your own crop.

Do you have some charcoal in your house right now? We call charcoal a “miracle leftover” for anyone who wants to be a little more self-sufficient and cut costs. That’s because it can help you with so many different things around the house and garden. You can even use it to make an energy-free fridge. Read More Here...