
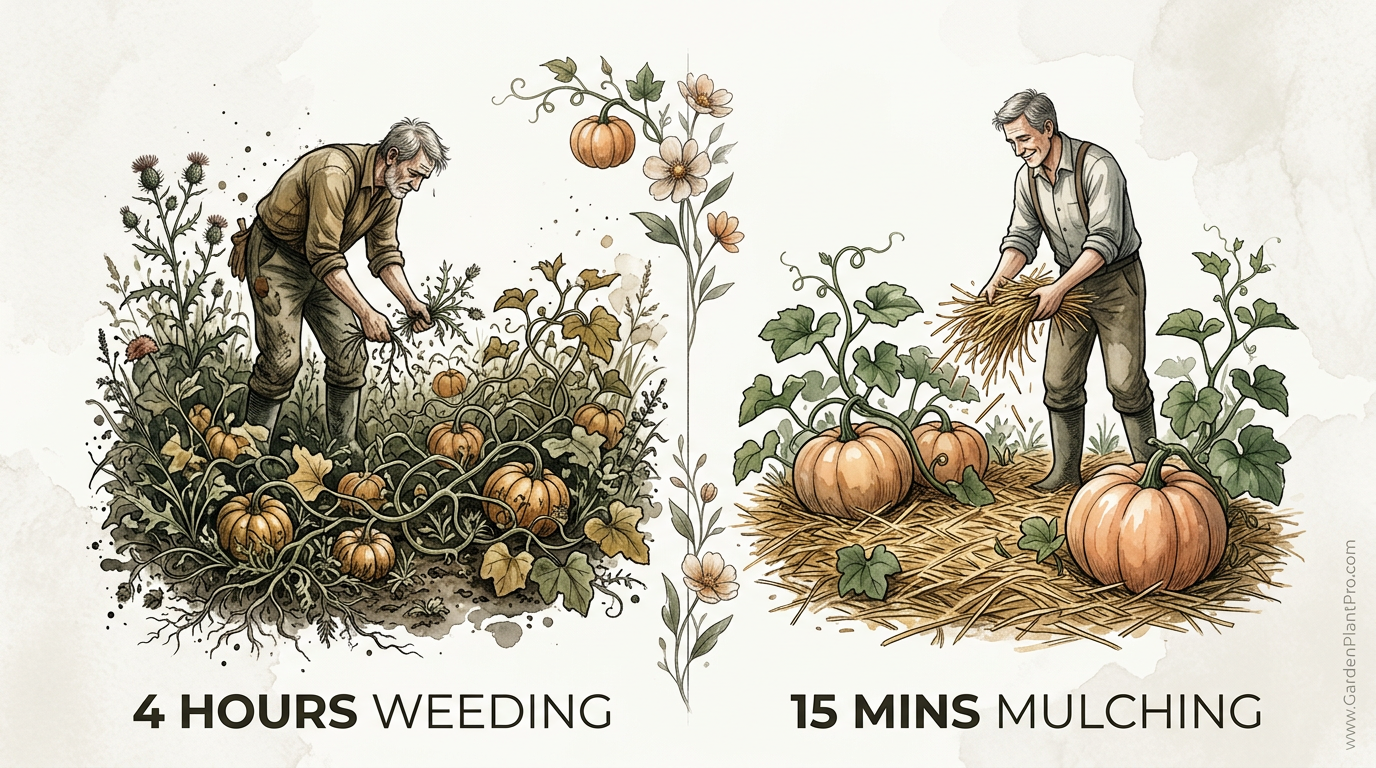
Why break your back when a single layer of straw does the work for you? Gardening shouldn’t feel like a chore. Switching from manual weeding to a strategic mulching system saves hours of labor while keeping your pumpkin roots cooler and wetter. Work with nature, not against it.
Growing pumpkins often feels like a race against the elements. These vigorous vines want to take over the world, but they also require massive amounts of energy and water to produce those iconic autumn fruits. Many gardeners spend their weekends fighting a losing battle against invasive weeds that steal nutrients from their crop.
Strategic mulching and pruning change the entire dynamic of the garden. Instead of spending 4 hours weeding a sprawling patch, you can spend 15 minutes laying down high-quality straw mulch. This simple shift creates a controlled environment where your pumpkins can thrive without competition.
A well-maintained pumpkin patch is more than just a source of food or decoration. It represents a partnership between the gardener and the soil. Using techniques like vine training and moisture-retentive mulching ensures that every ounce of effort you put in results in a heavier, healthier harvest.
The Philosophy of High-Efficiency Gardening
Experience teaches us that the best gardens aren’t the ones where the gardener works the hardest. The best gardens are those where the natural systems are allowed to function at their peak. Pumpkins are particularly responsive to this “work smarter” approach because they are such heavy feeders and aggressive growers.
Control is the secret to a successful harvest. Without a plan, a single pumpkin plant can easily cover 1,200 square feet (about 111 square meters) of space. This creates a massive area for weeds to germinate and for moisture to evaporate. Mulching restricts the available light for weeds, while pruning restricts the plant’s energy to specific, high-value vines.
Many beginners assume that more vines always equal more pumpkins. Veteran growers know that a chaotic plant often produces many small, underdeveloped fruits that struggle to ripen before the first frost. Focusing the plant’s resources through pruning ensures that the energy goes into the fruit rather than endless leafy runners.
Pumpkin Pruning For Size And Efficiency
Pruning a pumpkin plant is the art of directing the biological engine of the vine toward a specific goal. Every leaf and vine segment requires energy to maintain. If a plant has too many runners, it becomes “leaf heavy,” meaning it spends all its sugar on maintaining foliage instead of building the sugars and starches needed for a dense, heavy pumpkin.
Gardeners generally prune to achieve three main objectives: size, health, and space management. When you limit the number of vines, you increase the airflow around the base of the plant. This is the best defense against powdery mildew, a fungal disease that thrives in the stagnant, humid air trapped under a dense canopy of leaves.
Efficient pruning also makes it much easier to spot pests. Squash bugs and vine borers love to hide in the thickest part of the patch. A pruned plant has a cleaner structure, allowing you to see the base of the vine where most borers enter. This visibility is often the difference between a dead plant and a record-breaking harvest.
Different varieties require different levels of attention. Giant pumpkins like the Atlantic Giant need aggressive pruning to concentrate all the plant’s energy into a single fruit. Smaller pie pumpkins or Jack-O’-Lantern varieties can handle more vines, but they still benefit from having their “sucker” vines removed to keep the patch manageable.
Understanding Vine Anatomy: Primary, Secondary, and Tertiary
Mastering the shears requires understanding how the pumpkin plant organizes its growth. Think of the pumpkin plant as a hierarchical system of pipes. The primary vine is the main trunk, the secondary vines are the branches, and the tertiary vines are the twigs that grow off those branches.
The Primary Vine is the main stem that emerges from the root stump. This is the “interstate highway” of the plant. It carries the bulk of the water and nutrients from the main root system to the rest of the plant. Most growers want this vine to be as long as 10 to 15 feet (3 to 4.5 meters) before they think about stopping it.
Secondary Vines branch off the primary vine at every leaf node. These are the “side roads.” They provide the extra leaf surface area needed for photosynthesis. In a professional “Christmas tree” layout, these runners are trained to grow perpendicular to the main vine. This keeps the patch organized and allows you to walk between the rows.
Tertiary Vines grow off the secondary vines. Serious practitioners often call these “suckers.” These vines are the most inefficient part of the plant because they compete for nutrients but rarely have enough time or sunlight to produce quality fruit. Removing these as soon as they appear is a hallmark of an efficient gardener.
How to Prune: A Step-by-Step Practical Guide
Wait until the plant is well-established before you start cutting. Pruning a young seedling can stunt its growth permanently. Most gardeners wait until the main vine is at least 10 feet (3 meters) long and has successfully set its first few female flowers.
Step 1: Identify the main runners. Find the primary vine and decide which direction you want it to grow. If you have limited space, you might need to gently curve the vine in a “U” or “S” shape. Secure it to the ground with vine staples or small mounds of soil to prevent the wind from tossing it around.
Step 2: Manage the secondary vines. Allow the secondary runners to grow out from the main vine. These should be trimmed once they reach about 10 to 12 feet (3 to 3.6 meters). Trimming the ends of these runners sends a signal to the plant to stop expanding outward and start focusing on the fruit developing on the main vine.
Step 3: Eliminate tertiaries. Look for any new vines starting to grow off your secondary runners. These tertiary vines should be pinched off with your fingers or snipped with clean shears. Keeping the plant limited to primary and secondary vines creates a clean, efficient “solar panel” array.
DIY PROJECT: Collect rainwater no matter where you live...

This DIY project is the best way to legally collect rainwater NO MATTER where you live. Get chlorine-free water, cut down on your water bills, and have enough for an emergency situation or to water your garden. Read More Here...
Step 4: The “Fruit Rule.” Once you have two or three healthy, volleyball-sized pumpkins on the plant, it is time to get ruthless. For giant varieties, you may eventually cull down to just one pumpkin. For standard carving pumpkins, keeping three to five per plant is usually ideal. Remove any new flowers that appear late in the season, as they will never reach maturity.
The Role of Strategic Mulching
Mulching is the most effective way to reduce the “4 hours of weeding” down to almost nothing. In a pumpkin patch, mulch serves as a protective barrier that mimics the forest floor. It keeps the soil biology alive by preventing the sun from baking the delicate microbial life in the top few inches of earth.
Straw is the gold standard for pumpkin mulching. It is lightweight, allows water to penetrate easily, and does not mat down like grass clippings. A layer of straw 3 to 6 inches (7.5 to 15 centimeters) deep provides a soft, dry bed for the pumpkins to rest on. This prevents the “ground rot” that happens when a ripening pumpkin sits on wet, bare soil for weeks.
Using mulch also prevents “rain splash.” Many fungal diseases, such as early blight and some mildews, live in the soil. When rain hits bare earth, it splashes those spores up onto the lower leaves of your pumpkin plant. A thick blanket of straw absorbs the impact of the rain and keeps the spores trapped in the ground where they belong.
Weed suppression is the most immediate benefit. Most weed seeds need light to germinate. A thick mulch layer blocks 99% of that light. Any weeds that do manage to poke through are usually weak and have very loose root systems because the soil under the mulch is so soft. Pulling them takes seconds rather than minutes.
Straw vs. Other Mulch Types
Choosing the right material depends on your local availability and garden goals. While straw is excellent, other options exist, each with its own set of trade-offs.
| Mulch Type | Best For… | Pros | Cons |
|---|---|---|---|
| Straw (Wheat/Rice) | Large patches | Breathable, reflects light, prevents rot. | Can contain some grain seeds. |
| Black Plastic | Short seasons | Warms the soil rapidly. | Does not improve soil health; can overheat roots. |
| Grass Clippings | Small budgets | High nitrogen; free. | Mats down; can contain lawn herbicides. |
| Wood Chips | Pathways | Long-lasting; very stable. | Slow to decompose; not ideal for annual beds. |
Straw is generally superior for pumpkins because it stays dry on top while keeping the soil moist underneath. This “dry top” is crucial for preventing the rind of the pumpkin from softening or developing fungal spots. If you live in a very hot climate, straw’s light color also helps reflect some of the intense summer sun, preventing the soil from reaching temperatures that could kill the plant’s roots.
Busting the Nitrogen Theft Myth
A common fear among newer gardeners is that organic mulches like straw will “steal” nitrogen from the soil. This misunderstanding stems from the fact that soil microbes need nitrogen to break down carbon-rich materials like straw. If you bury fresh straw deep in the soil, the microbes will indeed pull nitrogen from the surrounding area to do their work.
Mulching on the surface is a different story. Nitrogen tie-up only happens at the very thin interface where the mulch touches the soil. This is actually a benefit! It creates a tiny, nitrogen-deficient zone at the surface that inhibits weed seeds from growing, while the deep roots of your pumpkin plant are perfectly fine.
As the straw decomposes over several months, it actually adds organic matter and nutrients back into the soil. It feeds earthworms, which tunnel through the earth and create natural aeration. By the end of the season, the straw will have transformed into a thin layer of rich compost that improves the tilth of your garden for next year.
The Importance of Secondary Roots
Pumpkins have a secret weapon that many gardeners overlook. At every leaf node along the vine, the plant has the potential to grow a “secondary root.” These are not just for anchoring the plant against the wind; they are fully functional roots that can absorb water and nutrients.
Encouraging these roots can significantly increase the size of your fruit. When a vine is allowed to root at every node, it essentially becomes a multi-rooted monster that is no longer dependent solely on the main stump. If a vine borer attacks the main stem, a plant with a strong secondary root system can often survive and continue to grow.
Burying the leaf nodes is the best way to encourage this growth. Every few feet along the vine, place a spadeful of rich compost or garden soil over the node where the leaf meets the vine. Keep these mounds moist. Within a week, white roots will begin to dive into the soil. This extra “pumping power” is what separates casual gardeners from the folks who win local weigh-offs.
Maintenance and Long-Term Care
Keeping a pumpkin patch healthy throughout the long summer requires consistent but minimal effort. If you have mulched and pruned correctly, your main job is monitoring for pests and ensuring consistent moisture.
Pest Patrol: Check the undersides of leaves once a week for the bronze-colored eggs of squash bugs. Smashing these early saves you a massive headache later. Look for “sawdust” (frass) at the base of the vines, which is a sign of vine borers. If you see it, you can sometimes perform “surgery” with a sharp knife to remove the larvae and then bury the damaged section of the vine in soil to encourage new roots.
Watering Habits: Pumpkins need about 1 to 2 inches (2.5 to 5 centimeters) of water per week. Always water at the base of the plant rather than over the leaves. Moisture on the leaves is the primary cause of powdery mildew. Drip irrigation or soaker hoses hidden under the straw mulch are the most efficient ways to deliver water directly to the roots.
Fertilization: Use a balanced fertilizer early in the season to encourage vine growth. Once the fruit has set, switch to a fertilizer higher in potassium and phosphorus to support fruit development. Avoid high-nitrogen fertilizers late in the season, as this can lead to “exploding” pumpkins that grow too fast for their rinds to keep up.

Do you have some charcoal in your house right now? We call charcoal a “miracle leftover” for anyone who wants to be a little more self-sufficient and cut costs. That’s because it can help you with so many different things around the house and garden. You can even use it to make an energy-free fridge. Read More Here...
Challenges and Common Mistakes
Even seasoned gardeners run into trouble. One of the most common mistakes is pruning too aggressively too early. Remember that every leaf is a solar panel. If you remove too many leaves before the pumpkin has reached a certain size, the plant won’t have the “horsepower” to finish the job.
Another pitfall is using “hay” instead of “straw.” This is a mistake many beginners make exactly once. Hay is cut while the grass is still green and full of seeds. Using hay as mulch is essentially planting a thousand weeds in your pumpkin patch. Straw is the dried stalks left over after grain has been harvested; it is almost entirely seed-free.
Watch out for “vine stress” near the fruit. As a pumpkin grows, it can actually lift the vine off the ground or create tension that snaps the stem. To prevent this, make sure the vine is not rooted too closely to the pumpkin itself. You want a bit of “slack” in the vine so the pumpkin can expand without pulling on its lifeline.
Practical Tips for Success
* Use a board: Place a piece of plywood or a flat stone under your developing pumpkins. This creates an extra barrier against soil-borne rot and prevents rodents from burrowing up from underneath.
* Timing is everything: Do your pruning in the early morning. The vines are more flexible when they are hydrated from the night air, and the wounds will have the full day to “cauterize” in the sun before the damp evening air arrives.
* Clean your tools: Dip your shears in a 10% bleach solution or wipe them with alcohol between plants. This prevents the spread of viruses and fungal spores from a sick plant to a healthy one.
* Watch the weather: If a heatwave is coming, avoid pruning. The extra leaf cover provides essential shade for the fruit, preventing “sunscald,” which can ruin the appearance and storage life of your pumpkin.
Final Thoughts
Gardening is a journey of observation. When you switch to a system of strategic mulching and pruning, you aren’t just saving yourself from the drudgery of weeding. You are creating a more resilient, productive ecosystem that allows the pumpkin plant to express its full potential.
These techniques represent the accumulated wisdom of generations of growers. By managing the vines and protecting the soil, you ensure that the time you spend in the garden is focused on the joy of the harvest rather than the frustration of maintenance. Whether you are aiming for a massive competition giant or a few perfect pies, these principles remain the same.
Experiment with these methods this season. Start small, perhaps by mulching just one corner of your patch, and observe the difference in soil moisture and weed pressure. You will likely find that the pumpkins grown under straw are cleaner, larger, and healthier than those left to scramble over bare earth. Happy growing, and may your autumn be filled with orange!