
Did you know you are throwing away 70% of the nutrients your cauliflower plant pulled from the soil? Cauliflower is a heavy feeder, meaning it sucks massive amounts of nitrogen and minerals from your soil. If you throw the leaves in the trash, those nutrients are gone forever. Learn how to recycle that ‘waste’ back into fuel for your next crop of brassicas.
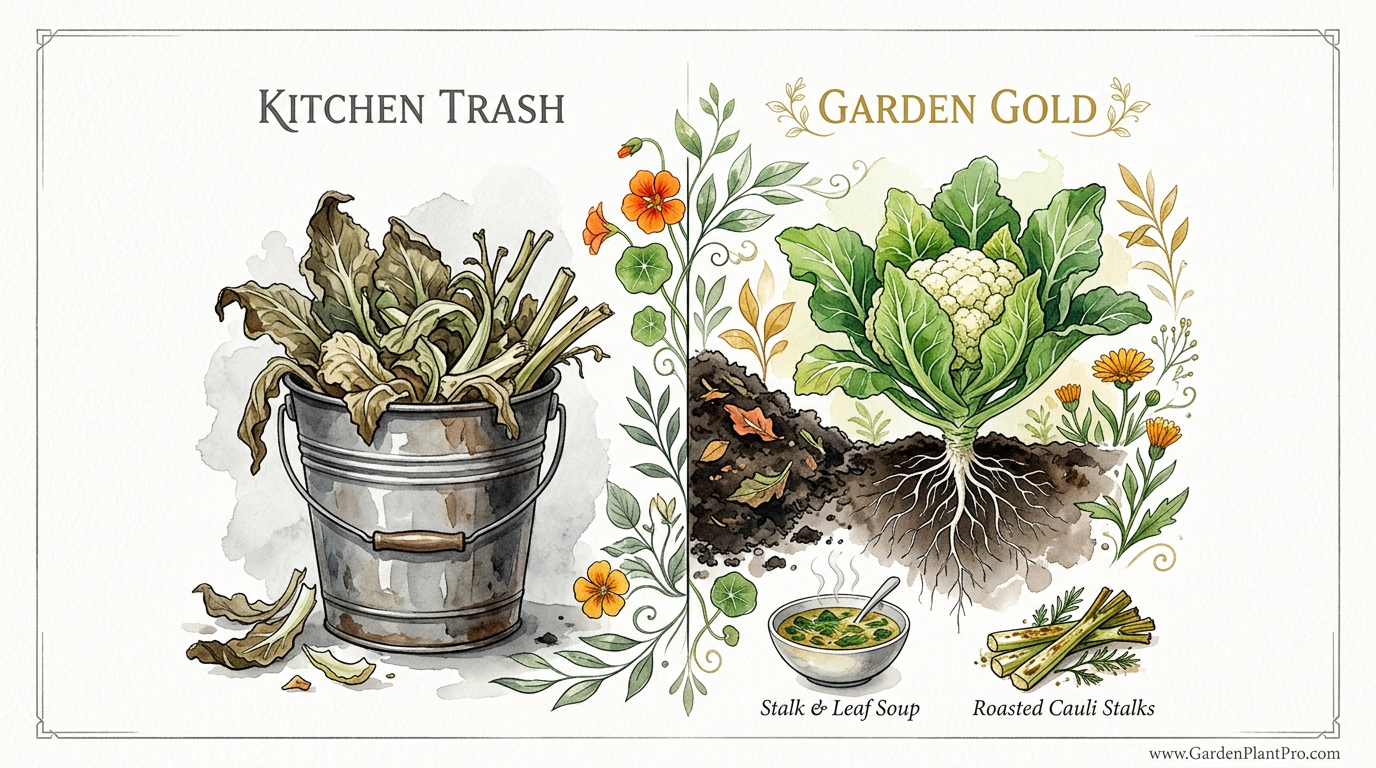
Every time you harvest a beautiful white head of cauliflower, you are looking at only a small fraction of the total biomass that plant spent months building. The thick, waxy leaves and the dense, woody stalks contain a powerhouse of minerals that most folks simply haul off to the curb. In my decades of working the soil, I have learned that the secret to a high-yielding garden is never letting a single scrap of “garden gold” leave the gate.
These cast-off parts of the plant are not just bulk; they are a concentrated source of nitrogen, potassium, and calcium. When you return them to the earth, you are participating in a closed-loop system that keeps your soil fertile without the need for expensive store-bought fertilizers. Understanding how to handle these tough materials is the key to turning a slow-rotting mess into premium organic matter.
What To Do With Cauliflower Leaves And Stalks
Cauliflower leaves and stalks are the structural framework of the plant, designed to transport water and nutrients from the roots to the developing head. Because they serve as the “plumbing” and “solar panels” for the cauliflower, they are packed with the very nutrients the next generation of plants will need. In practical terms, these leftovers are either high-quality fodder for your compost pile, a nutritious addition to your kitchen table, or a biological soil conditioner.
The leaves are often as edible and tasty as the florets, though they require a bit more heat to soften. In the garden, the stalks act as a slow-release fertilizer. Because they are dense and fibrous, they do not disappear overnight. This slow breakdown is actually a benefit, as it provides a steady stream of nutrients over several months rather than a quick spike that leaches away in the rain.
Gardeners use these scraps in a variety of real-world scenarios. If you have a large plot, you might “chop and drop” them right where they grew. If you have a small backyard setup, you might prefer trench composting or a dedicated worm bin. No matter the size of your garden, these materials represent a significant investment of soil energy that belongs back in your beds.
How To Process Cauliflower Waste For The Garden
The biggest hurdle with cauliflower remains is their physical toughness. A thick cauliflower stalk can sit in a cold compost pile for a year and still look exactly the same as the day you threw it in. To get the best results, you need to assist the decomposition process through physical intervention and smart placement.
Physical Breakdown Techniques
Smaller surface area means faster microbial activity. If you throw a whole cauliflower plant onto a heap, the microbes can only attack the outside. Using a sharp spade to chop the leaves into 2-inch (5 cm) ribbons and the stalks into small Batons makes a massive difference. Some experienced gardeners even use a hammer to crush the stalks, splintering the fibers and allowing moisture and bacteria to penetrate the woody core immediately.
The Trench Composting Method
Trench composting is a “set it and forget it” technique that works wonders for heavy feeders. Dig a hole or a trench approximately 12 inches (30 cm) deep in an area where you plan to plant heavy feeders like tomatoes or squash next season. Fill the bottom 6 inches (15 cm) with chopped cauliflower leaves and smashed stalks, then cover it back up with soil. This “underground compost” feeds the worms and soil microbes directly at the root zone without taking up space in your main bin.
Hot Composting and C:N Ratios
Cauliflower waste is considered a “green” material because it is high in nitrogen. If you add a large amount of it to your compost bin at once, it can become slimy and smelly. Mixing it with “brown” materials like dried autumn leaves, shredded straw, or cardboard ensures a balanced carbon-to-nitrogen ratio. Aim for a ratio of about 3 parts brown to 1 part green to keep the pile aerobic and moving quickly toward finished compost.
The Practical Benefits Of Recycling Brassica Scraps
Returning cauliflower waste to your garden provides more than just basic N-P-K (Nitrogen, Phosphorus, and Potassium). It offers biological advantages that synthetic fertilizers simply cannot match. One of the most fascinating benefits is a process called biofumigation. Brassicas contain compounds called glucosinolates. When these leaves break down in the soil, they release gases that can suppress certain soil-borne pests and diseases, including root-knot nematodes.
Soil structure also sees a long-term improvement. The fibrous nature of the stalks adds “tilth” to the soil, helping to break up heavy clay and improve drainage. In sandy soils, the organic matter from the leaves acts like a sponge, holding onto moisture that would otherwise drain away too fast. This improved water retention can be a lifesaver during a dry summer spell.
Earthworms are particularly fond of decaying brassica leaves. By leaving this material in or on the soil, you are essentially building a buffet for the local worm population. Their tunneling activity further aerates the soil and their castings provide even more concentrated nutrients for your plants. It is a win-win for the entire soil ecosystem.
Challenges and Common Mistakes
One of the most frequent errors I see is gardeners trying to compost diseased plants. If your cauliflower showed signs of clubroot (swollen, distorted roots) or black rot (V-shaped yellow lesions on the leaves), do not recycle that material back into your garden. These pathogens are incredibly hardy and can survive in the soil or a cool compost pile for many years. In these cases, the trash is actually the safer destination.
Neglecting to chop the stalks is another common pitfall. Woody stalks that haven’t been broken down can create air pockets in your soil if you bury them, which can dry out the roots of new seedlings. Furthermore, if you just pile the leaves on top of the soil without any weight or moisture, they can dry out into a leathery mat that actually repels water instead of absorbing it. Always make sure your waste is in contact with damp soil or buried under other organic matter.
Limitations and Environmental Constraints
While recycling is generally great, there are times when it might not be ideal. In very cold climates, decomposition stops entirely during the winter. If you leave a thick layer of cauliflower leaves on the surface of your garden in a region with heavy snow, they may simply rot into a slimy mess that attracts slugs in the spring. In these areas, burying the waste (trenching) before the first hard frost is a much better strategy.
Space can also be a limitation. A single harvest of a dozen cauliflowers produces a mountain of foliage. If you have a tiny urban garden, your compost bin might not be able to handle that volume all at once. In this situation, prioritizing the most nutrient-dense parts (the leaves) for composting and using the stalks for soup stocks or fermenting is a smarter way to manage the load.
Comparing Disposal Methods
Different methods of handling cauliflower waste suit different gardening goals. The following table compares the most common approaches based on effort, speed, and nutrient retention.
| Method | Effort Level | Decomposition Speed | Best For… |
|---|---|---|---|
| Chop and Drop | Low | Slow (3-6 months) | Large garden beds, mulching |
| Trench Composting | Medium | Medium (2-4 months) | Resting soil, feeding heavy feeders |
| Hot Composting | High | Fast (3-6 weeks) | Producing bulk soil amendment |
| Worm Bin | Medium | Fast (2-4 weeks) | Small spaces, high-potency castings |
Practical Tips for the Savvy Gardener
- The Freezer Trick: If you have a few tough stalks that won’t break down, toss them in the freezer for 24 hours. The ice crystals rupture the cell walls, making them turn to mush much faster once they thaw in the compost pile.
- Brassica Tea: You can make a liquid fertilizer by soaking chopped leaves in a bucket of water for two weeks. Dilute the resulting “tea” and use it to water your kale or broccoli. Be warned: it smells quite strong!
- Check for Pests: Before composting, look under the leaves for bright green cabbage worms or clusters of yellow aphid eggs. Smashing these before they hit the pile prevents them from surviving to trouble your next crop.
- Kitchen Integration: Don’t forget the kitchen. The central core of the cauliflower stalk, once peeled of its woody exterior, is as tender as a water chestnut. It is fantastic in stir-fries.
Advanced Considerations: Soil pH and Bio-Activity
For the serious practitioner, it is worth noting that a large influx of brassica waste can temporarily affect the soil’s biological balance. As the high-nitrogen leaves break down, the initial microbial “bloom” can actually tie up available nitrogen for a few weeks. If you plan to sow seeds immediately after digging in cauliflower waste, you might notice a slight yellowing of the new sprouts. Waiting 2–3 weeks (14–21 days) after incorporation allows the microbes to finish the first stage of decomposition and release those nutrients back to the plants.
DIY PROJECT: Collect rainwater no matter where you live...

This DIY project is the best way to legally collect rainwater NO MATTER where you live. Get chlorine-free water, cut down on your water bills, and have enough for an emergency situation or to water your garden. Read More Here...
Furthermore, brassicas prefer a slightly alkaline to neutral soil (pH 6.5 to 7.5). If your soil is already very acidic, adding large amounts of fresh organic matter can slightly depress the pH further in the short term. Monitoring your soil pH and perhaps adding a dusting of garden lime can help maintain the ideal balance if you are recycling massive amounts of cauliflower remains year after year.
Example Scenario: The Spring Turnaround
Imagine you have just harvested your spring cauliflower in late June. You have ten large plants’ worth of leaves and stalks. Instead of bagging them, you use a garden fork to dig a 10-foot (3-meter) trench along the edge of your garden where you plan to plant autumn garlic in October.
You chop the leaves into the trench, smash the stalks with a mallet, and cover the whole thing with 6 inches (15 cm) of soil. By the time October rolls around and it is time to plant the garlic, the cauliflower has vanished, replaced by dark, crumbly soil teeming with worms. The nitrogen and calcium released by the cauliflower provide the perfect slow-release fuel for the garlic to establish strong roots before winter sets in. This is how you build soil fertility without spending a dime.
Final Thoughts
Gardening is as much about what you put back into the soil as what you take out of it. Those huge, floppy cauliflower leaves and the “indestructible” stalks are not a nuisance to be hidden away; they are the foundation of your future success. Every mineral they pulled from the depths of your garden bed is a valuable resource that deserves to be returned.
By taking the time to chop, crush, or bury these scraps, you are investing in the long-term health of your land. Whether you choose to roast the leaves for dinner or bury the stalks for the worms, you are closing the loop. I encourage you to experiment with different methods this season. You might find that the “waste” you used to throw away becomes the most important tool in your gardening kit.
In time, you will start to see your soil change. It will become darker, more resilient, and full of the life that makes gardening so rewarding. Next time you harvest a cauliflower, look at those leaves with a new eye. That isn’t trash—that is the fuel for next year’s harvest.